Modeling & Materials

Weekly Design Challenge

Linko Vu models trials and errors moment


Module 1


PLACEHOLDER TEXT, put a description here or you will lose grades

Design Challenge 1
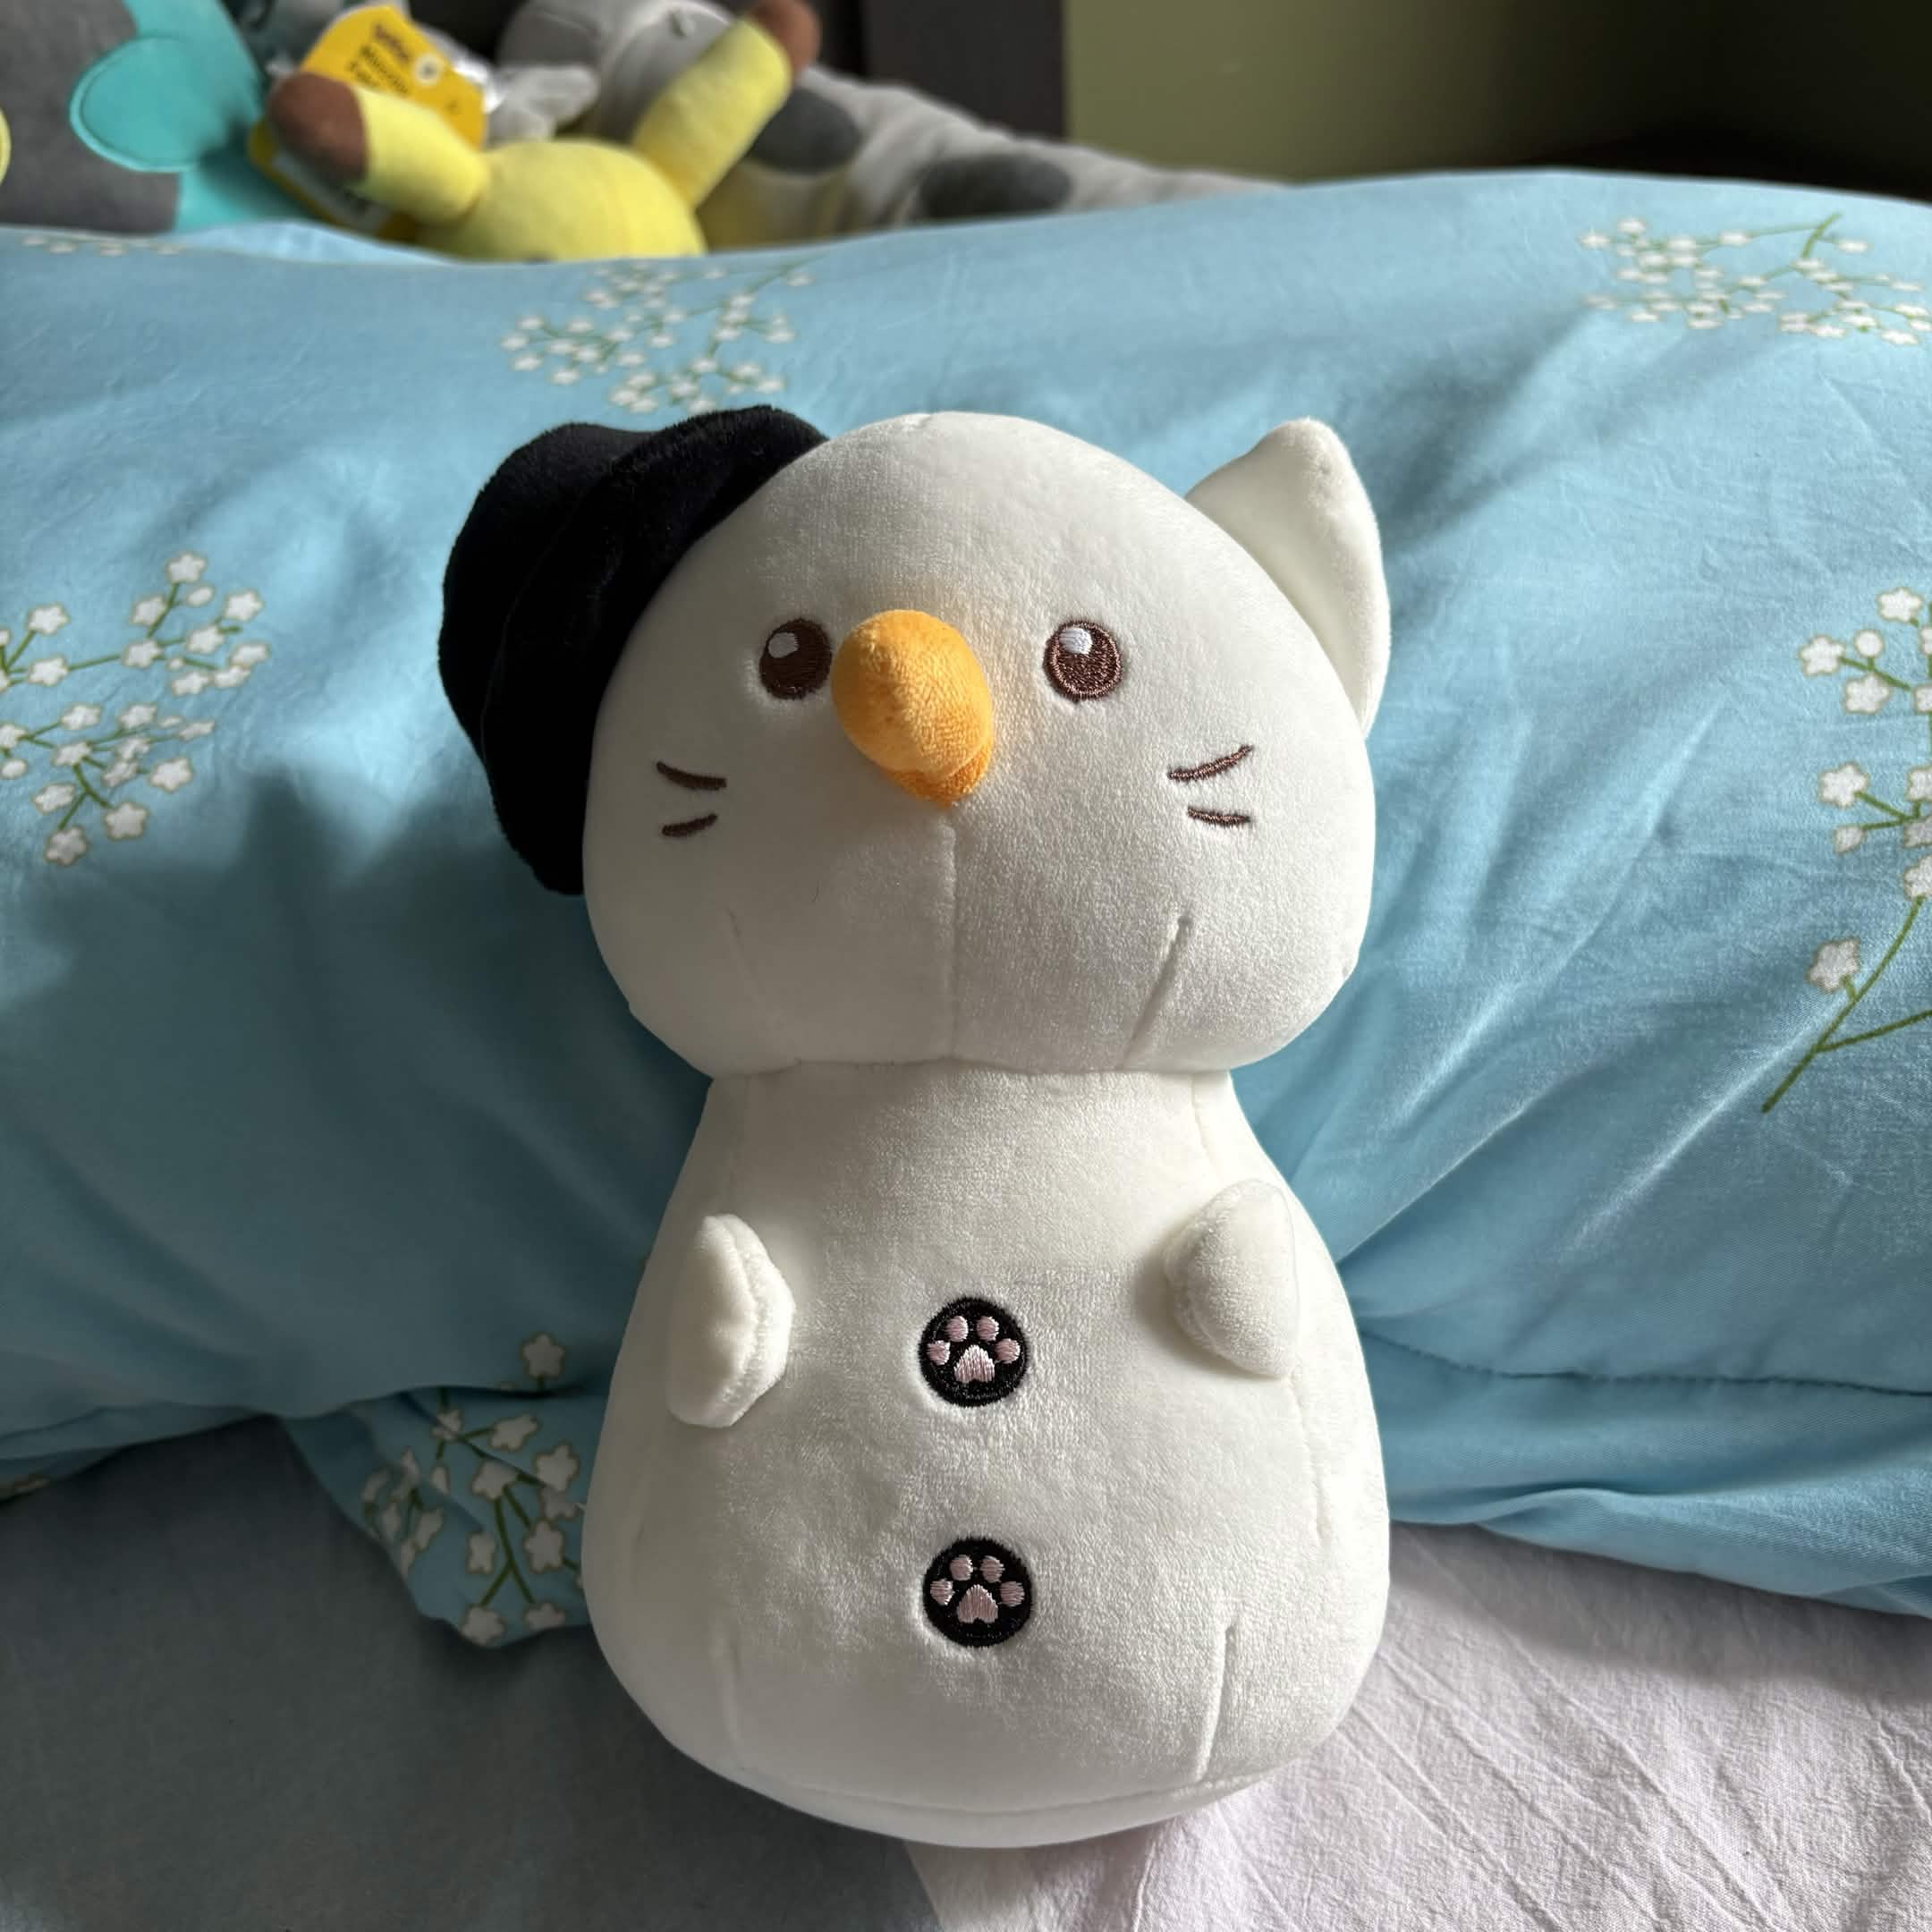
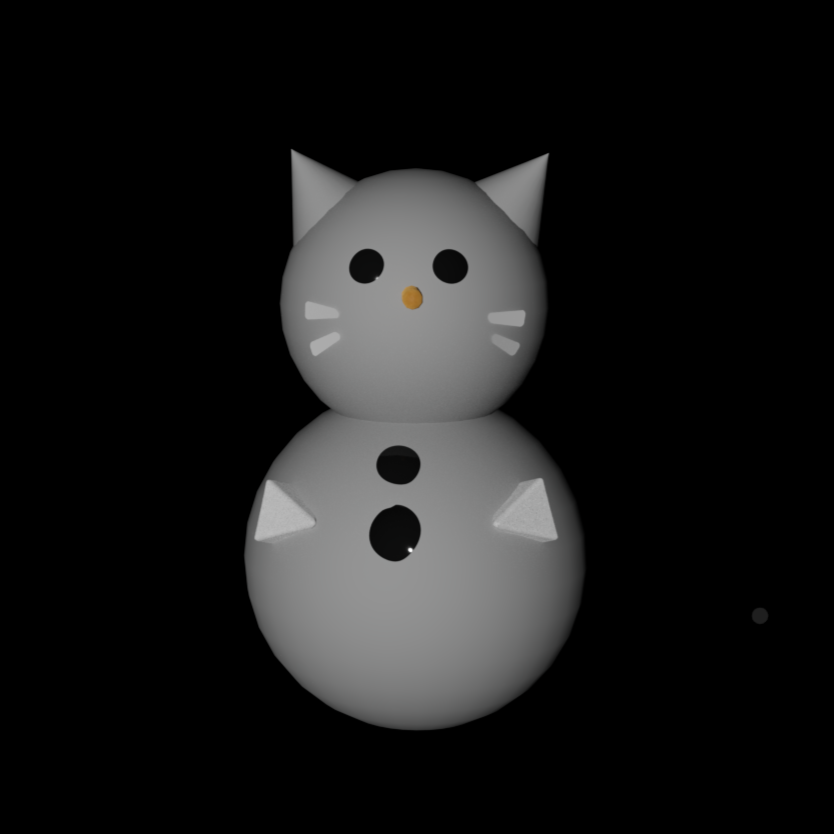
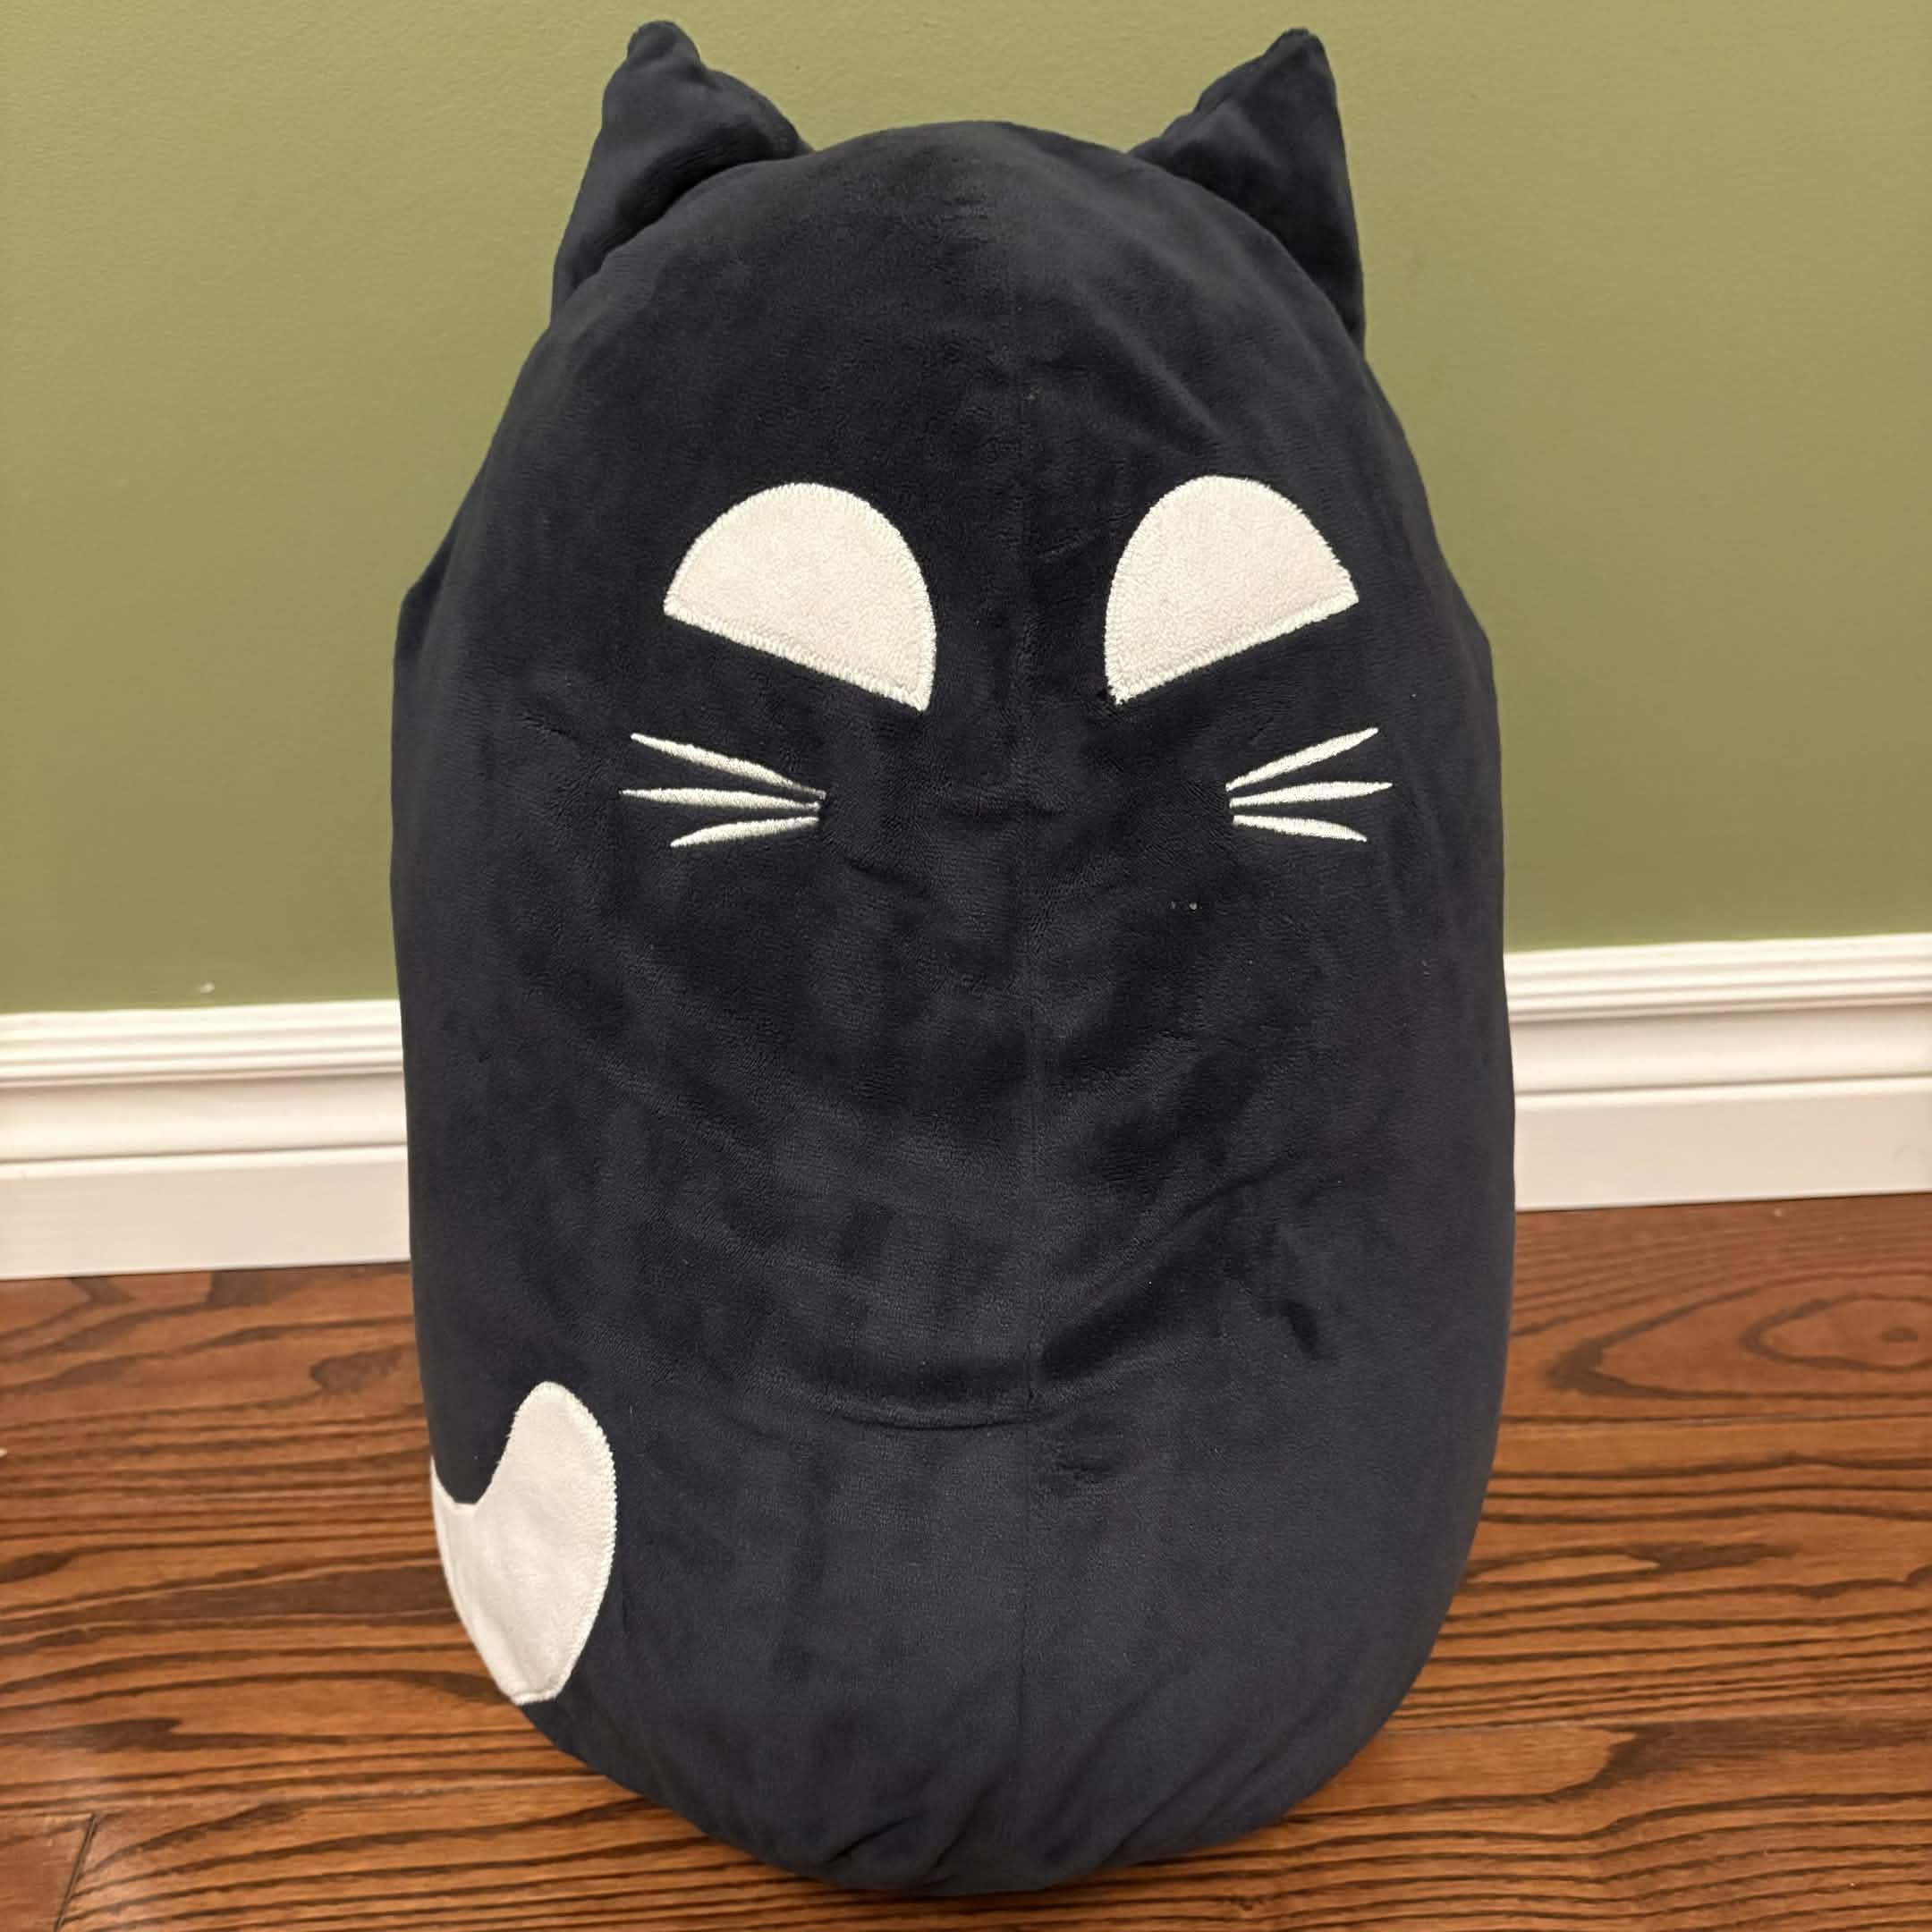
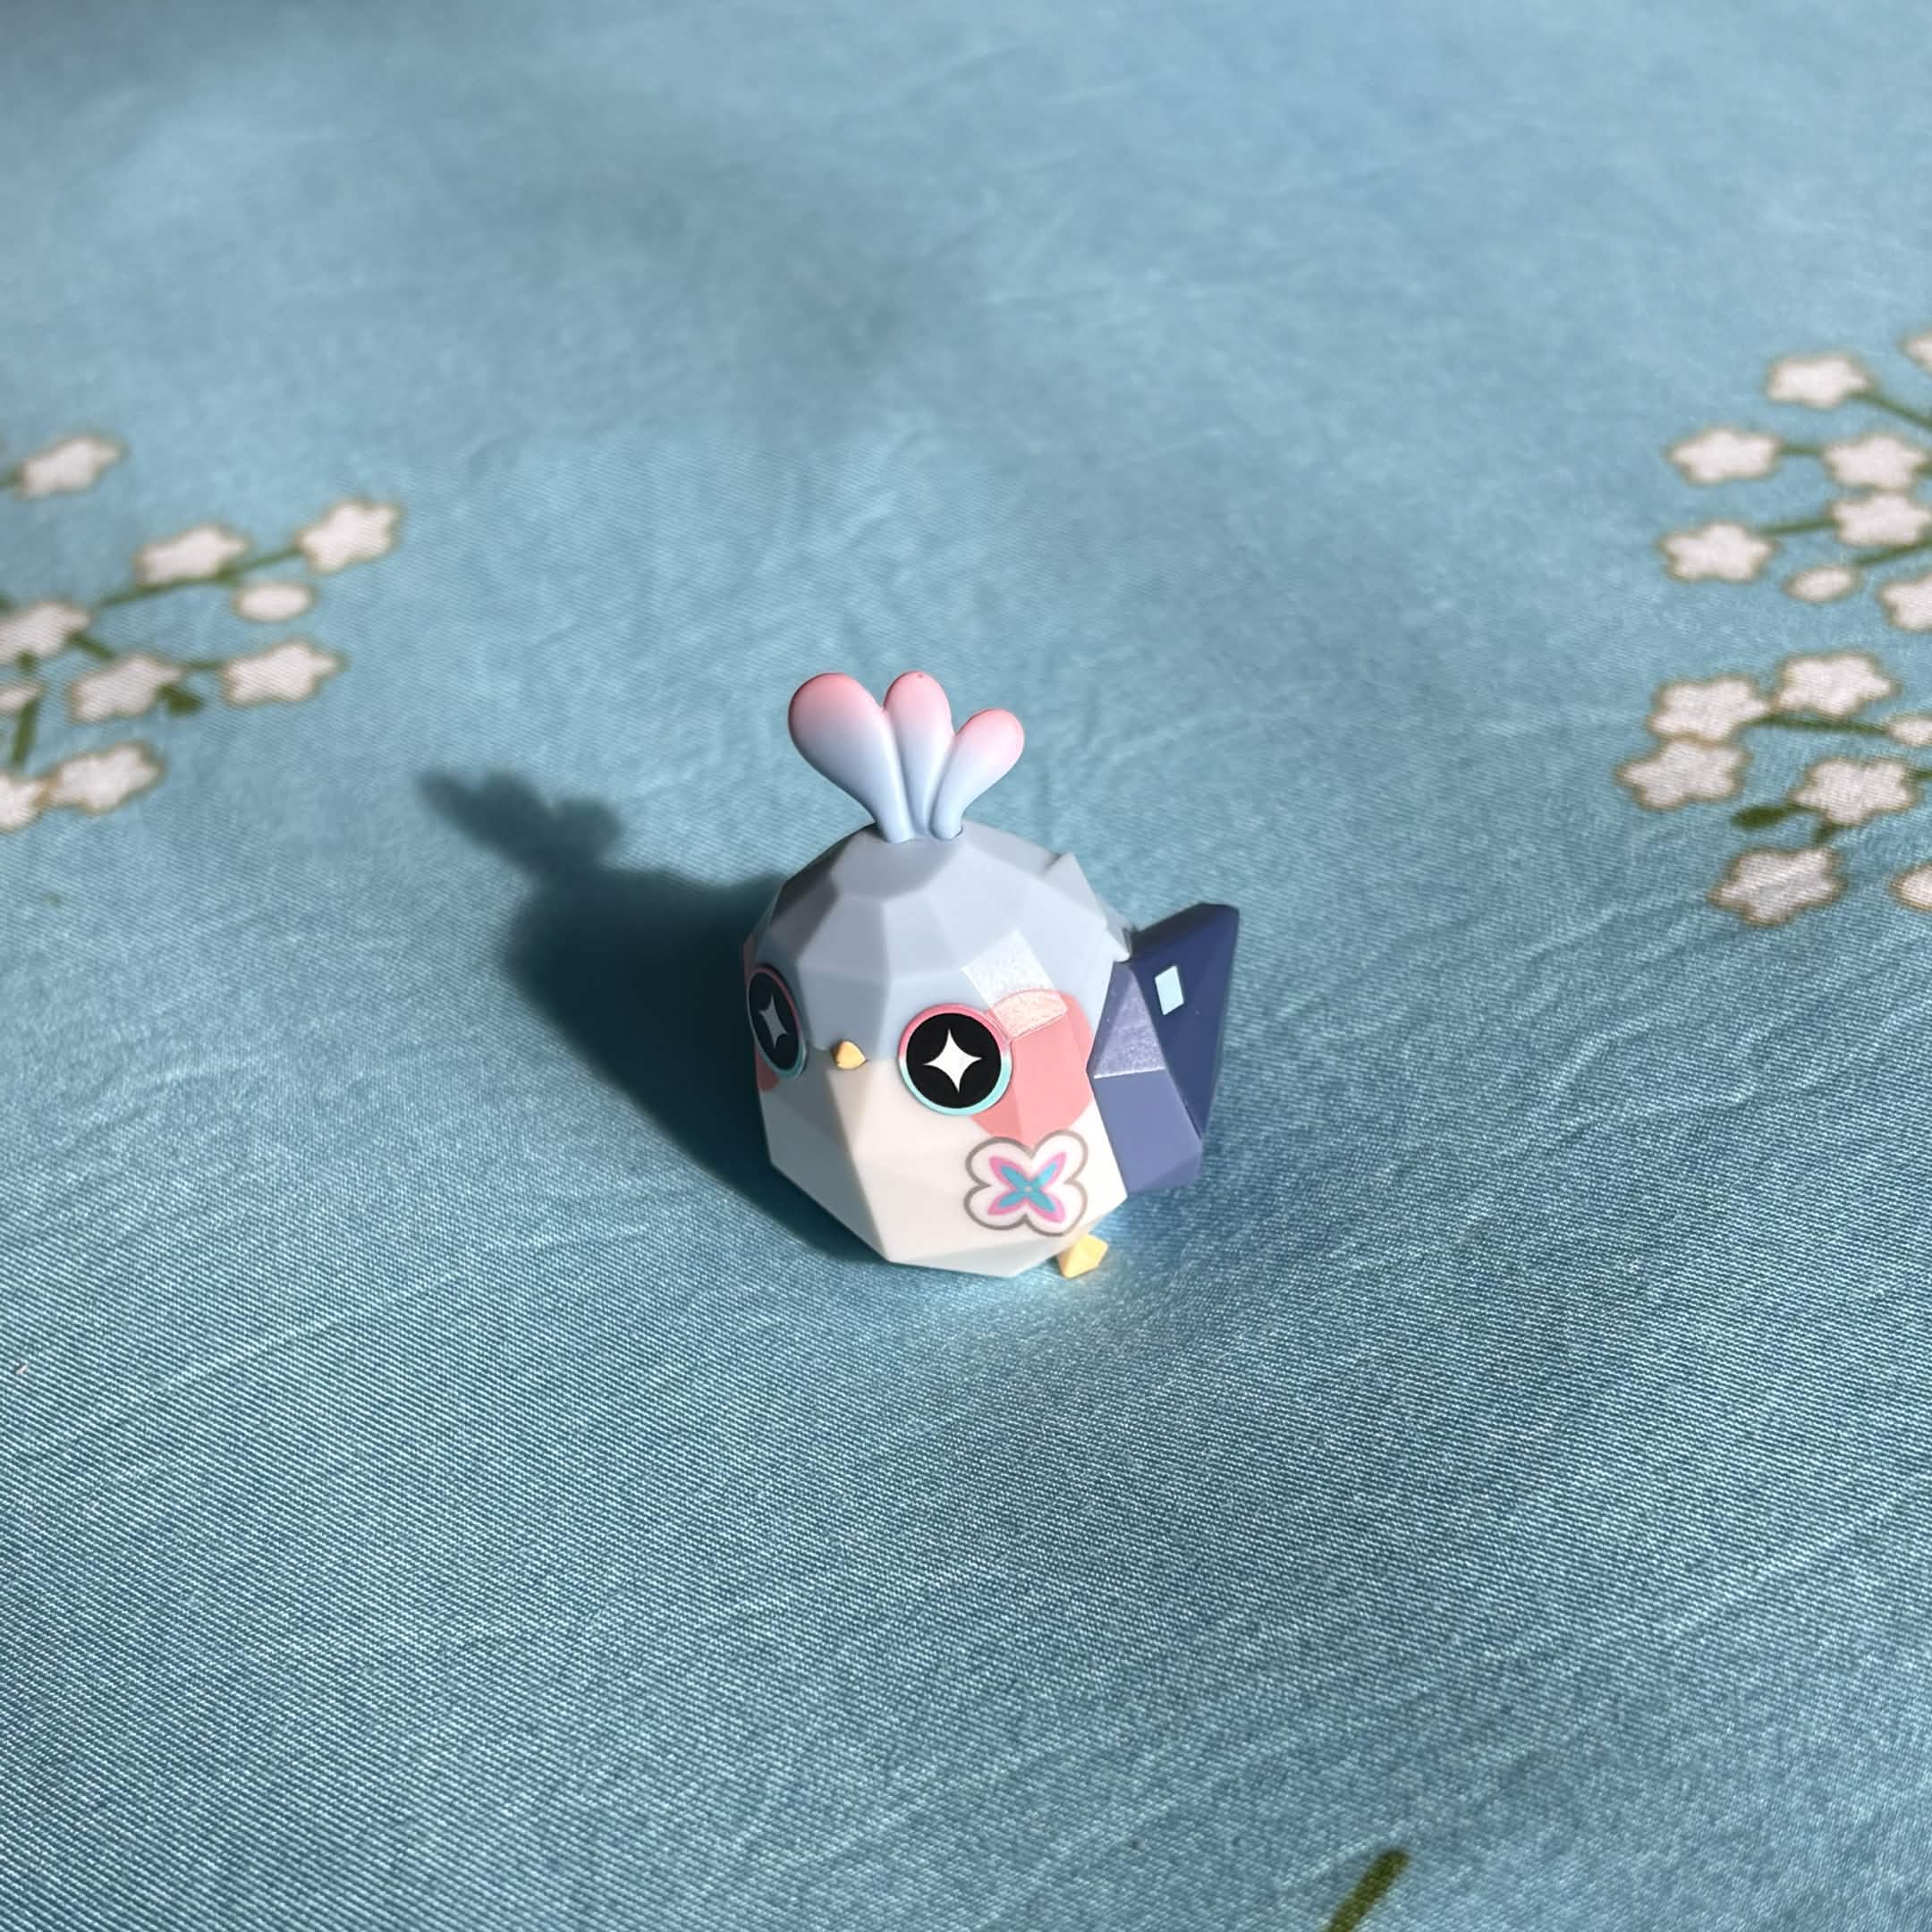
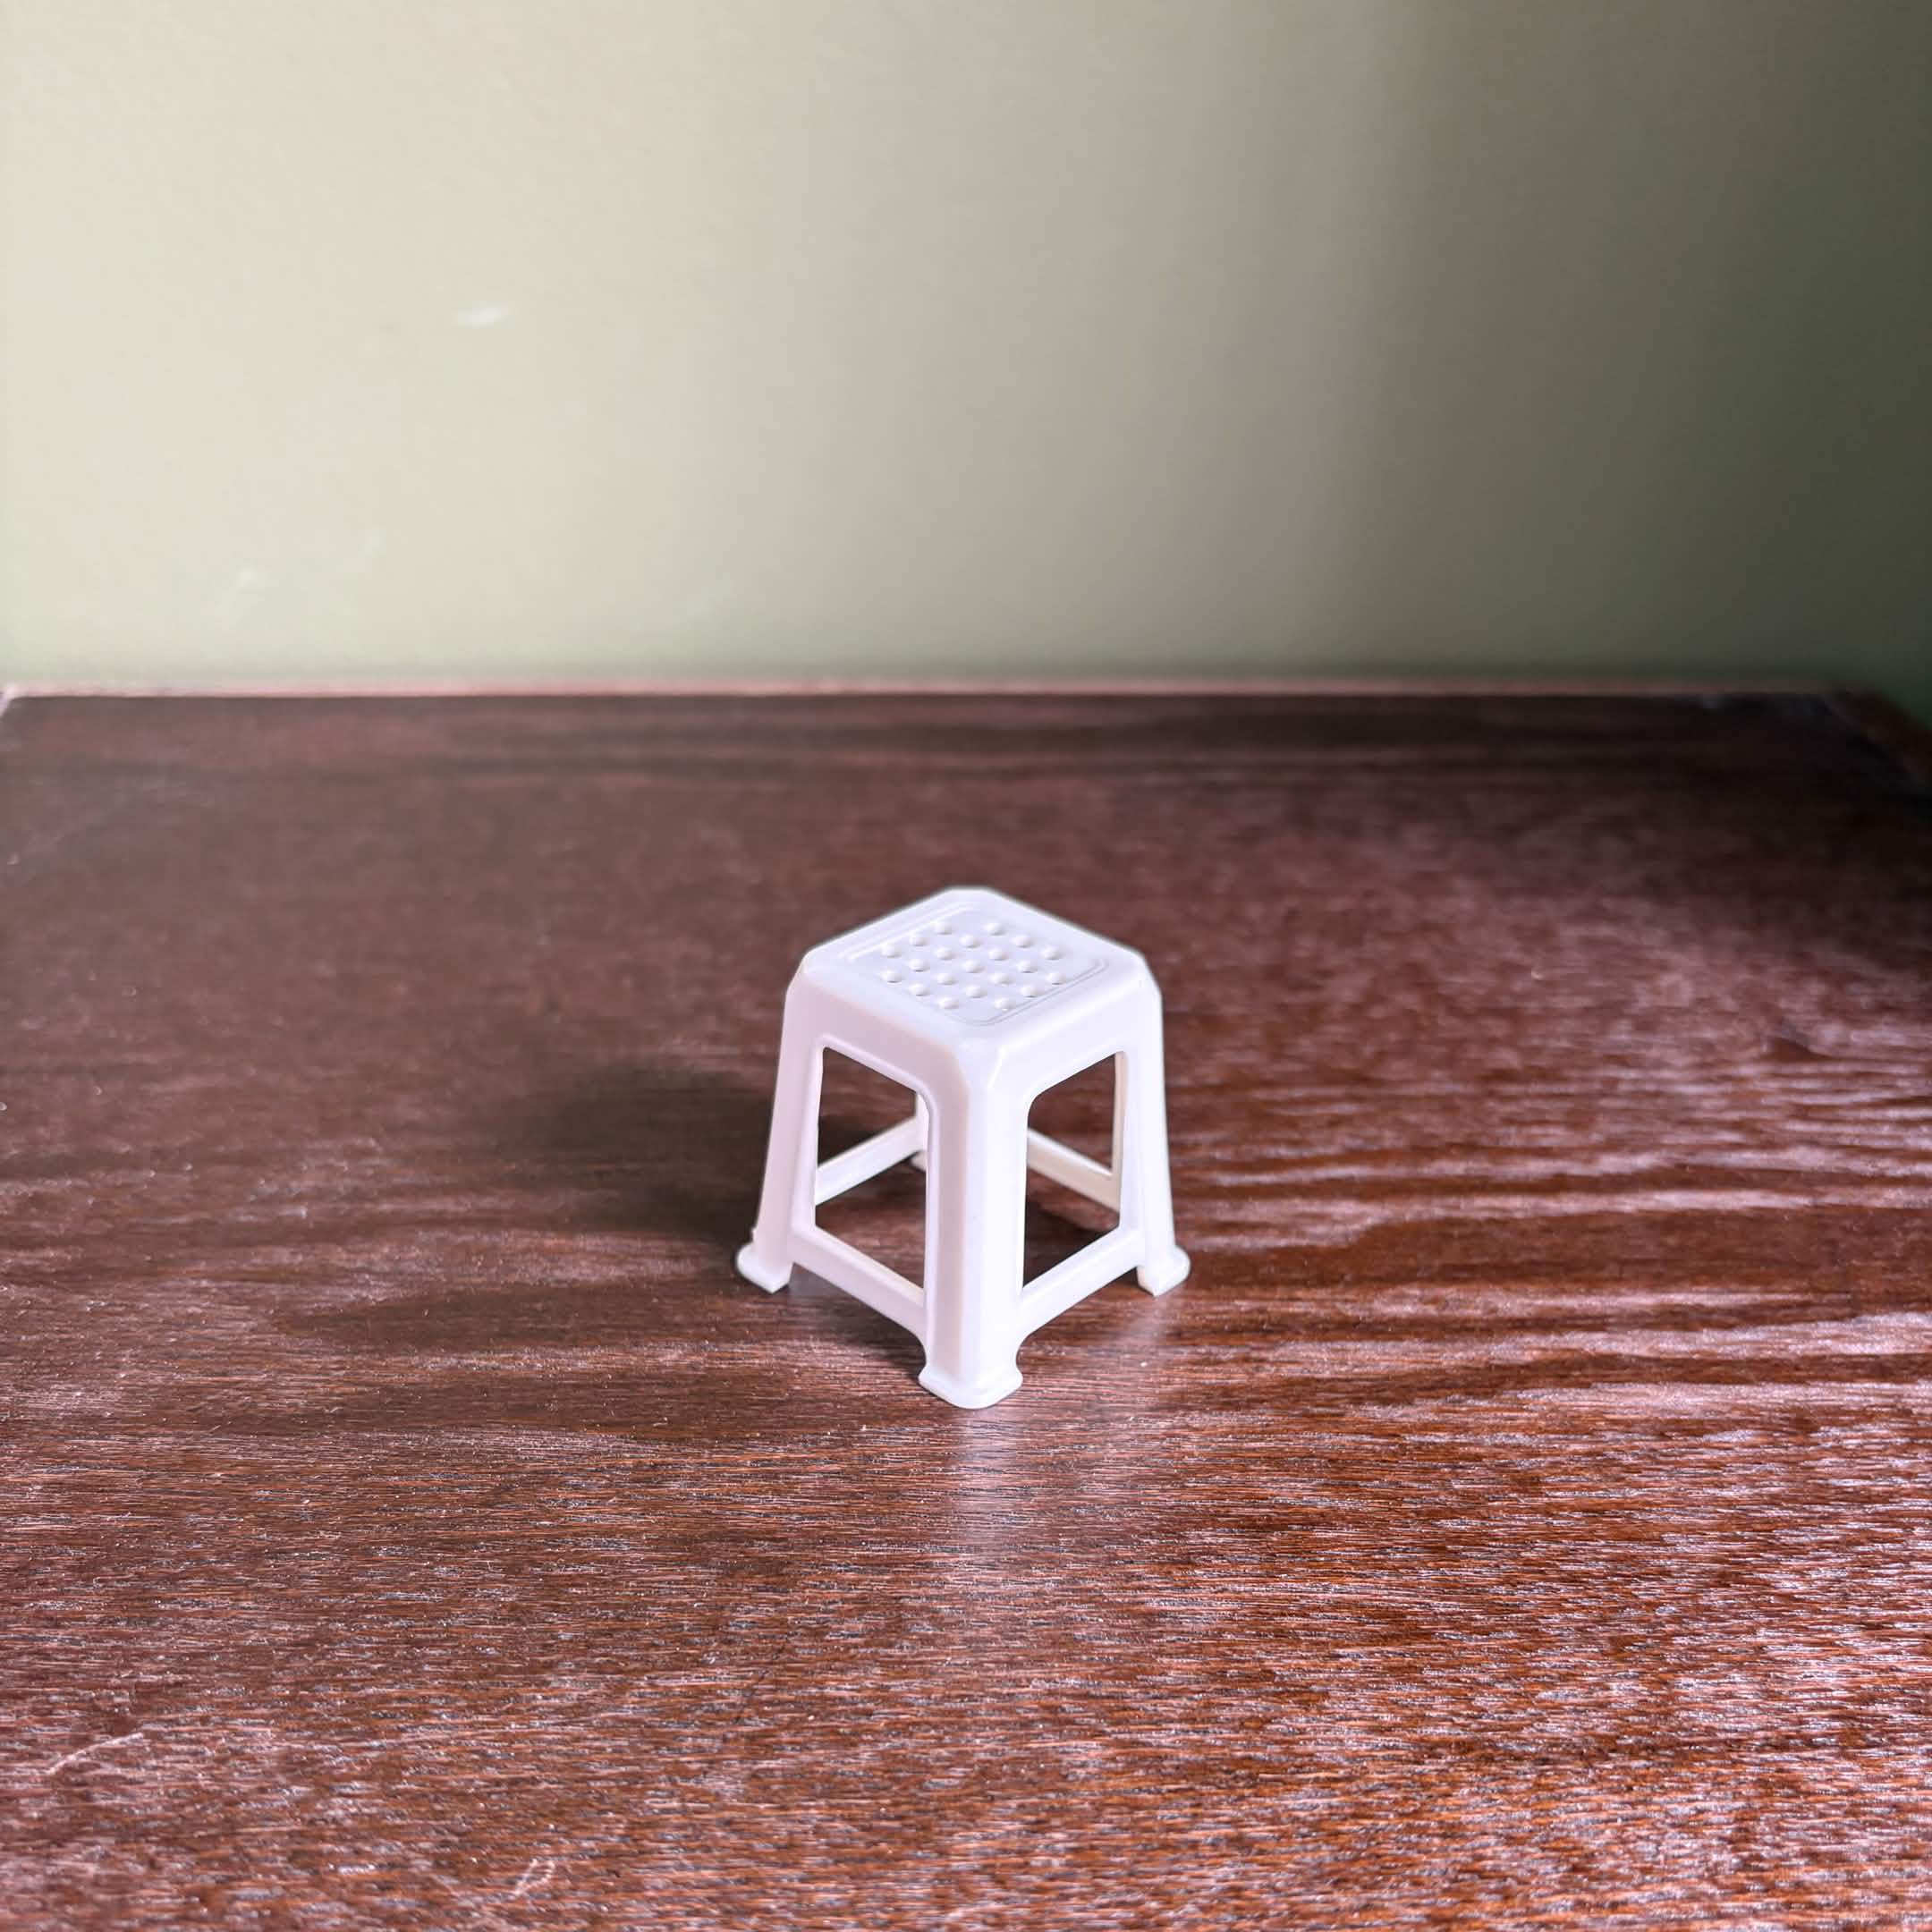
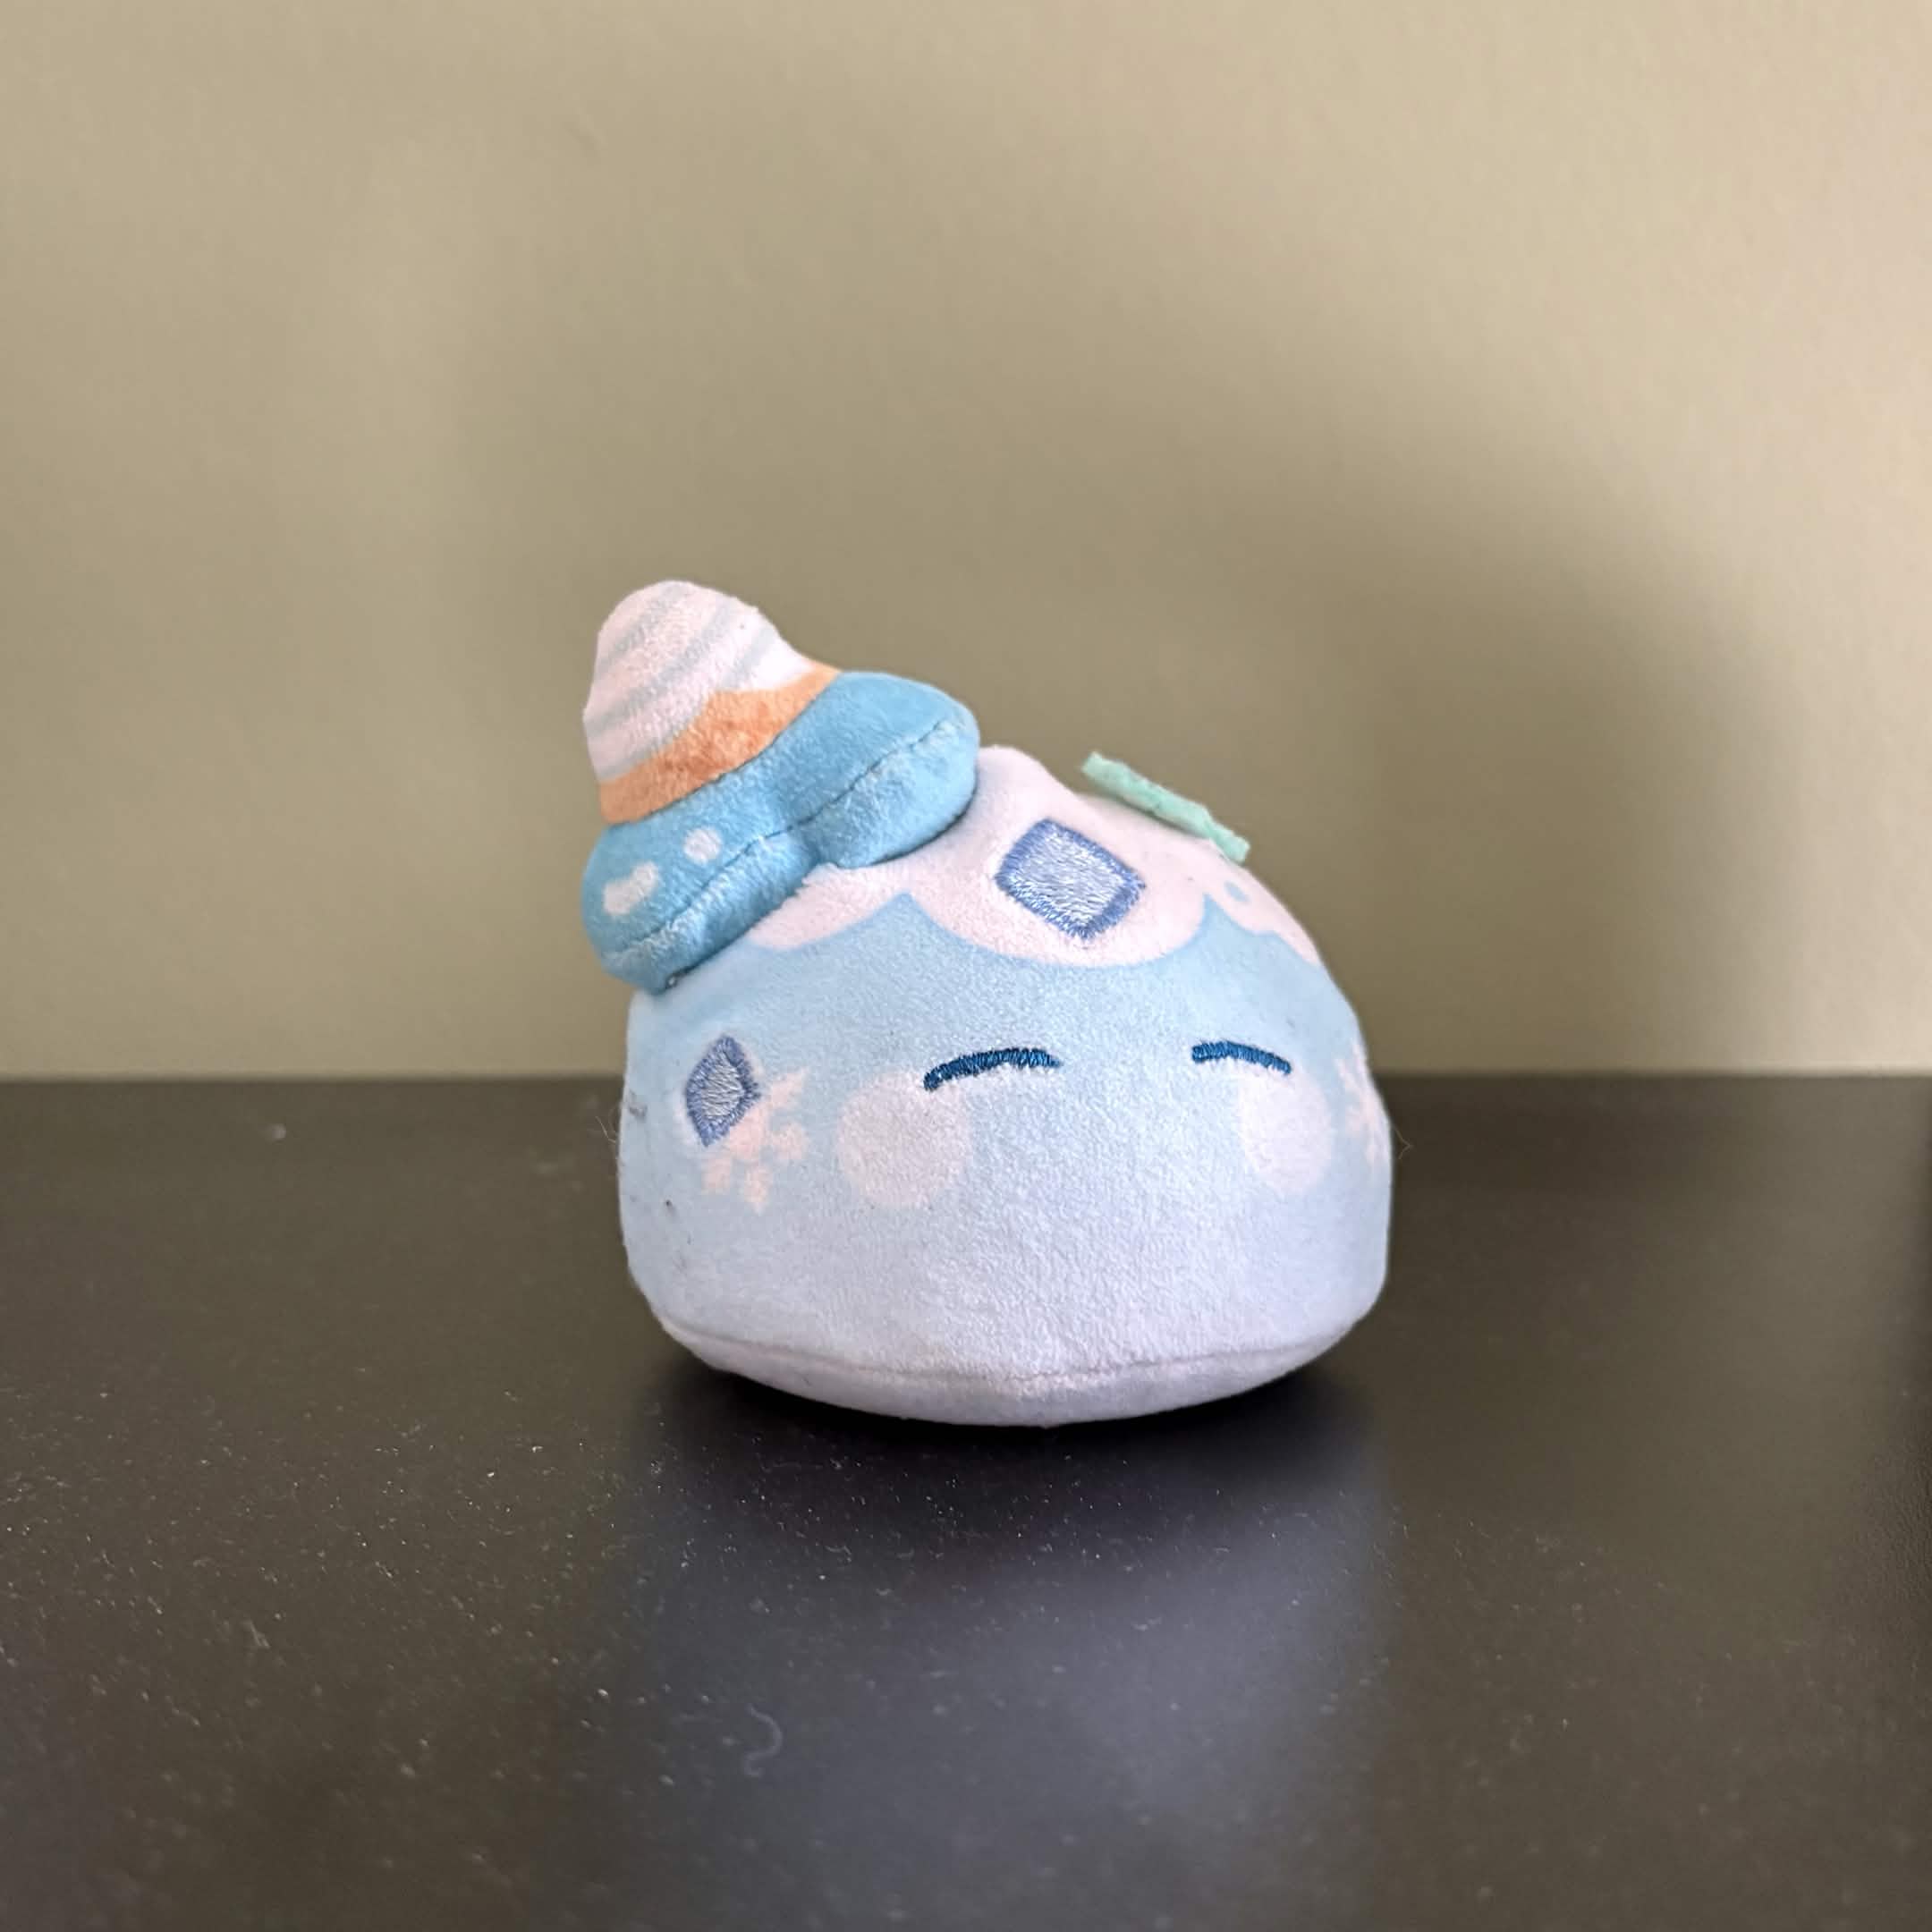
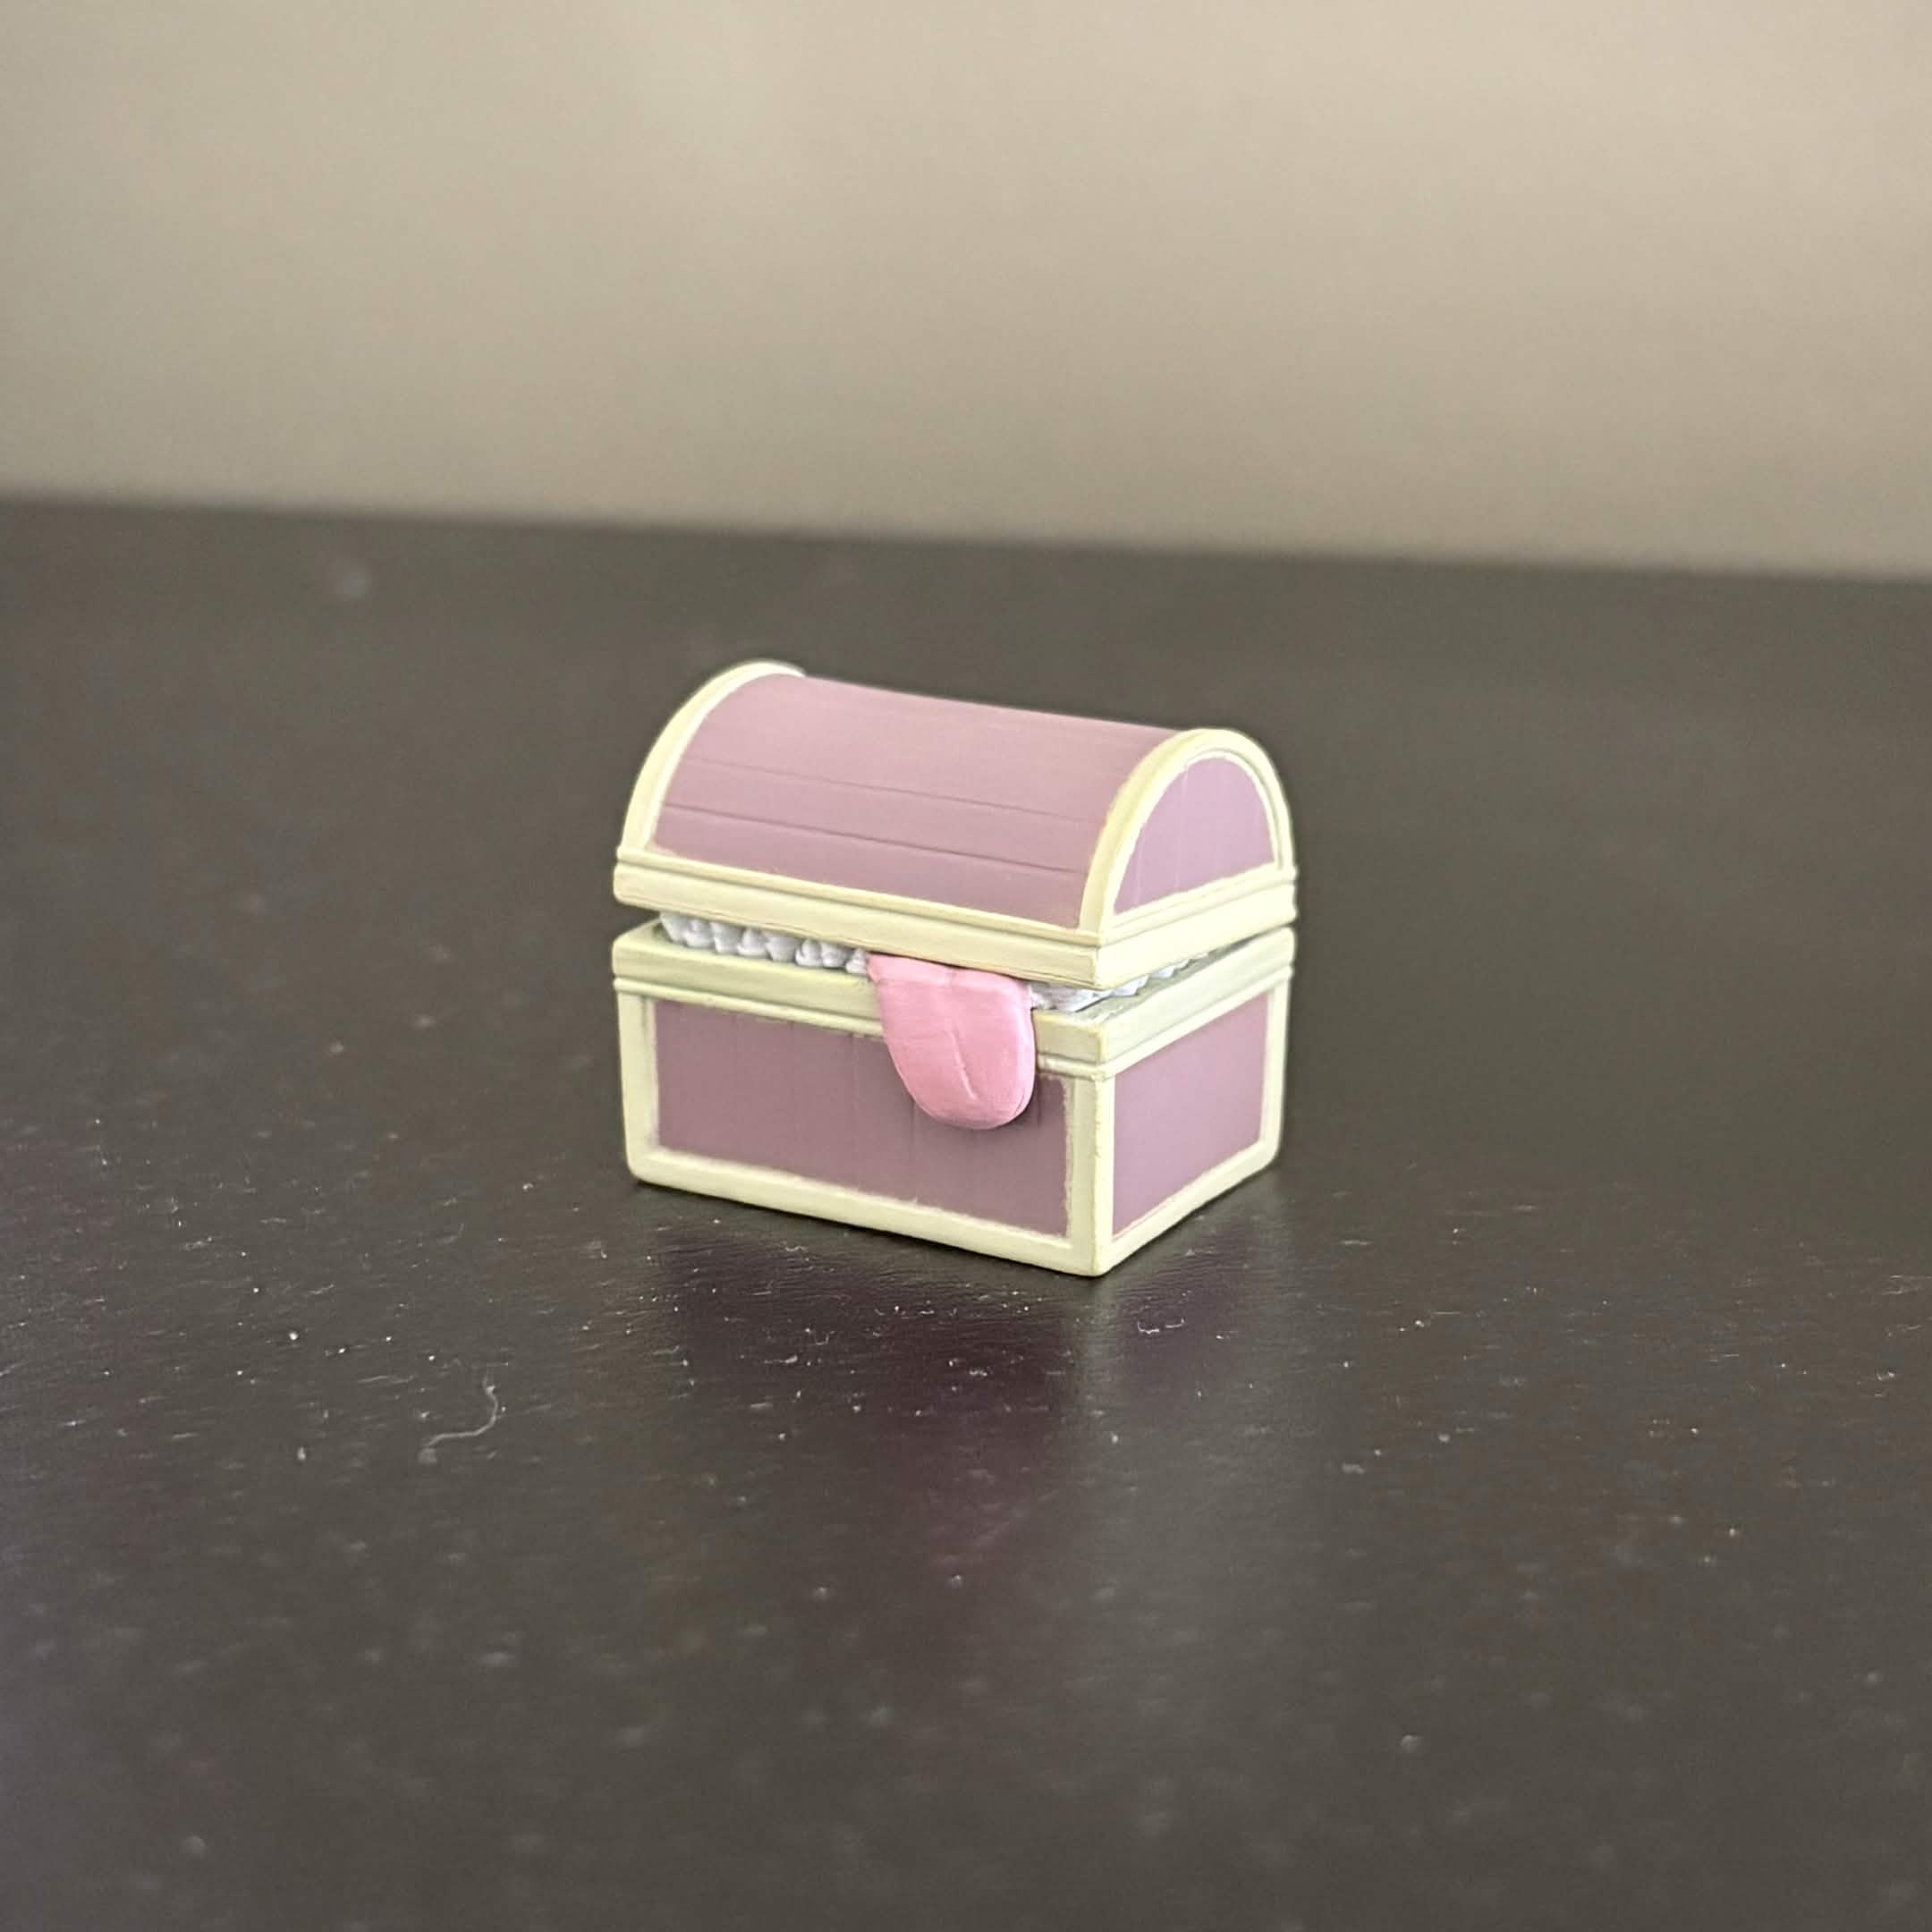
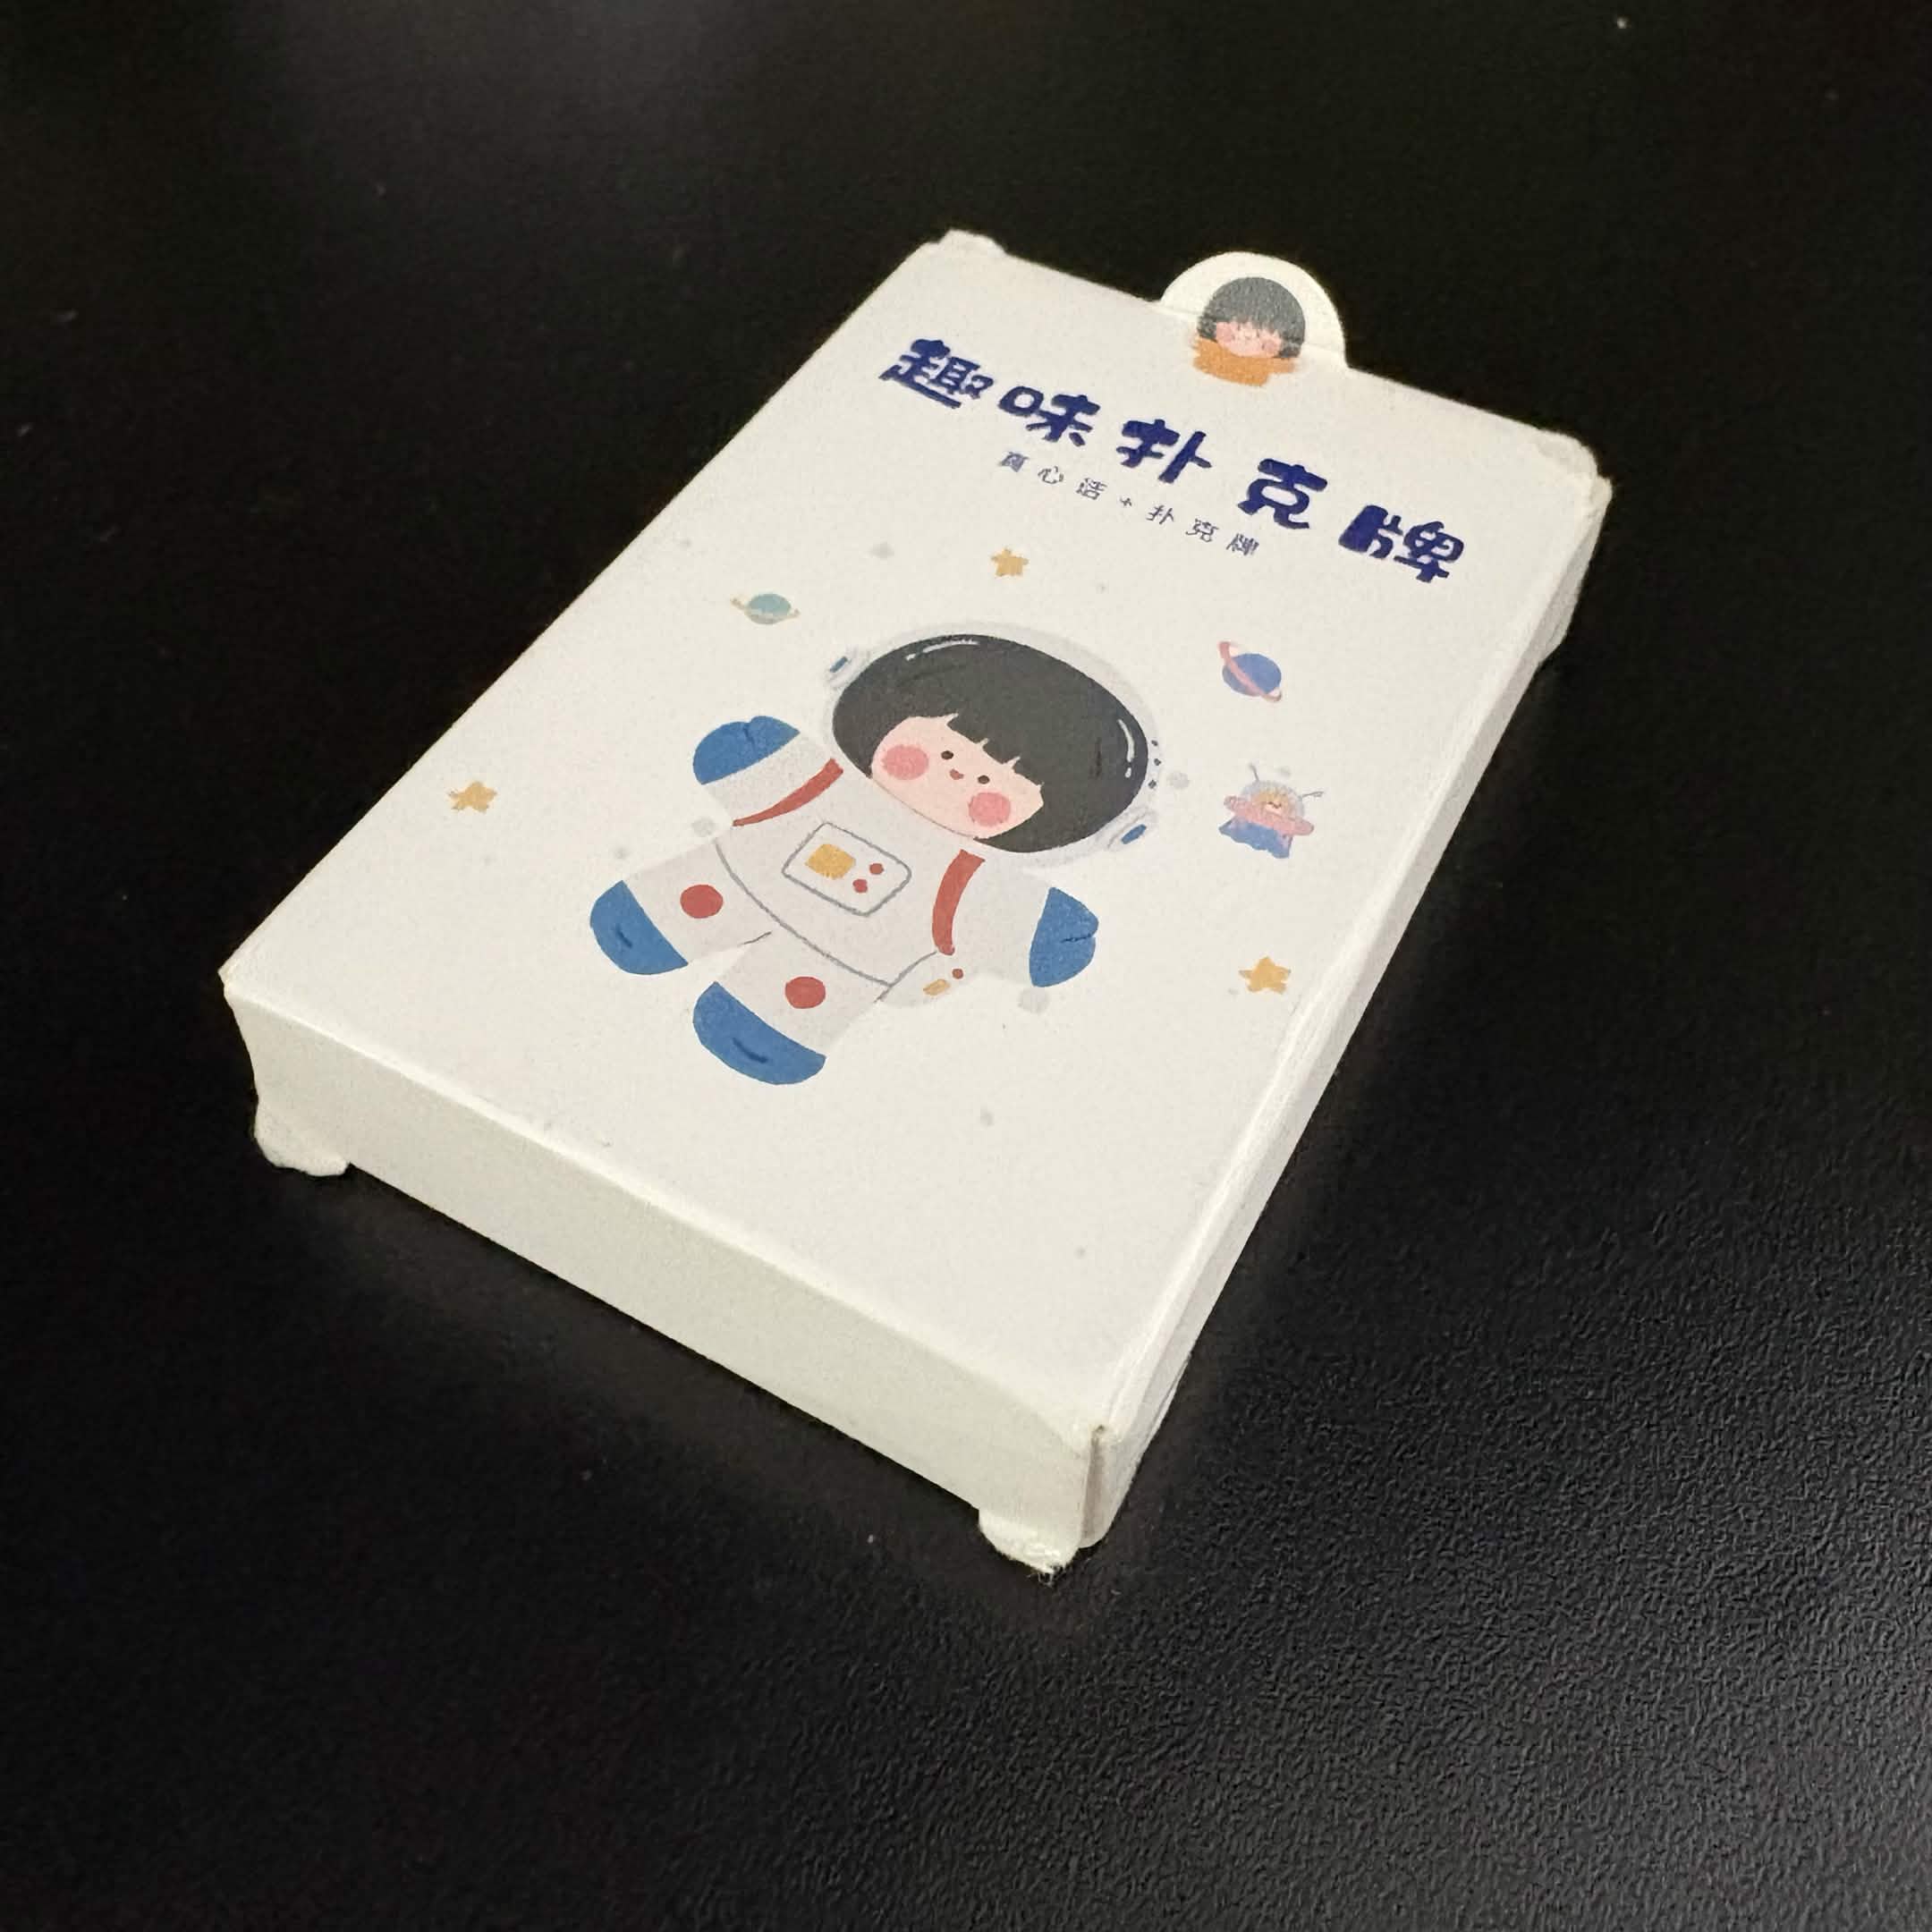
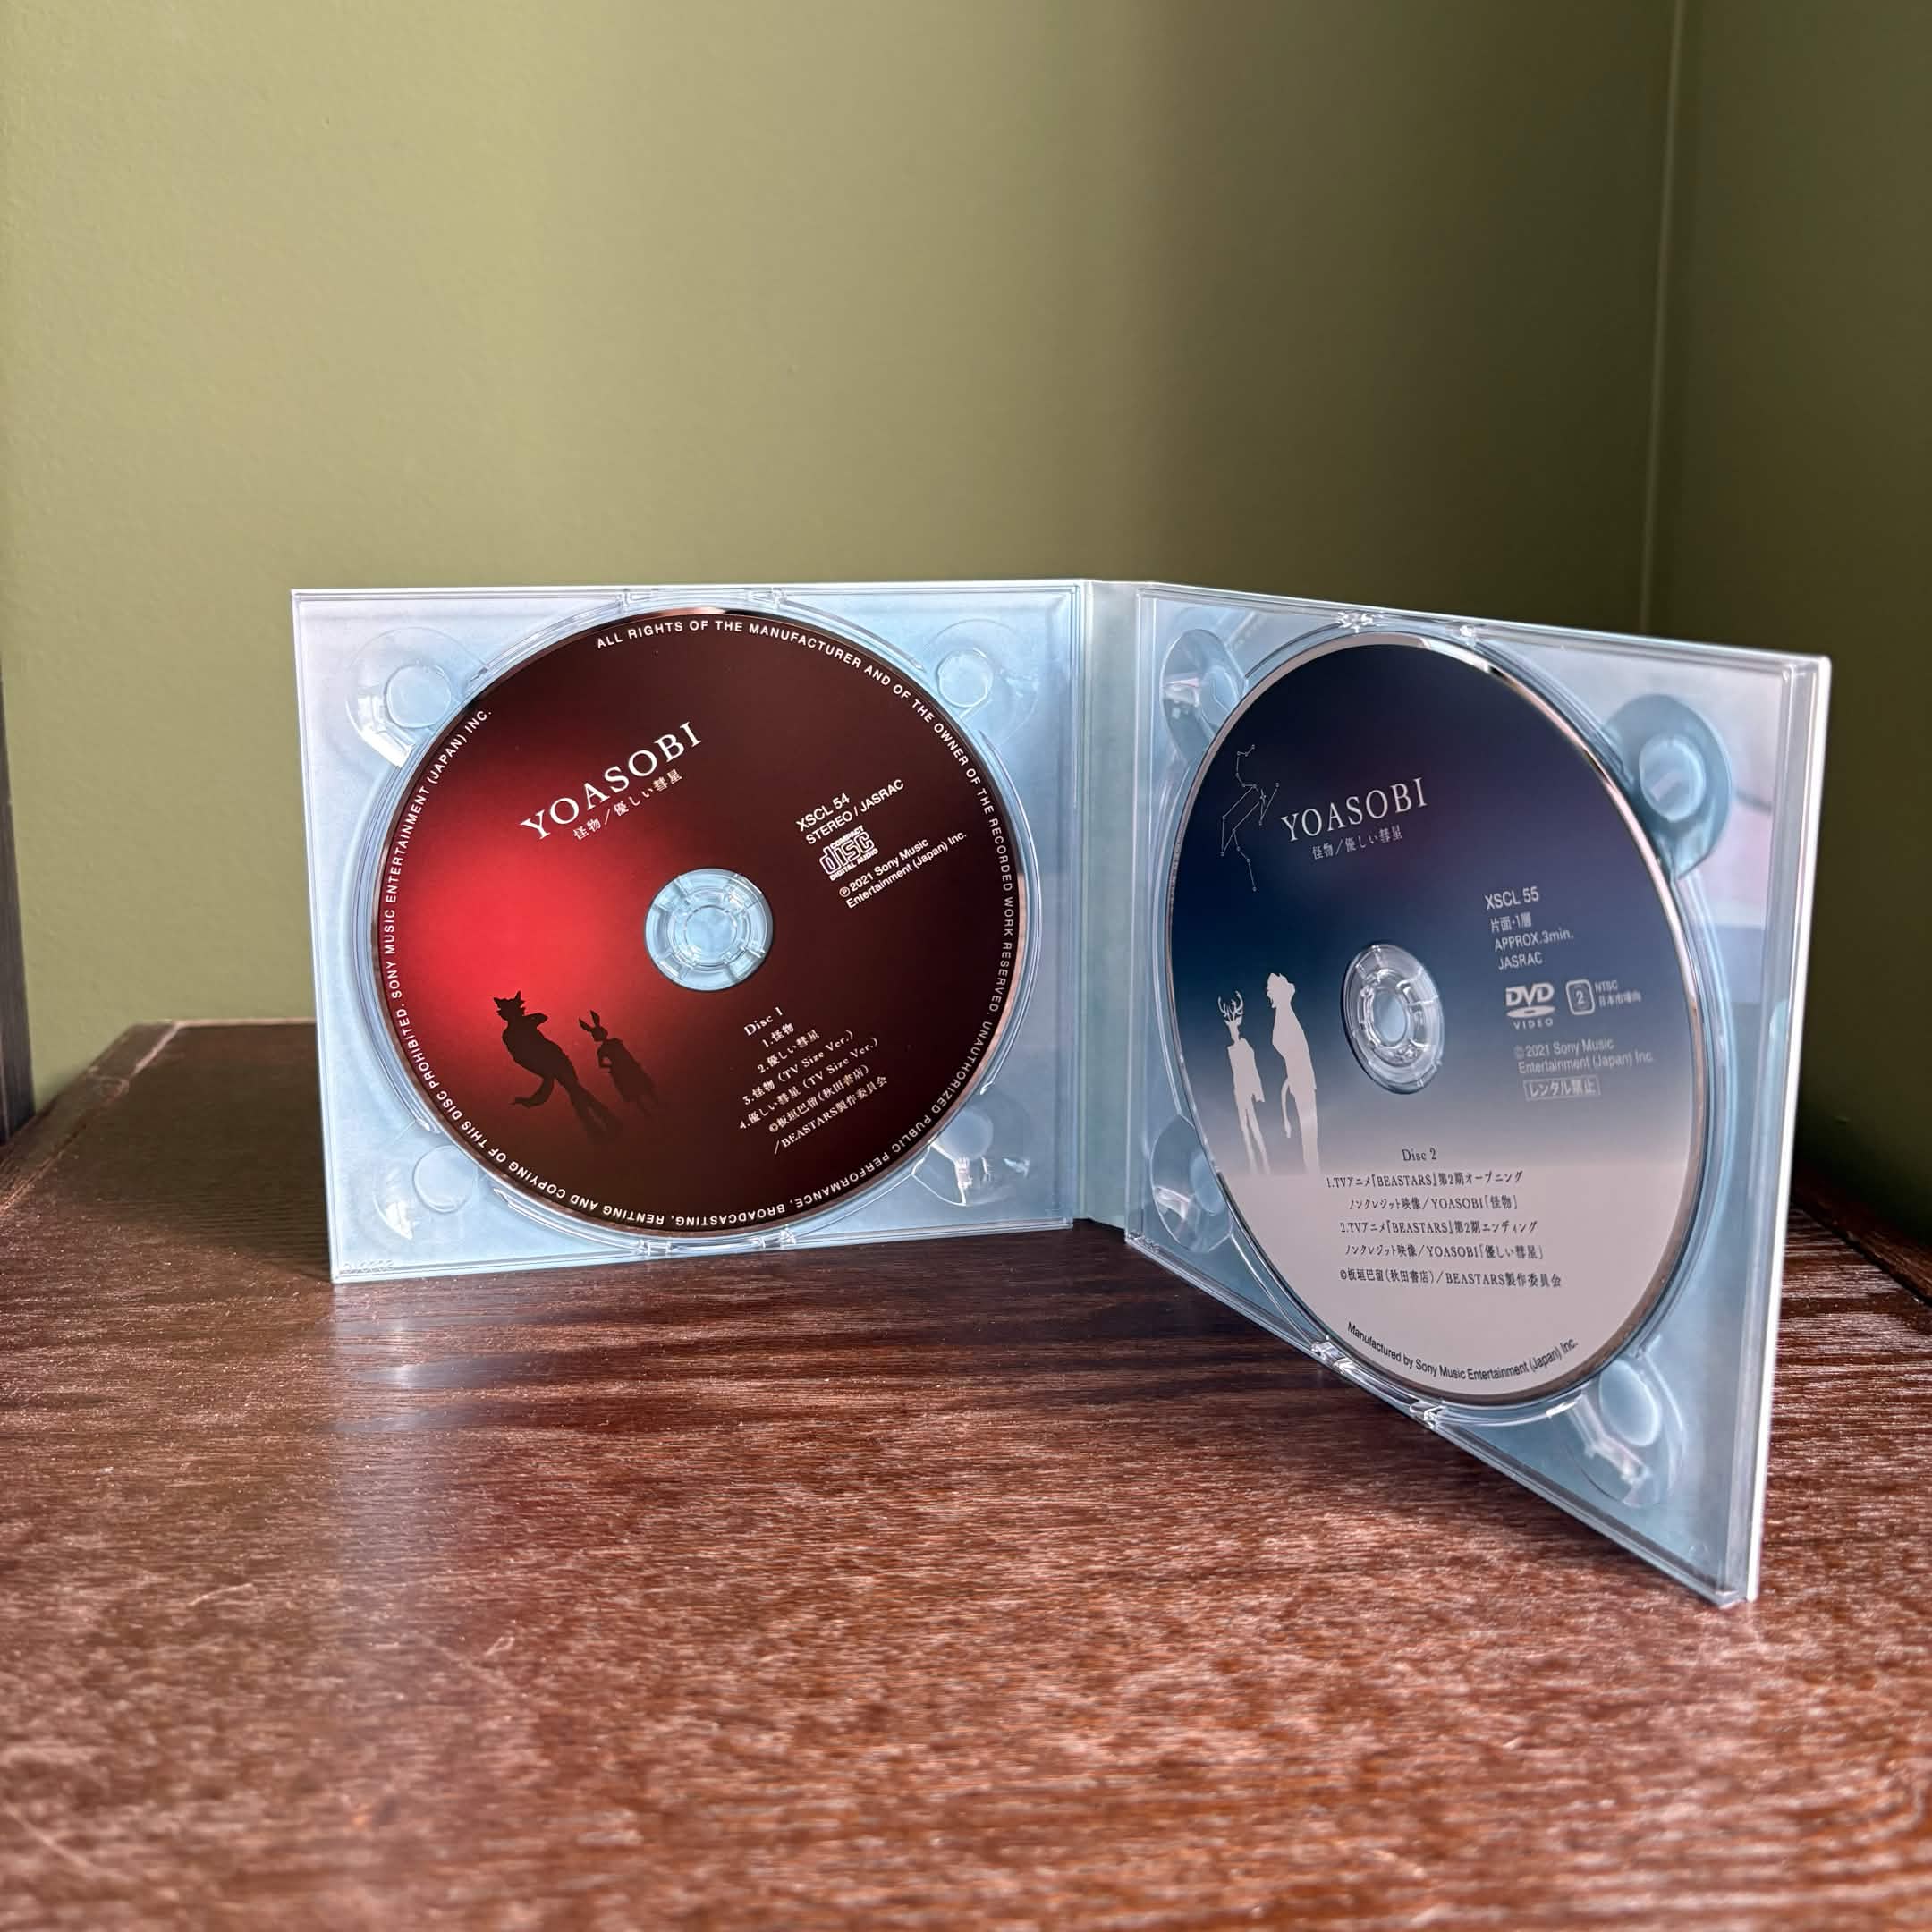
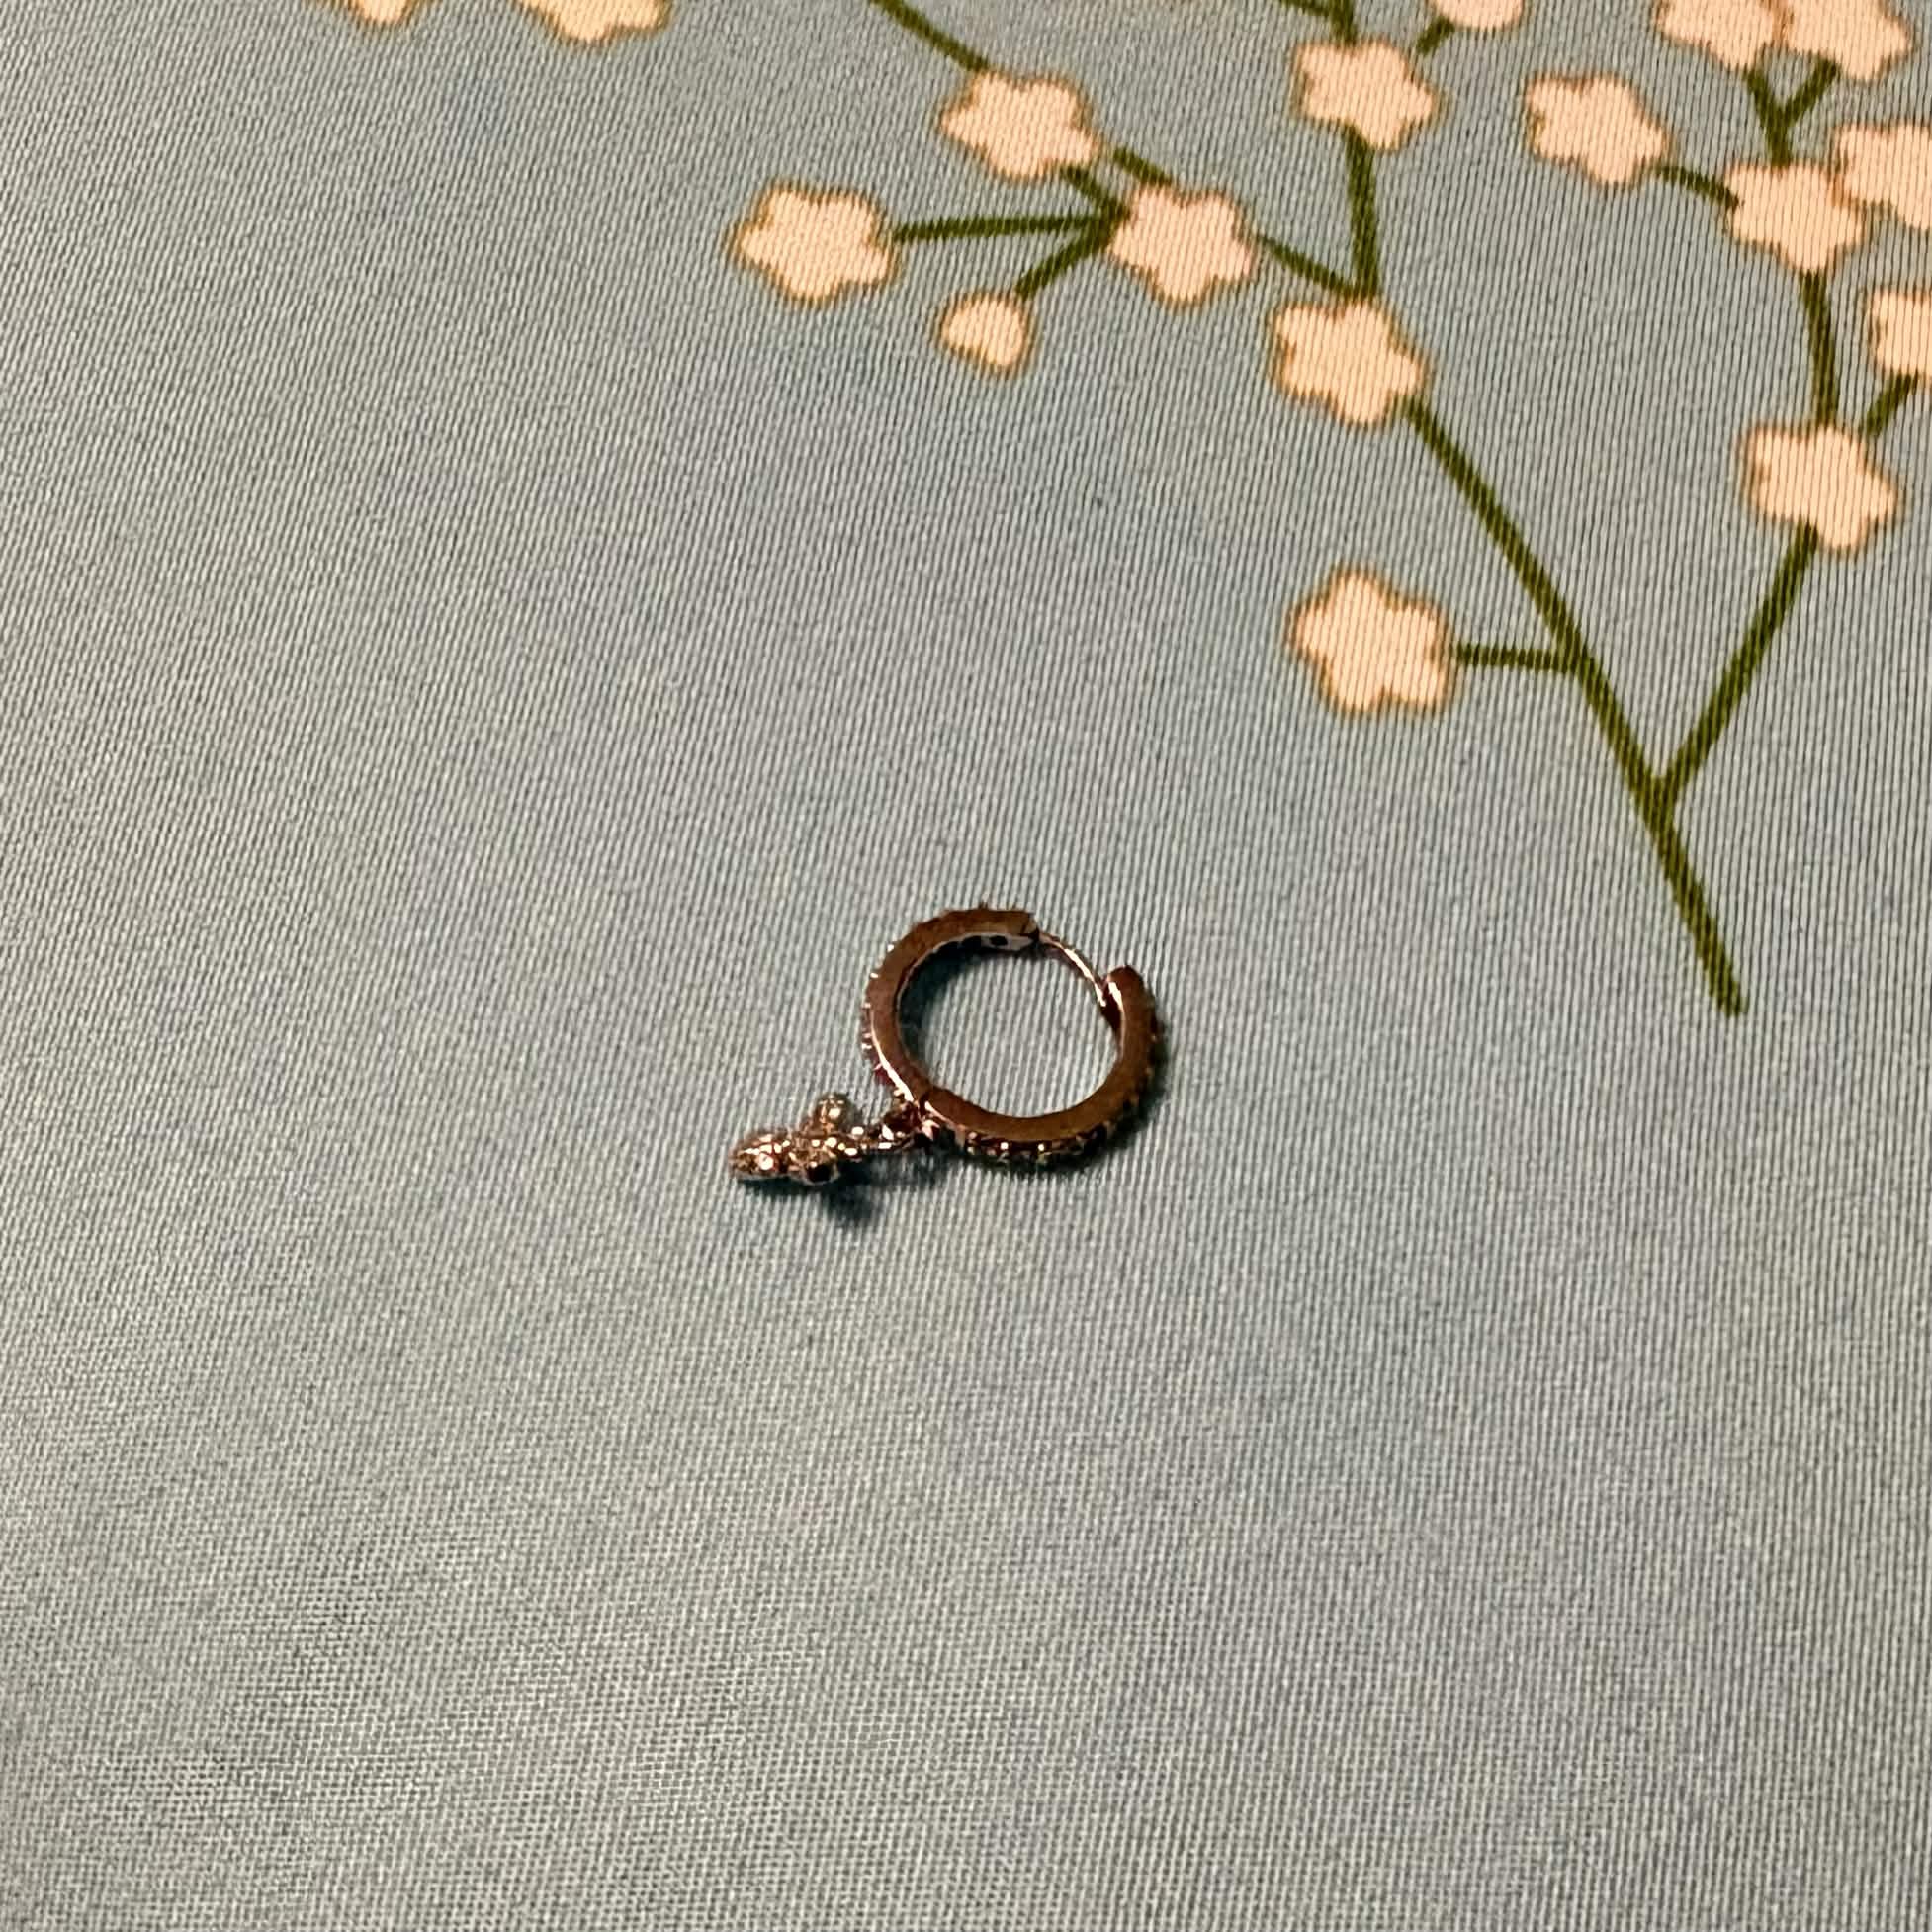
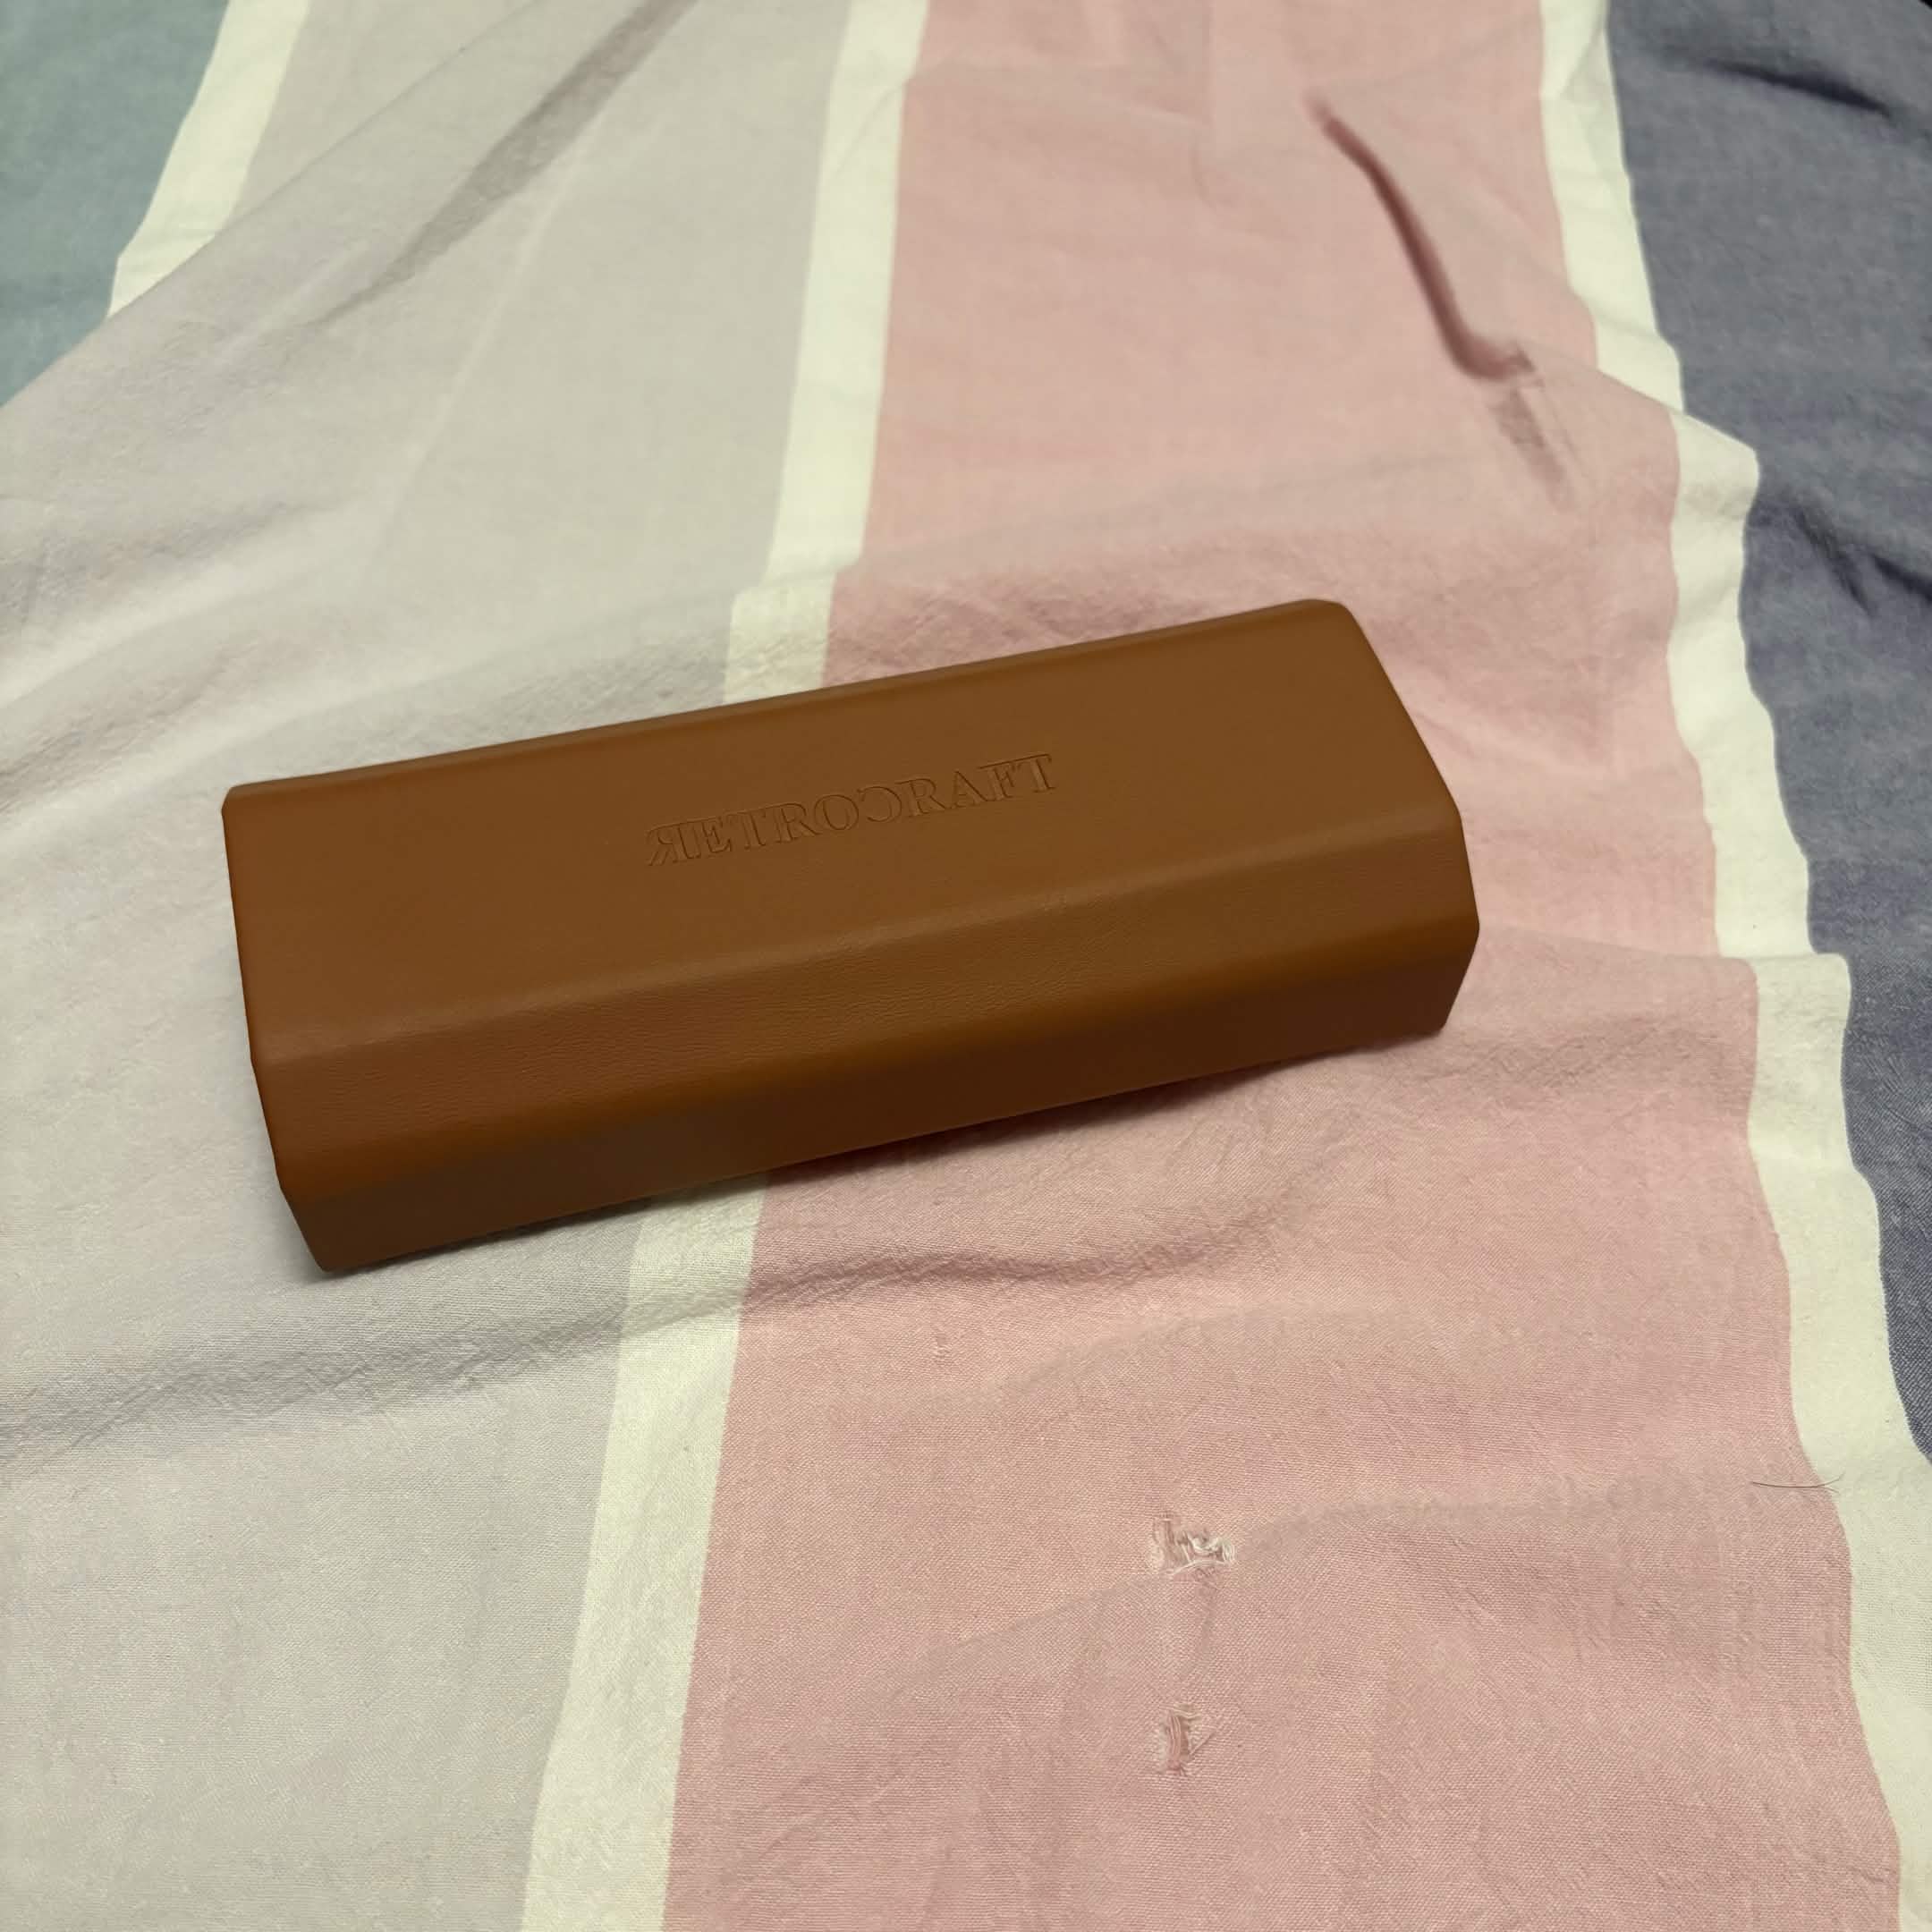
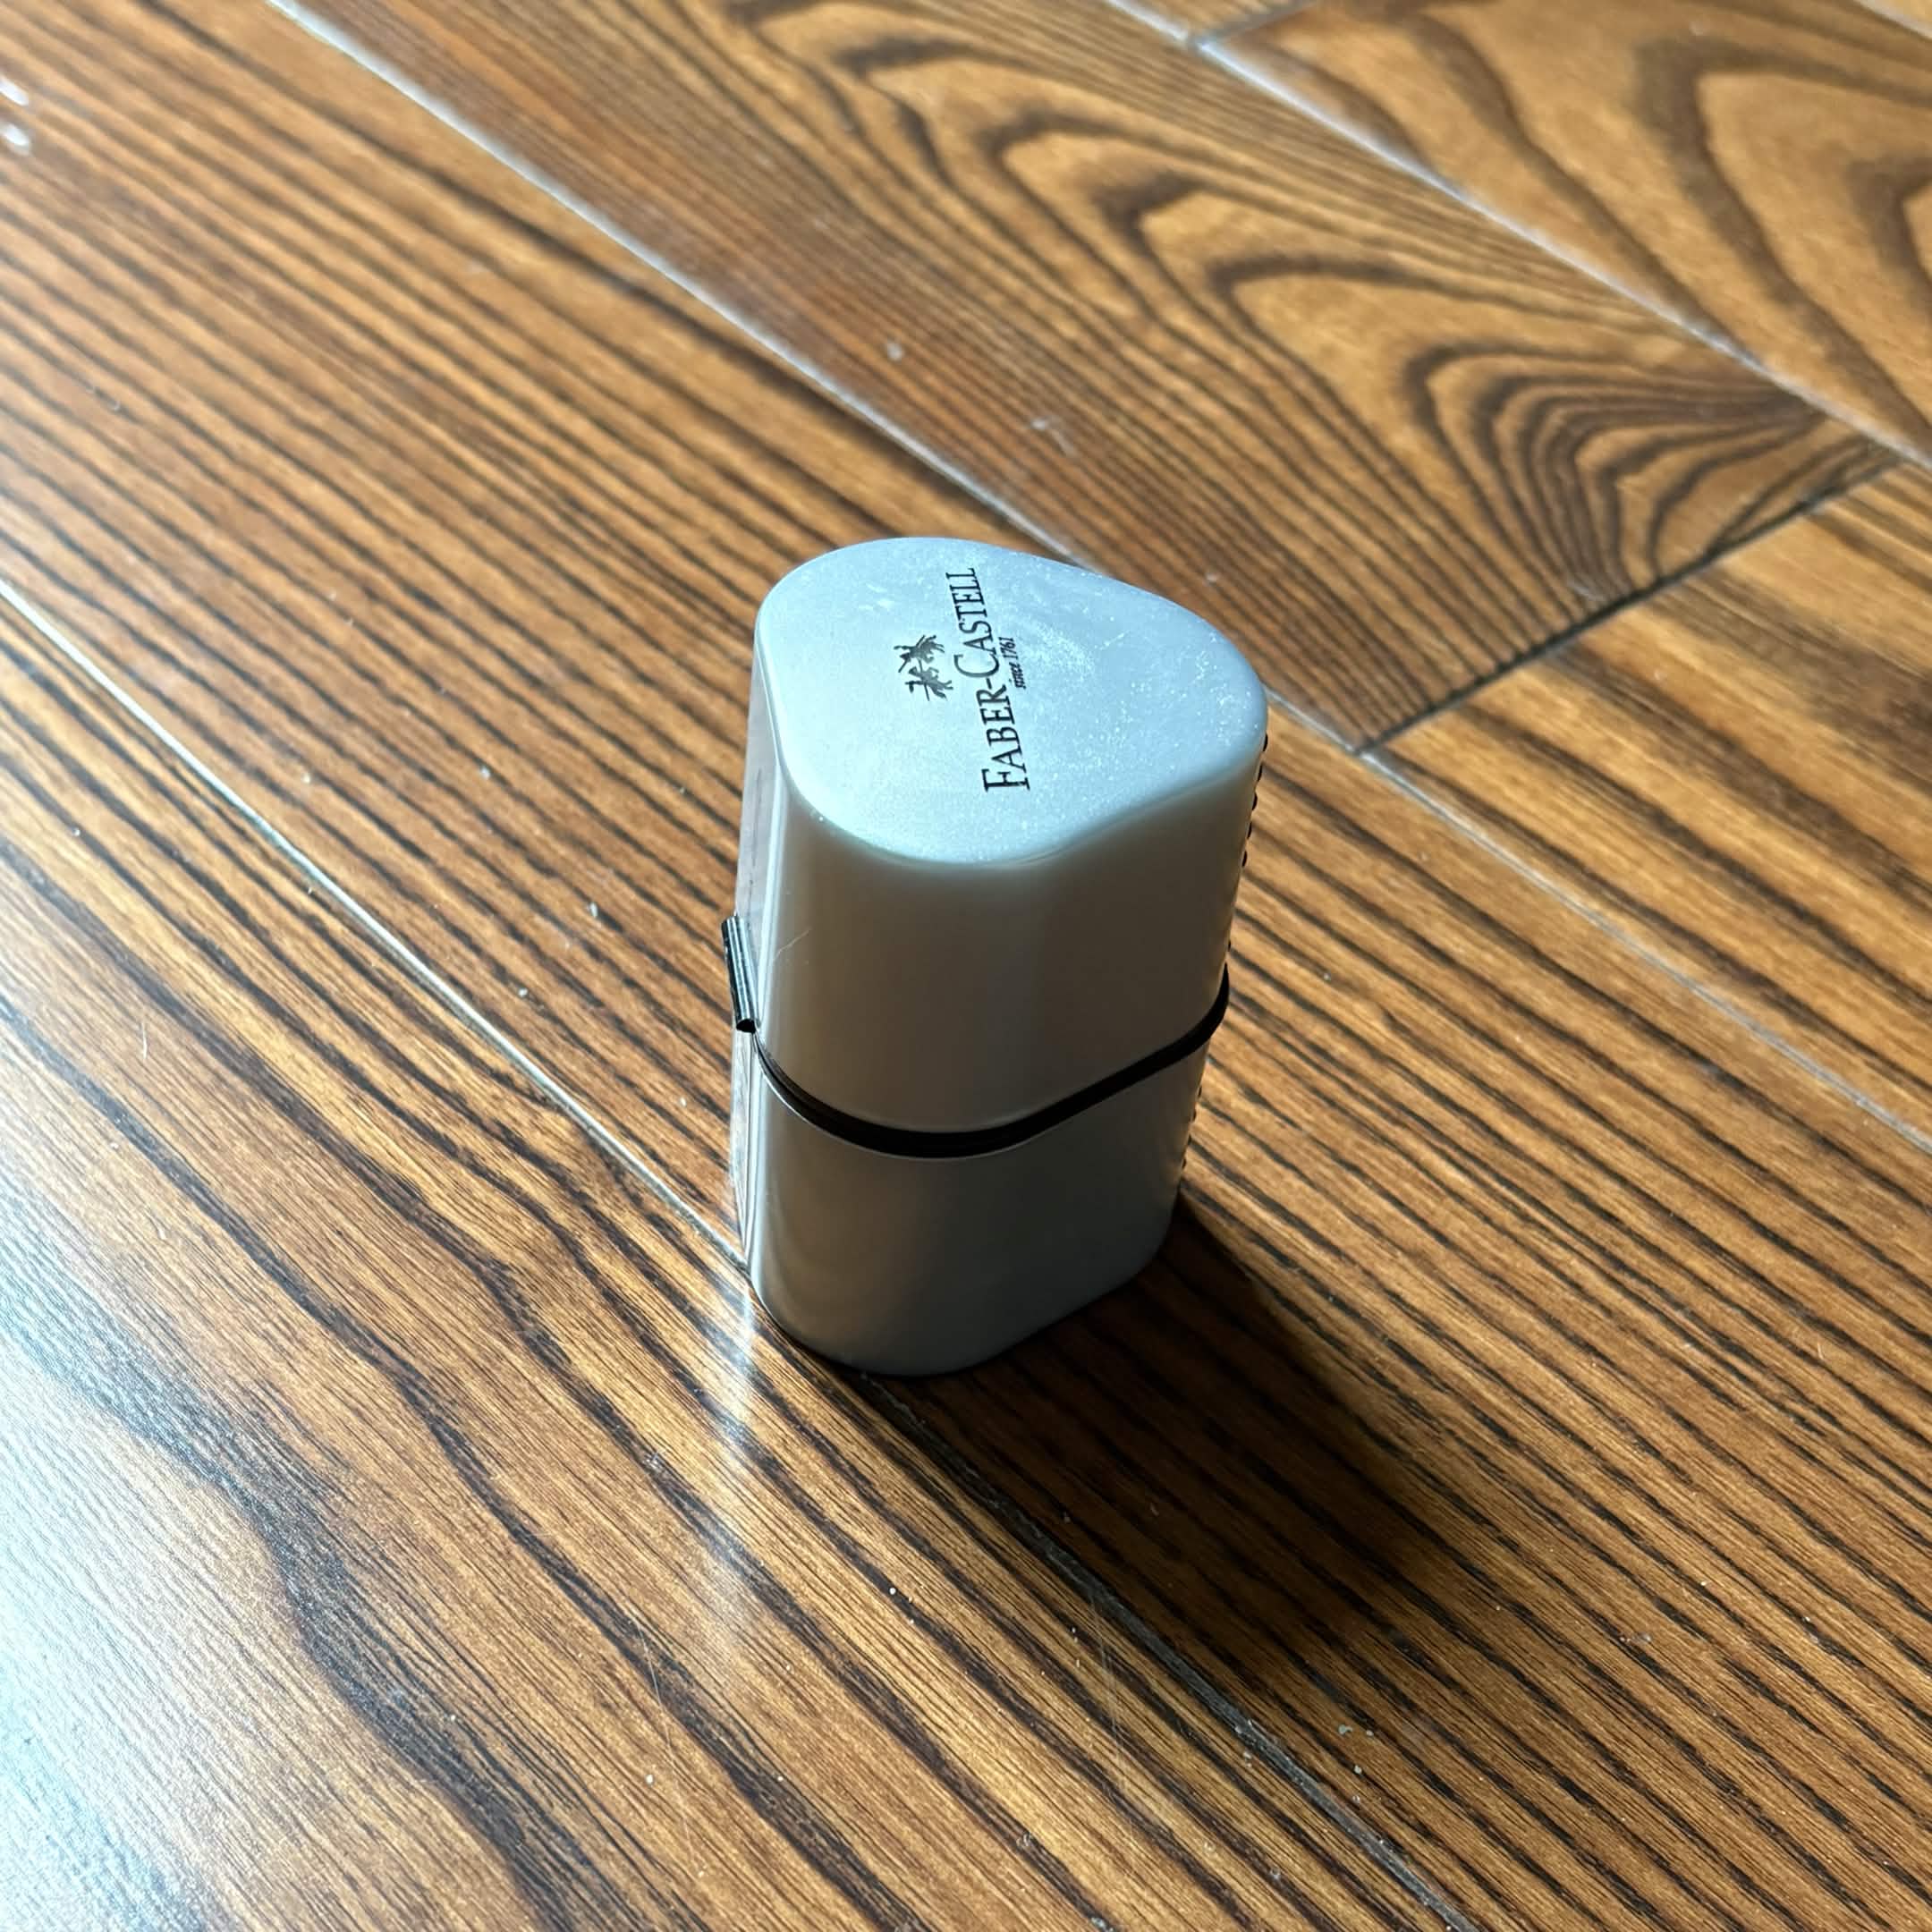
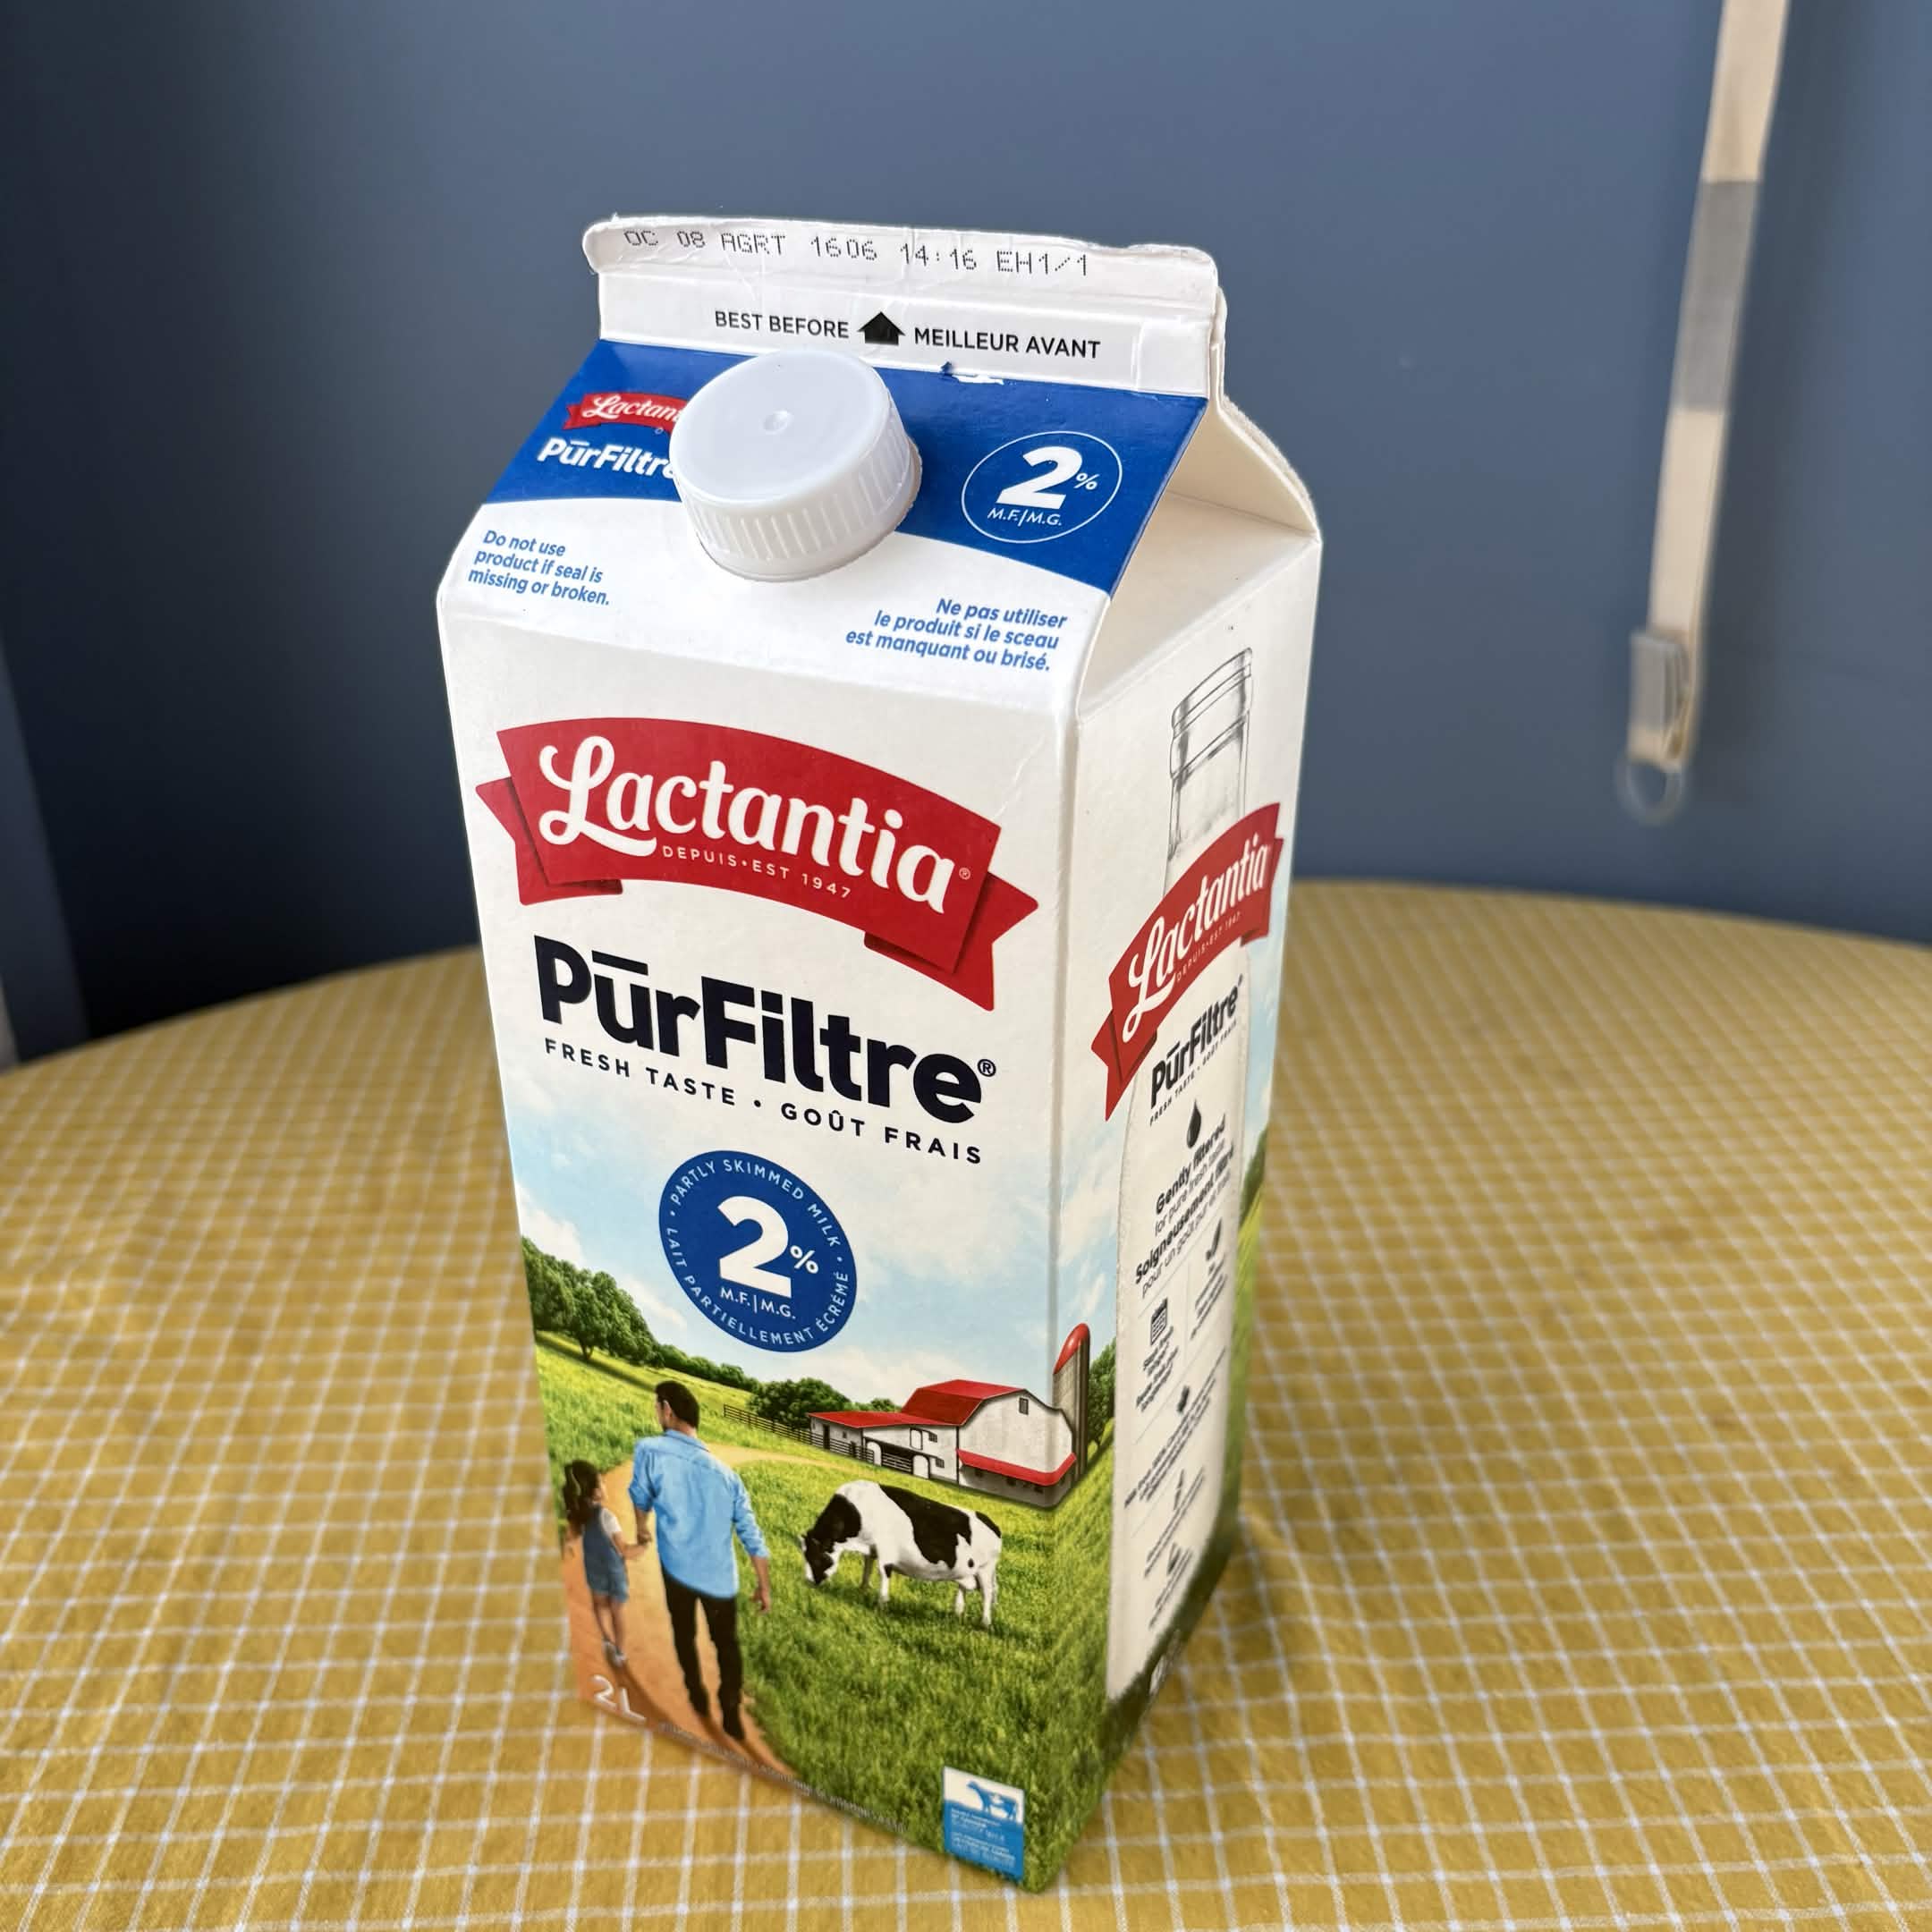
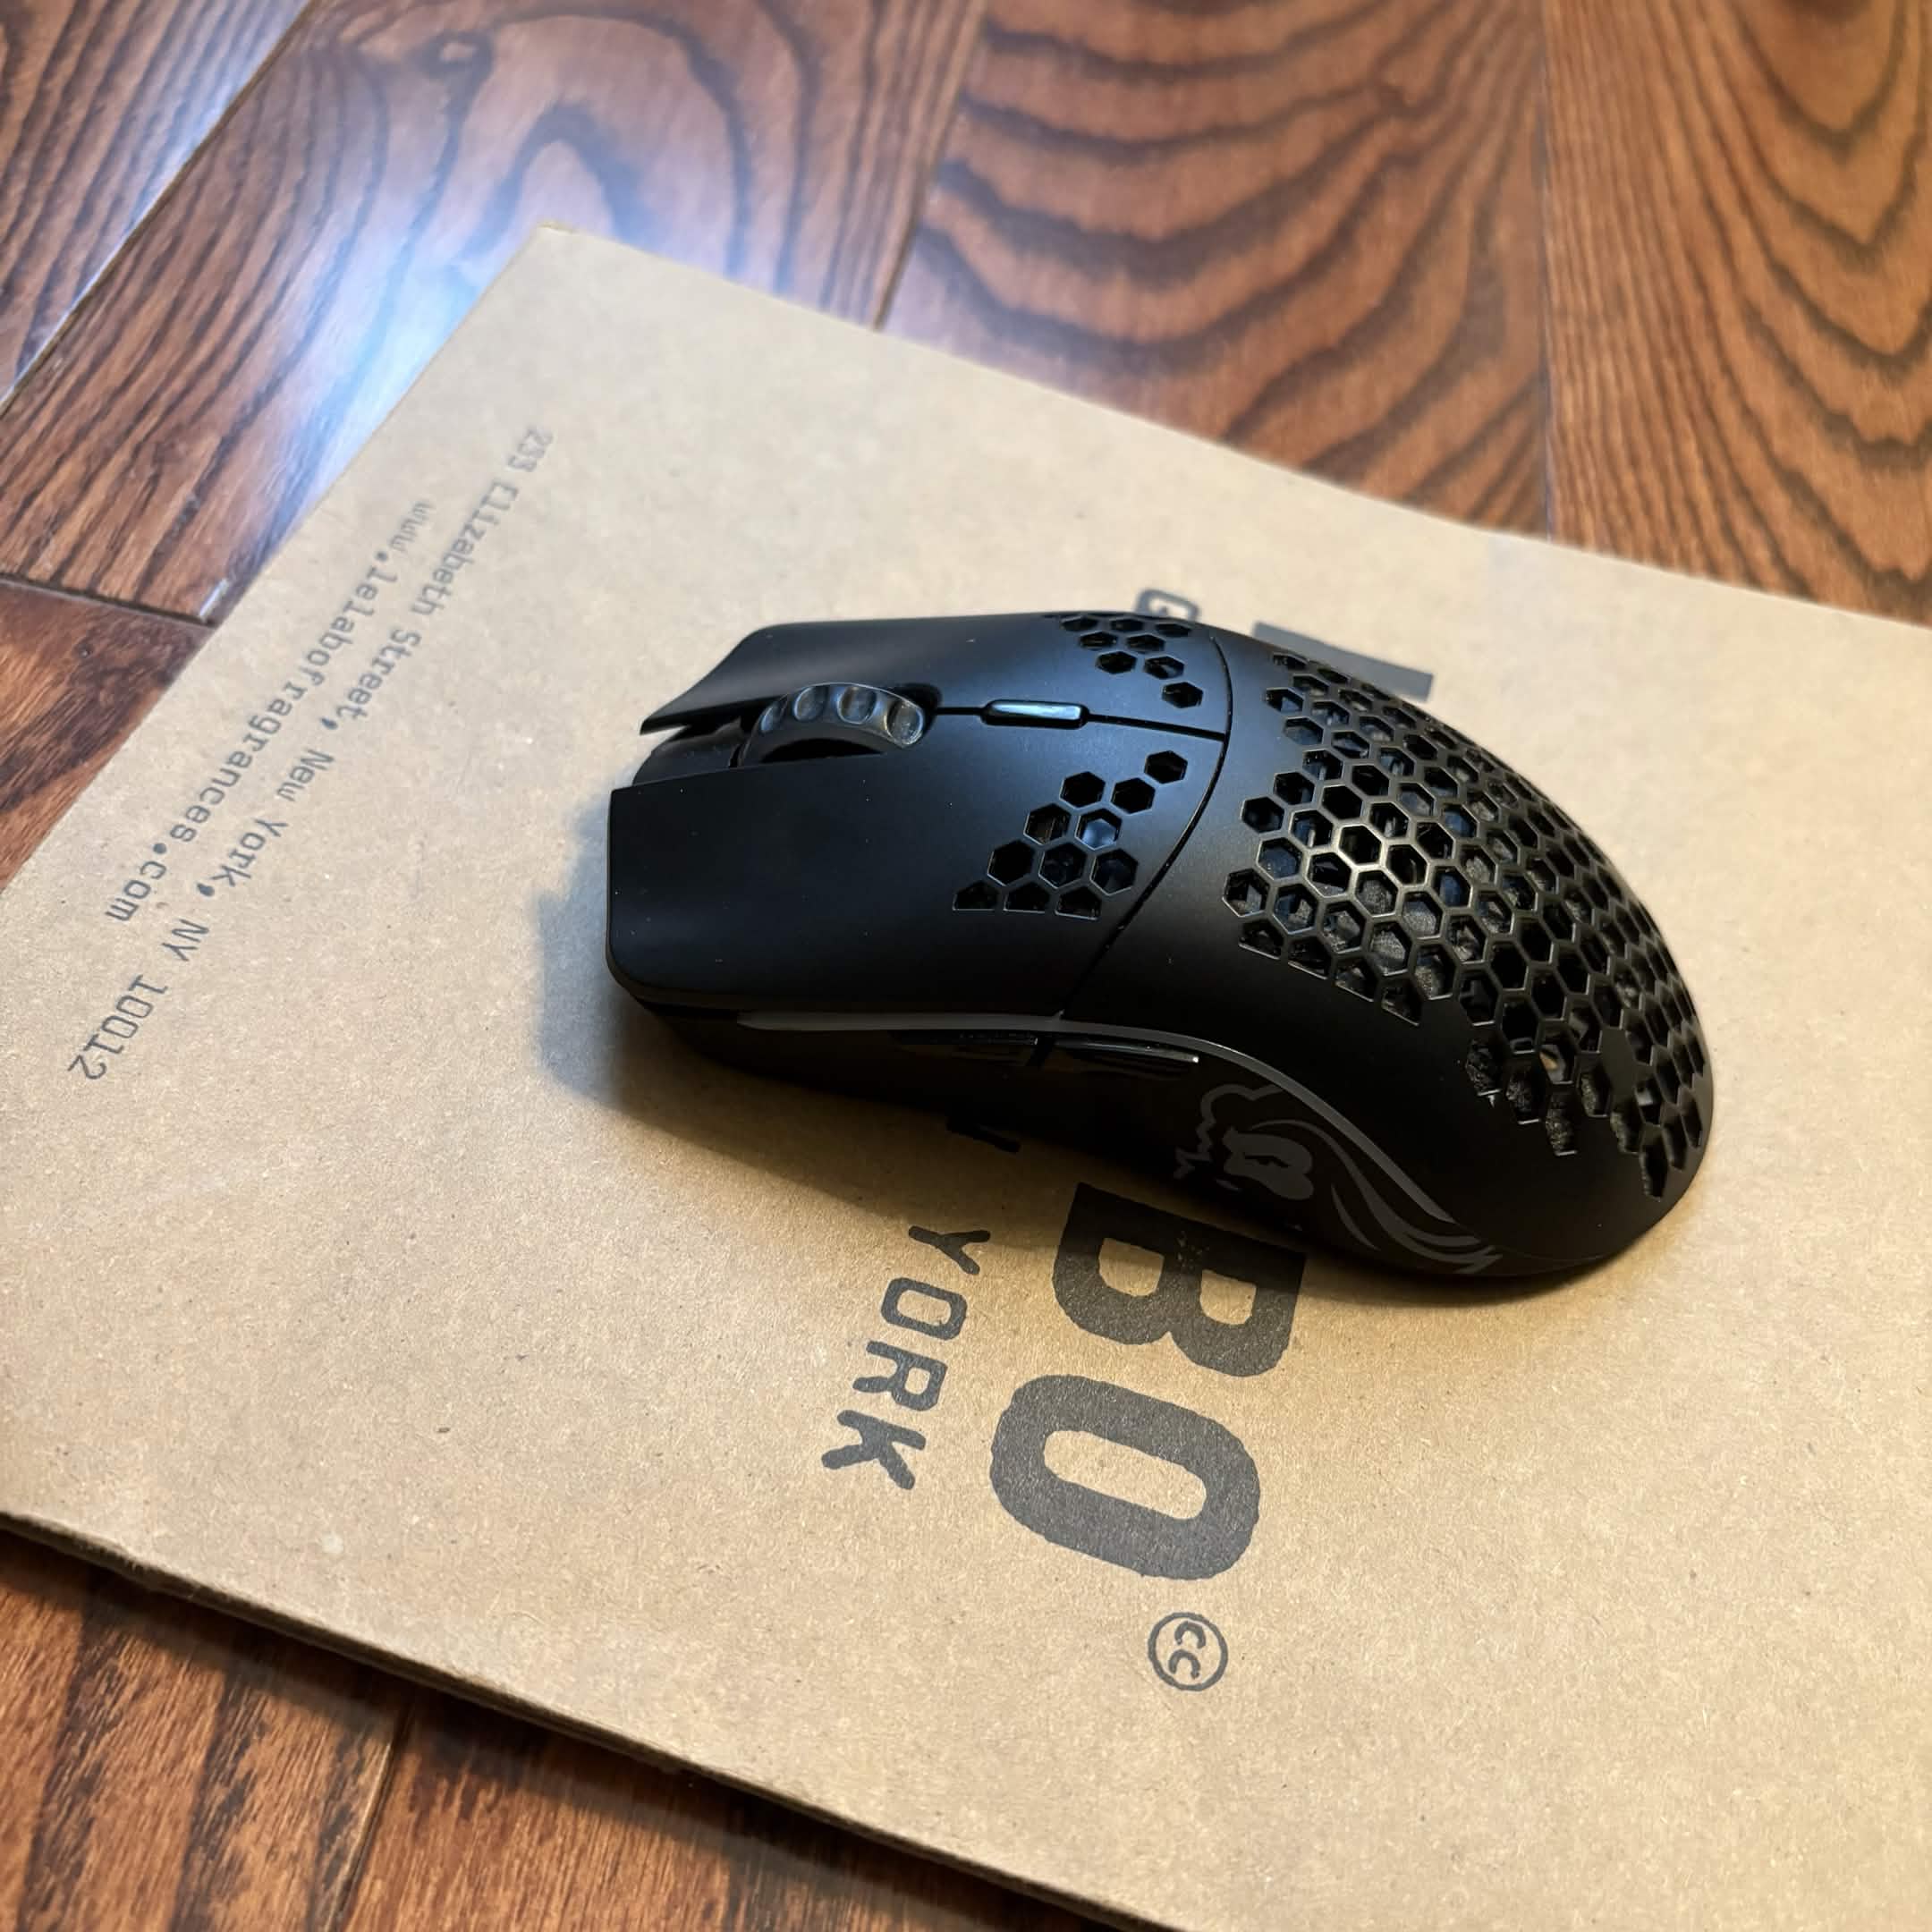
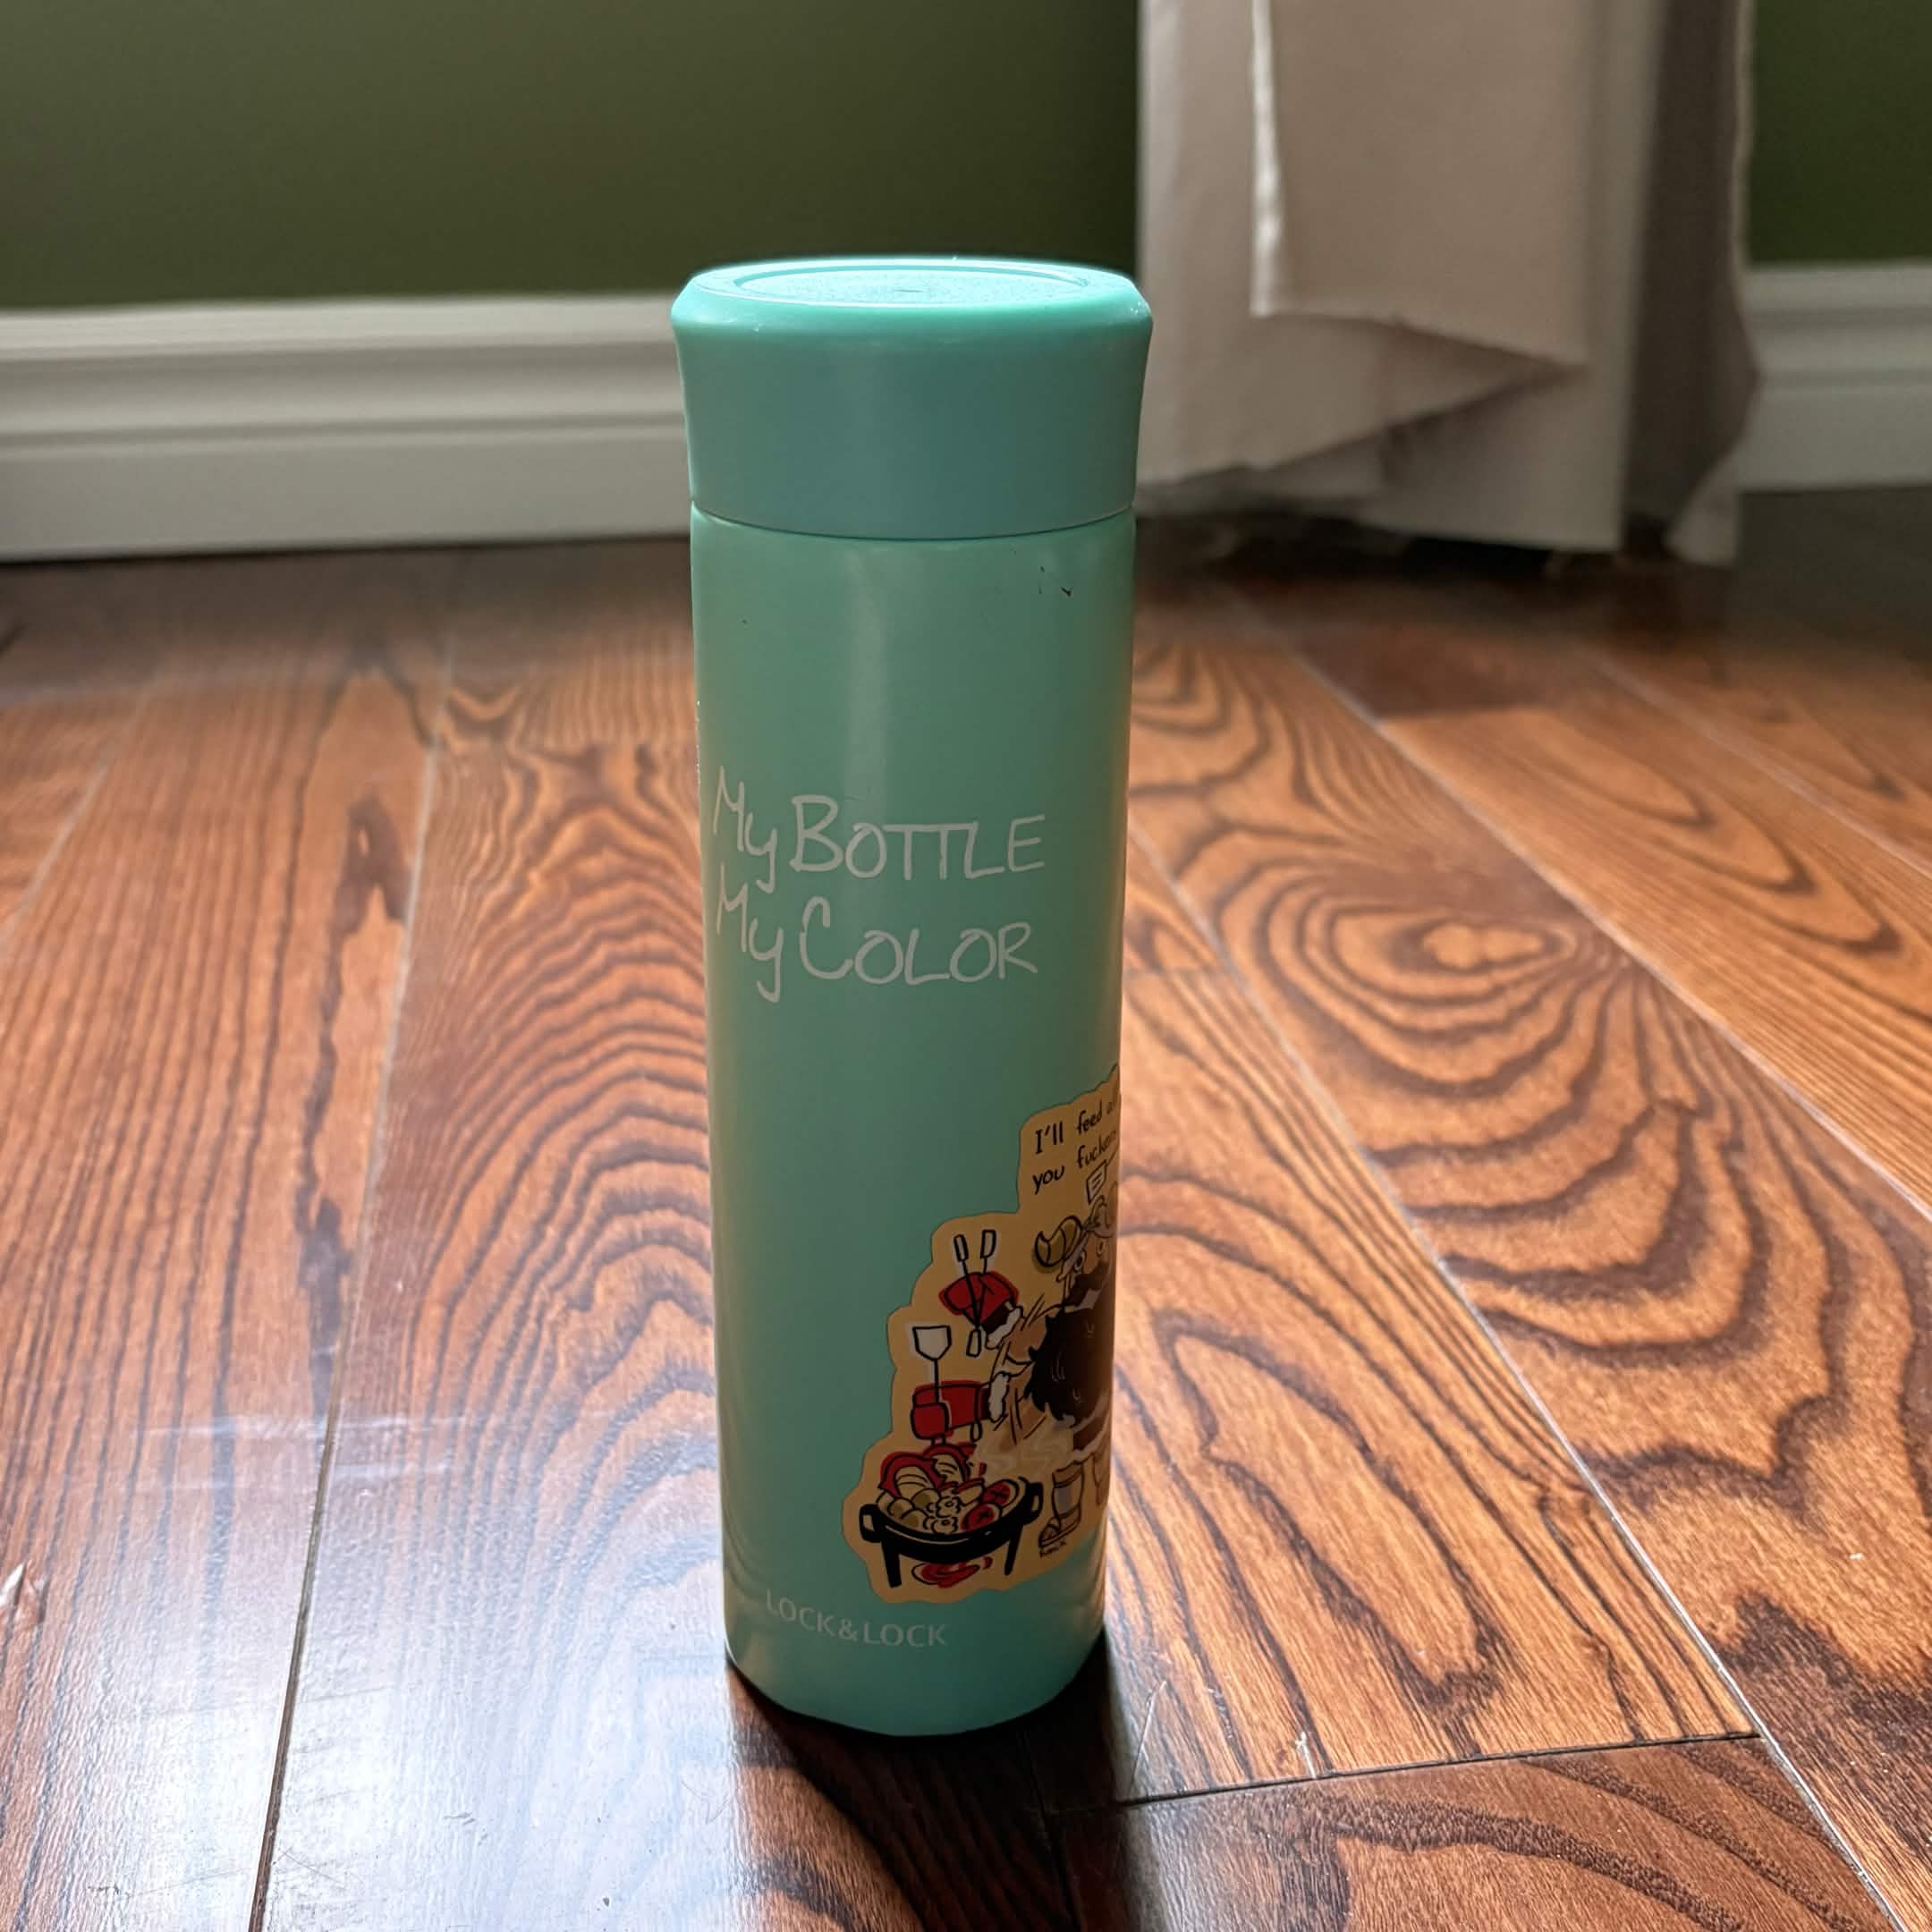
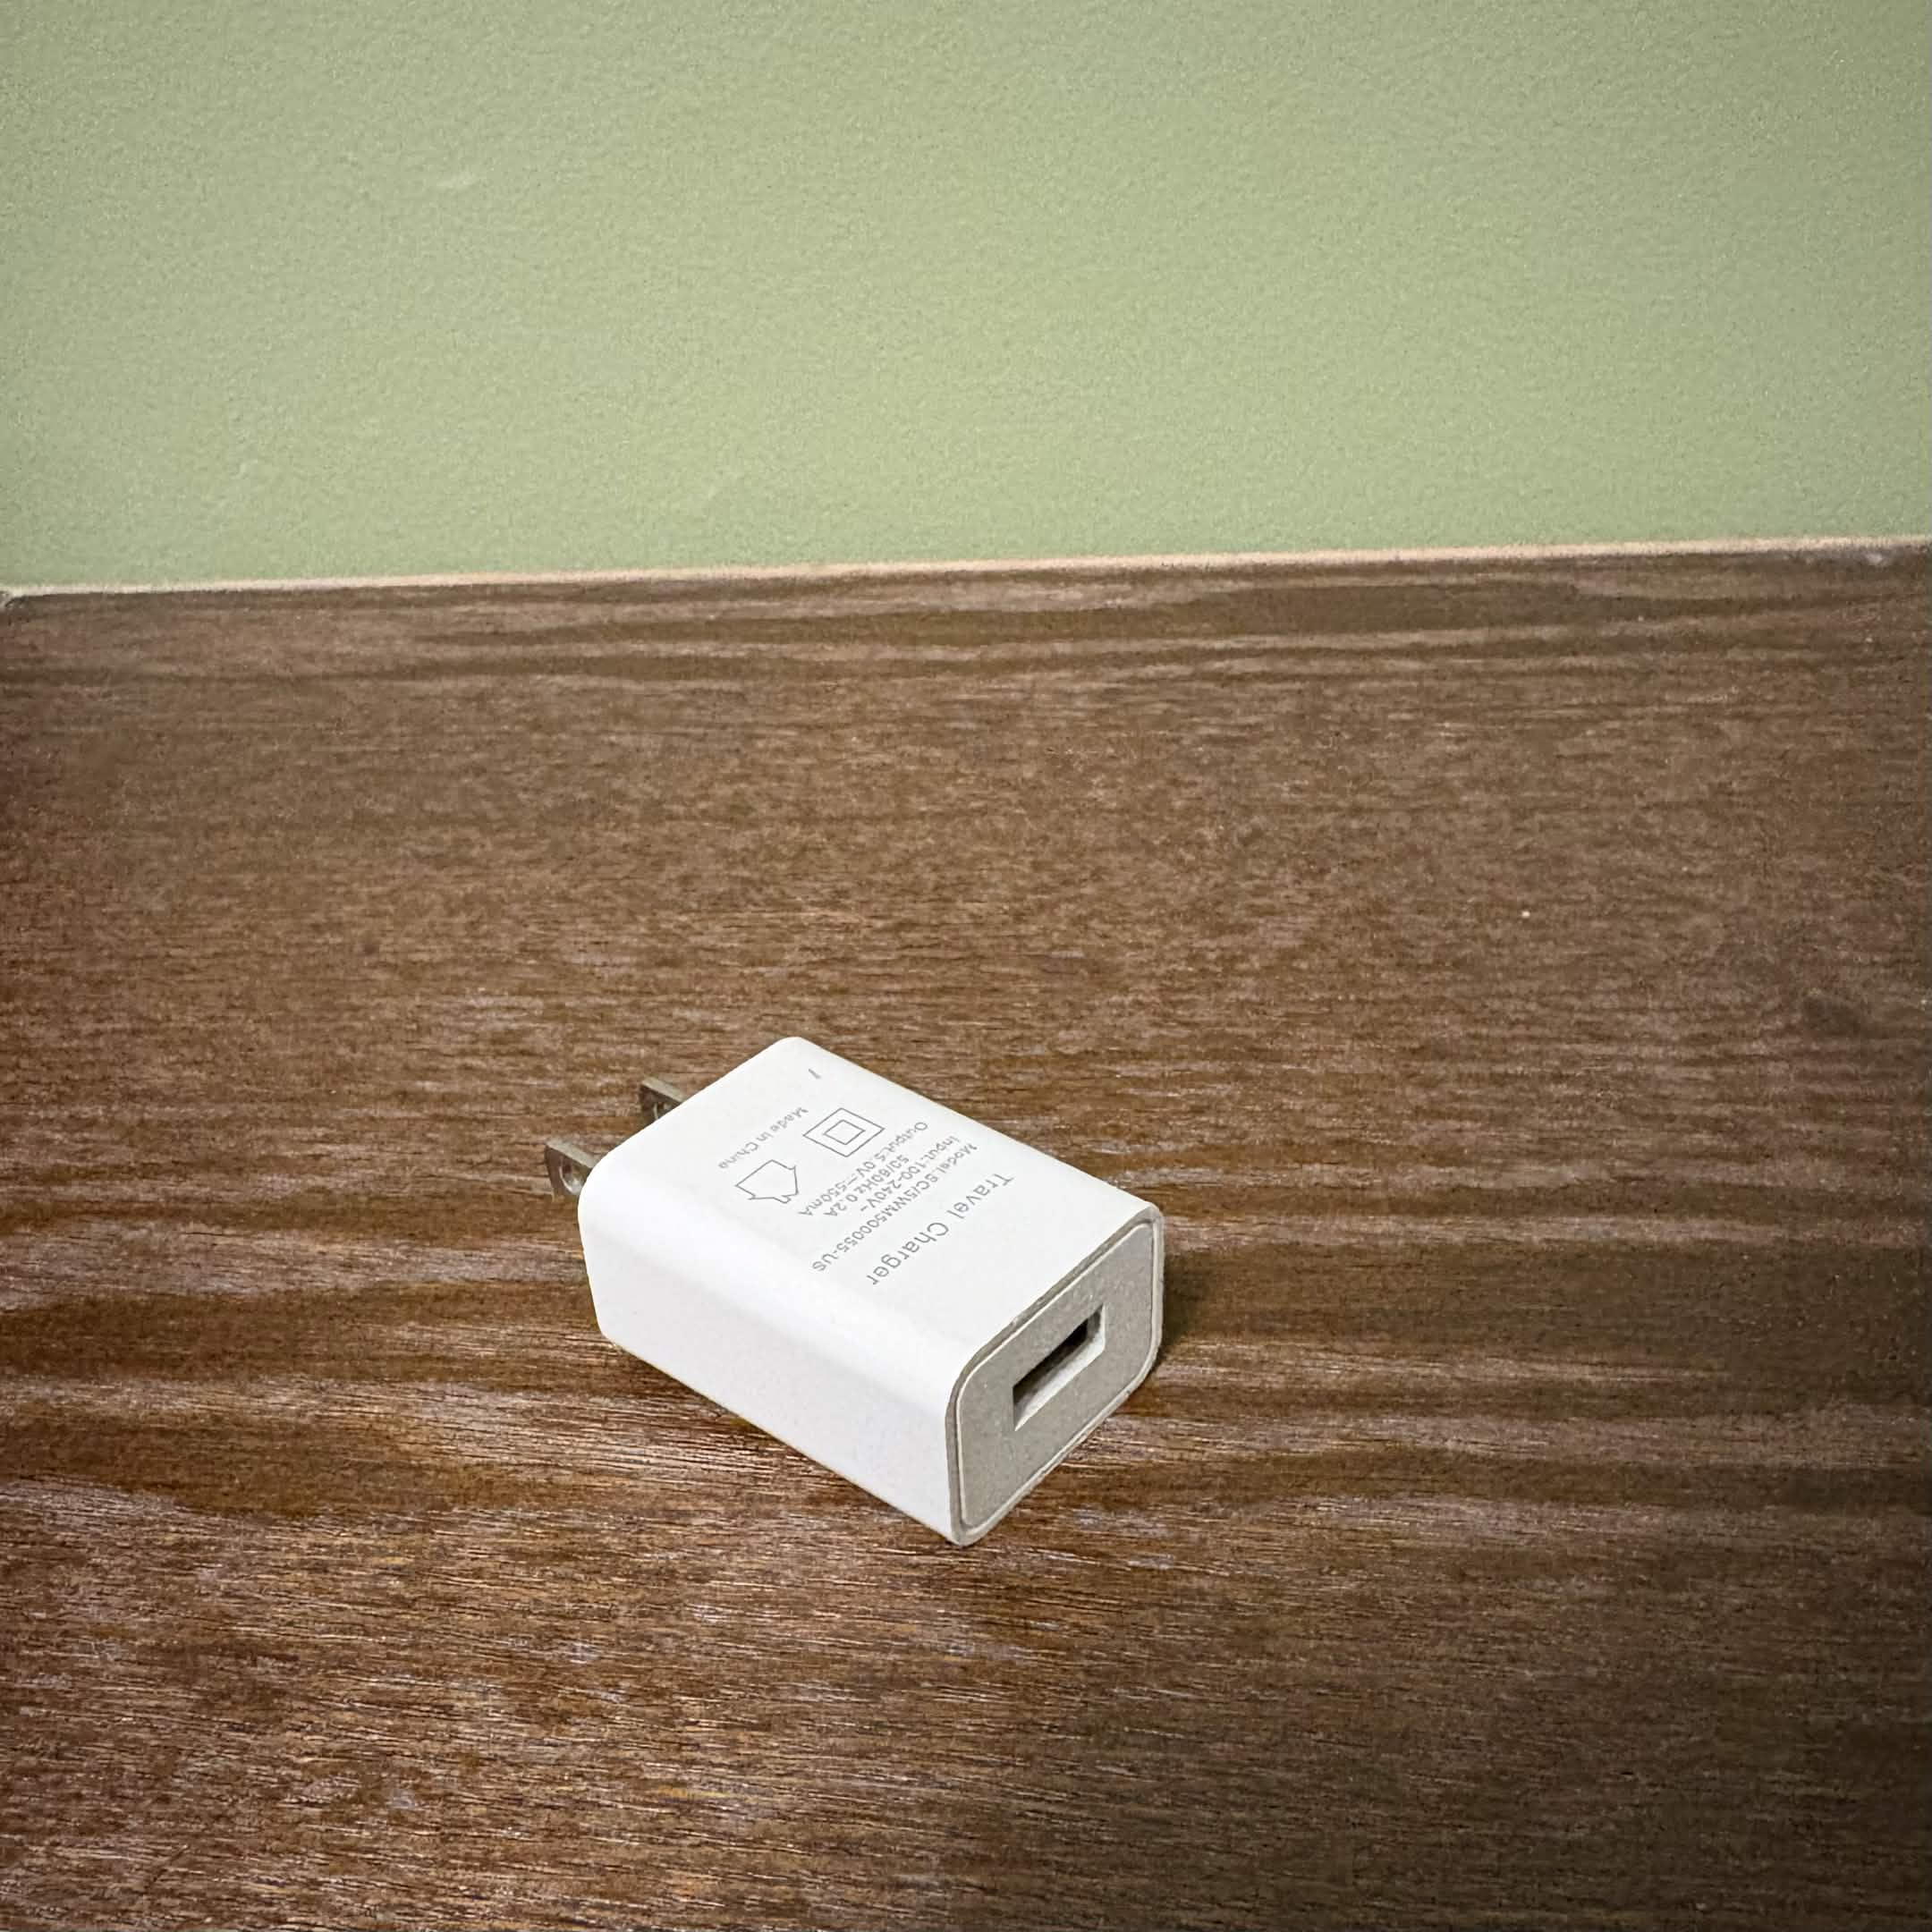
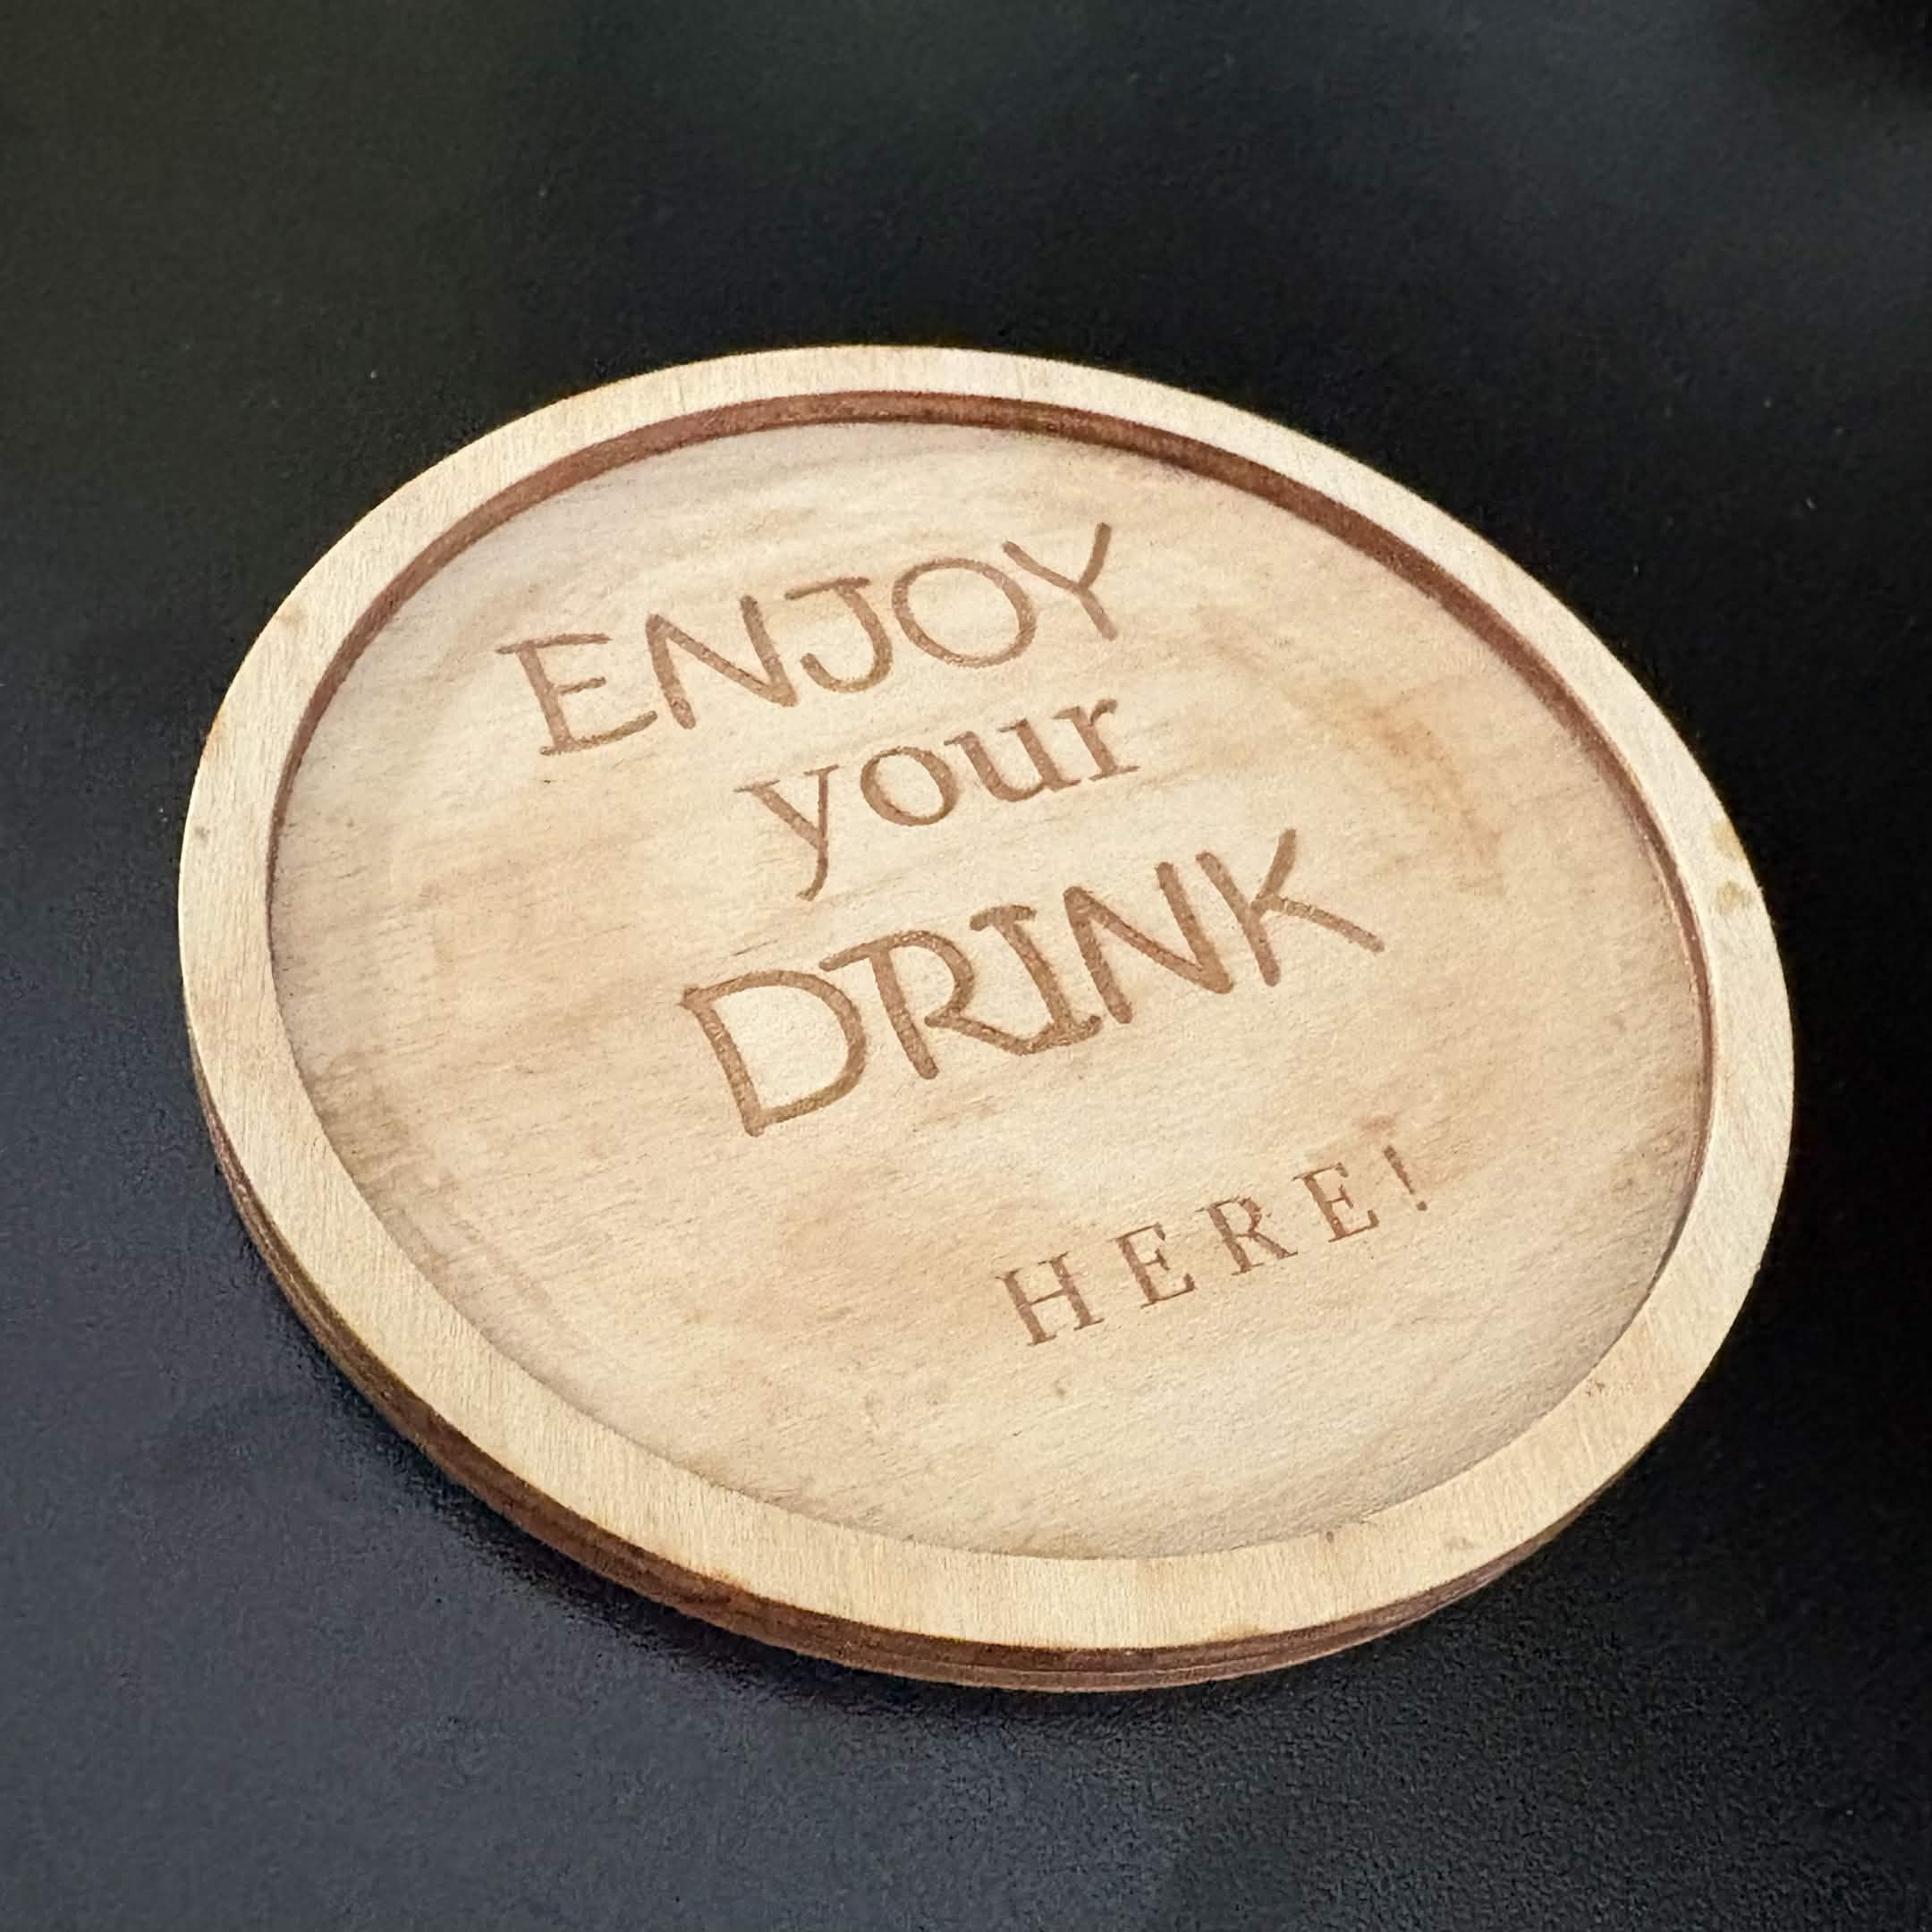
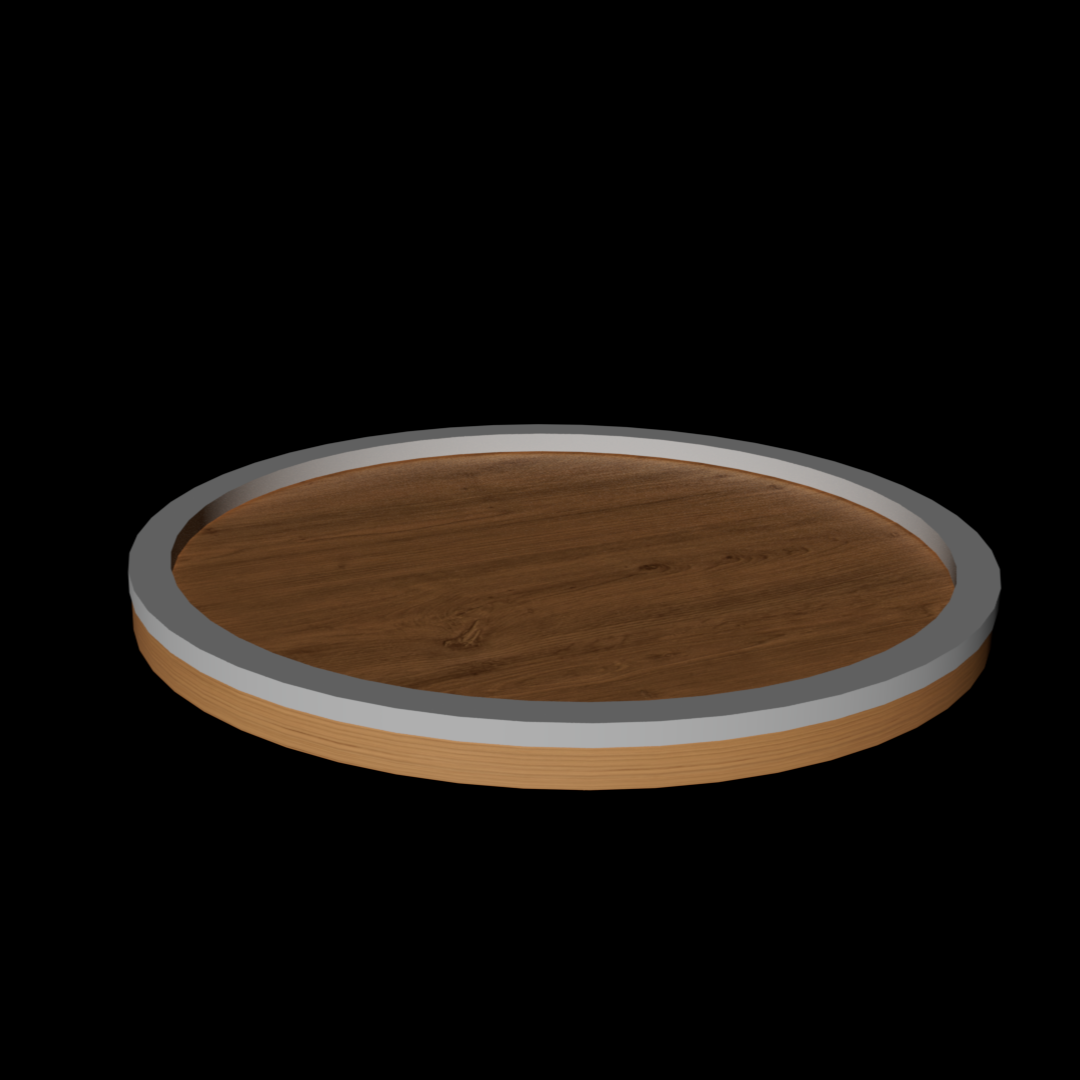
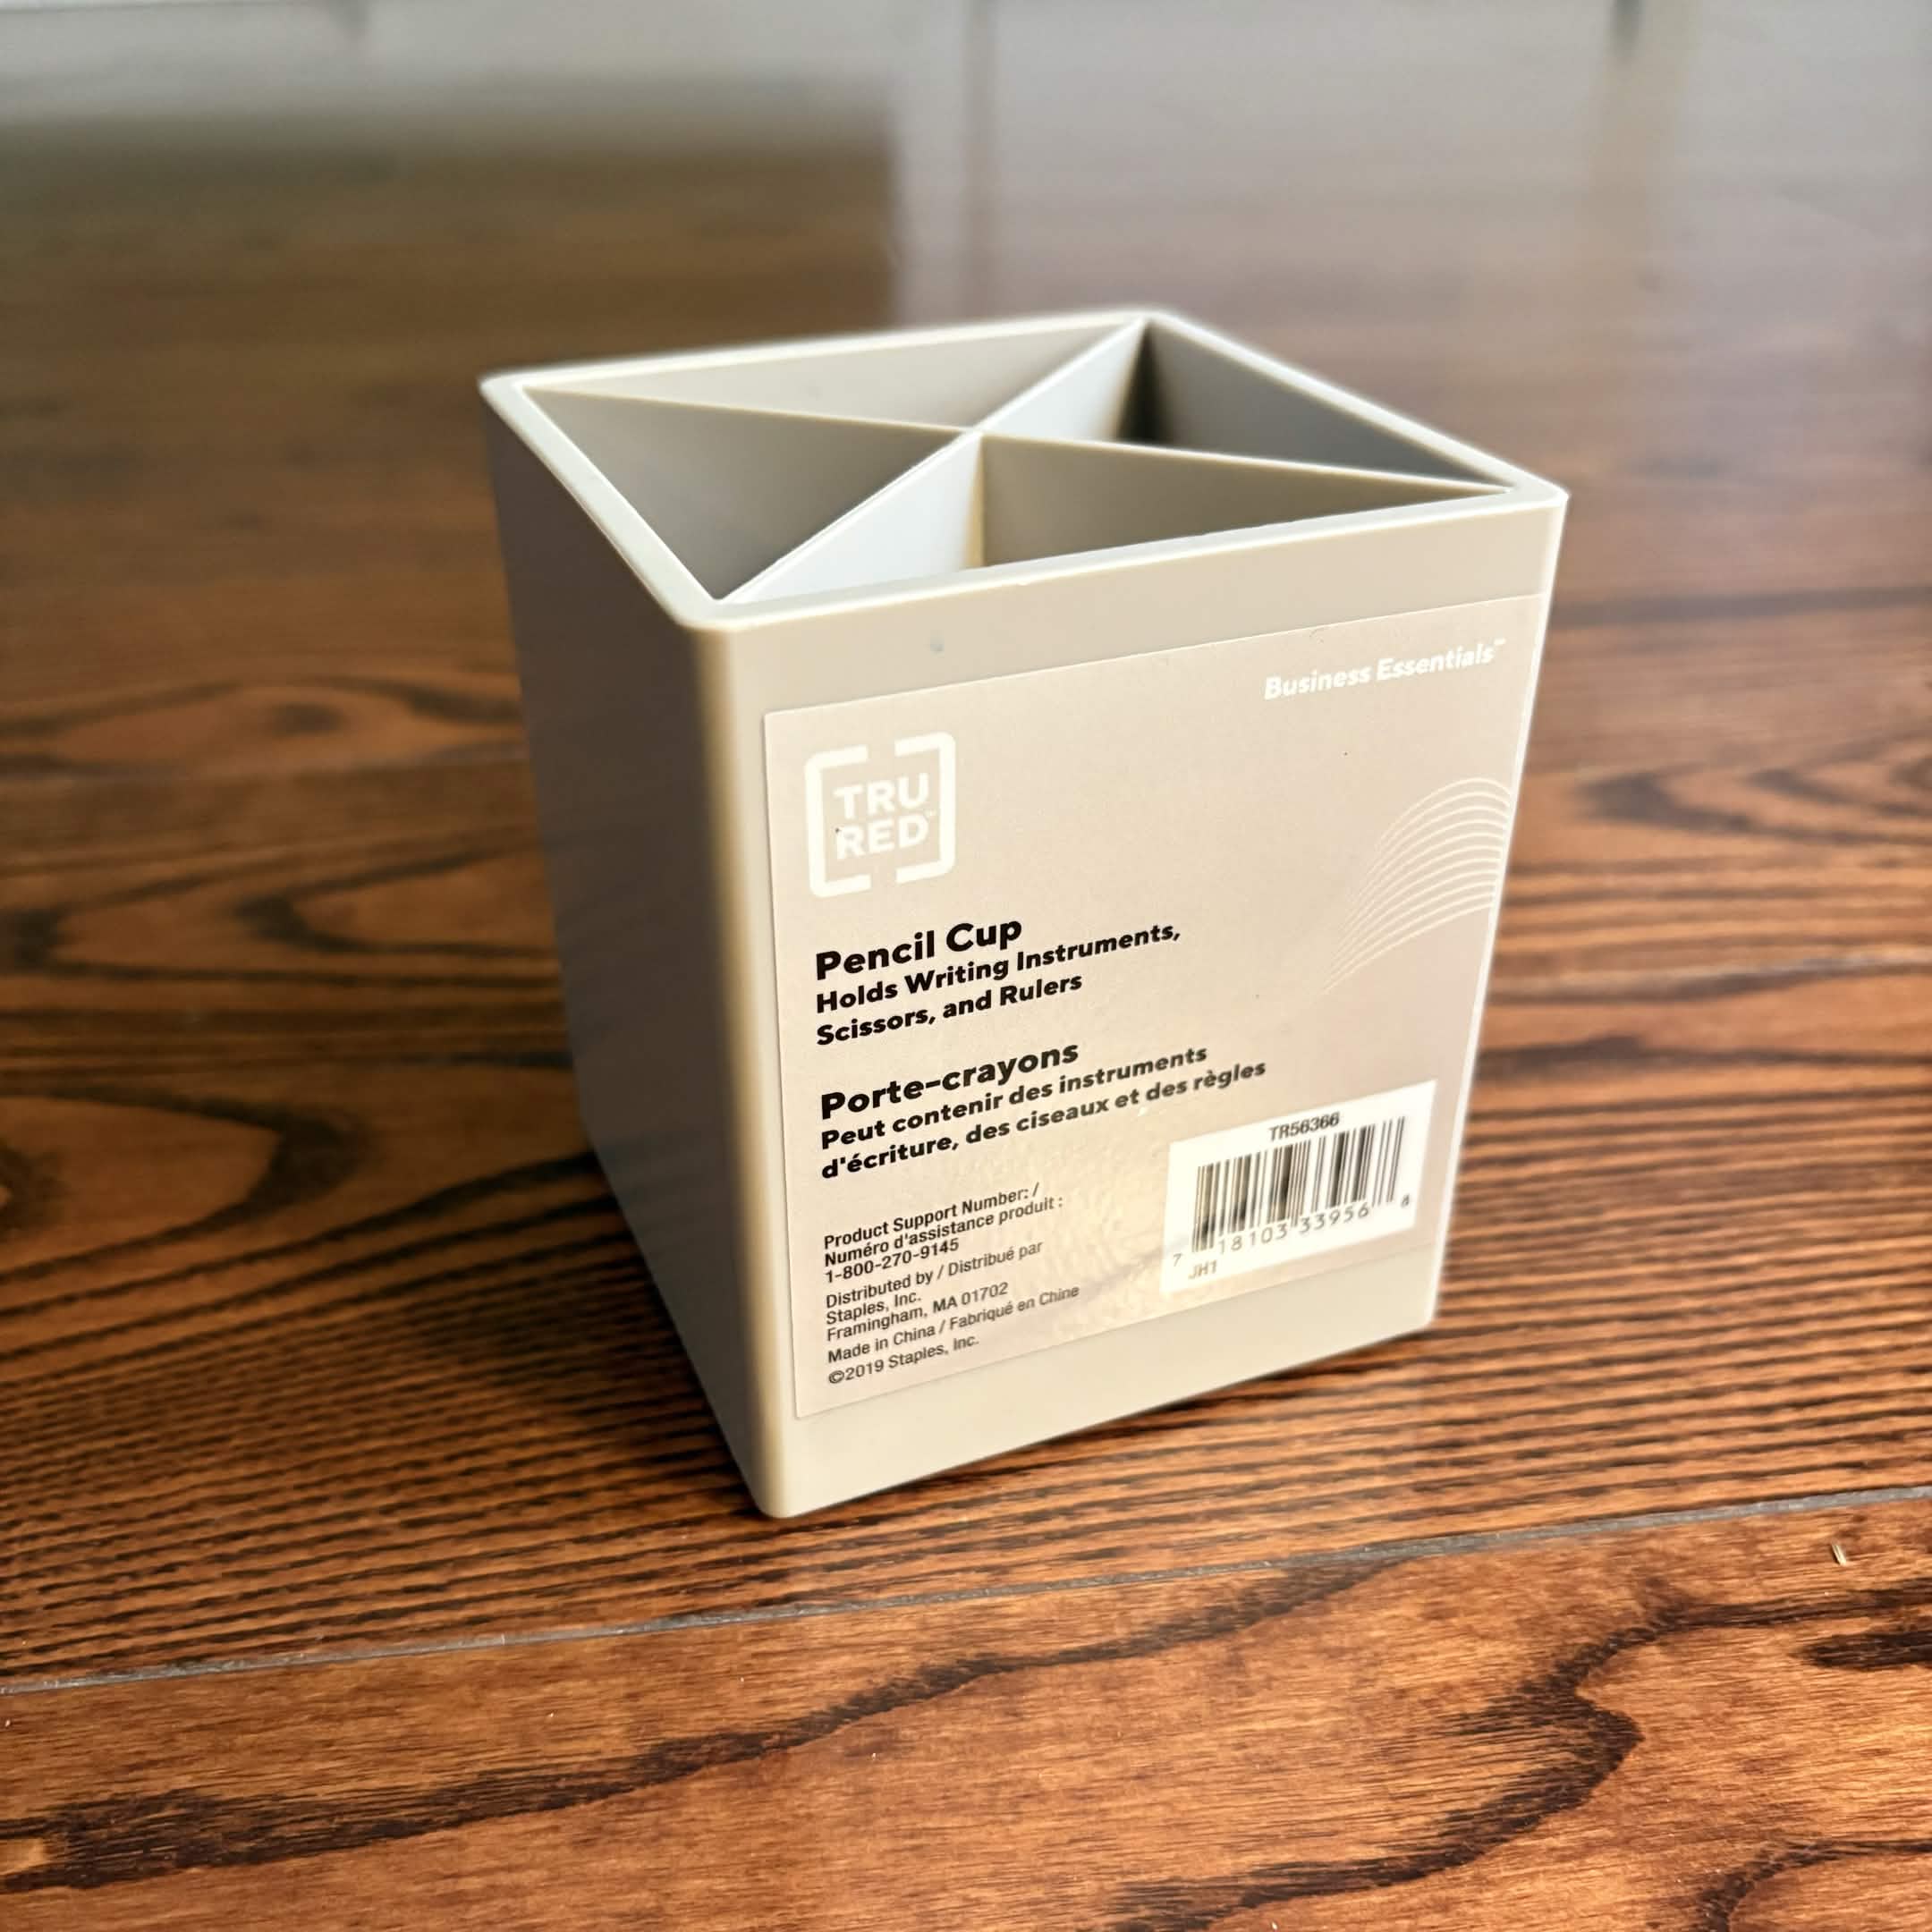
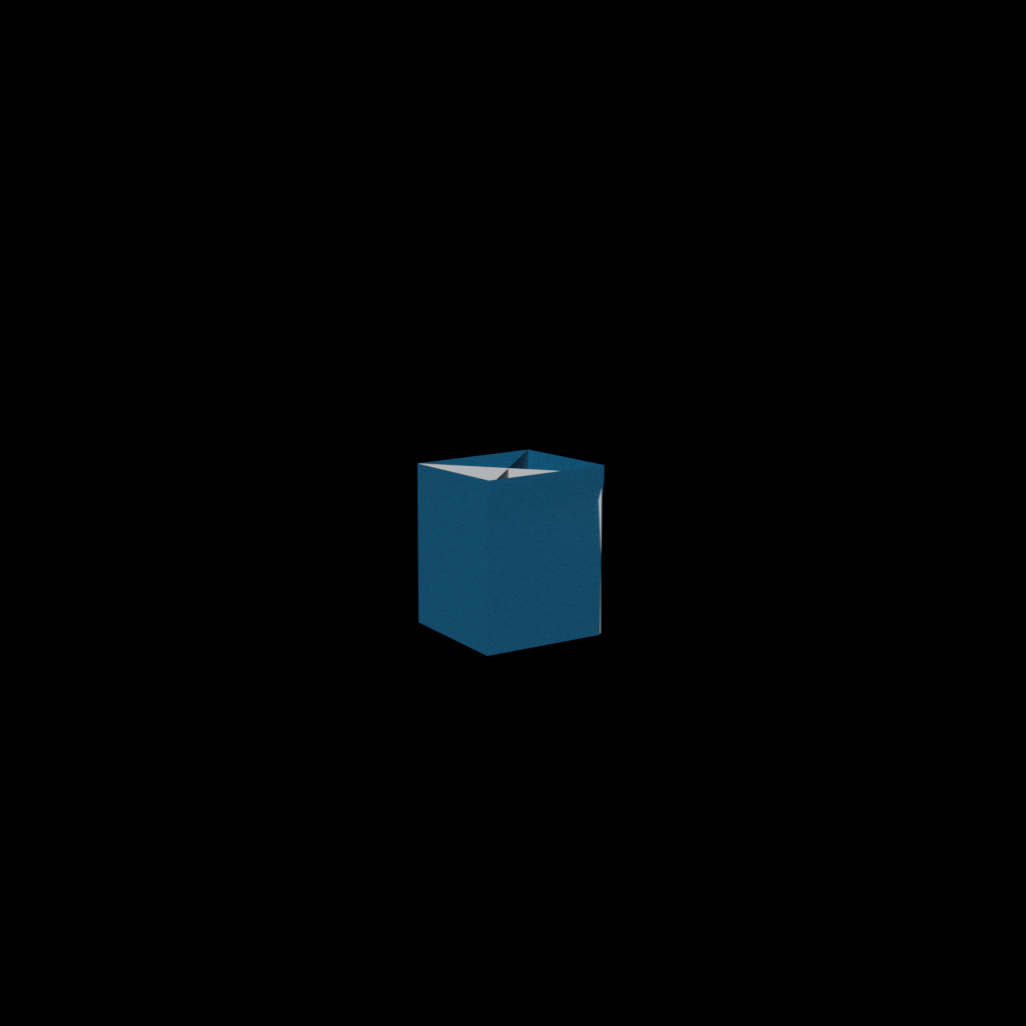
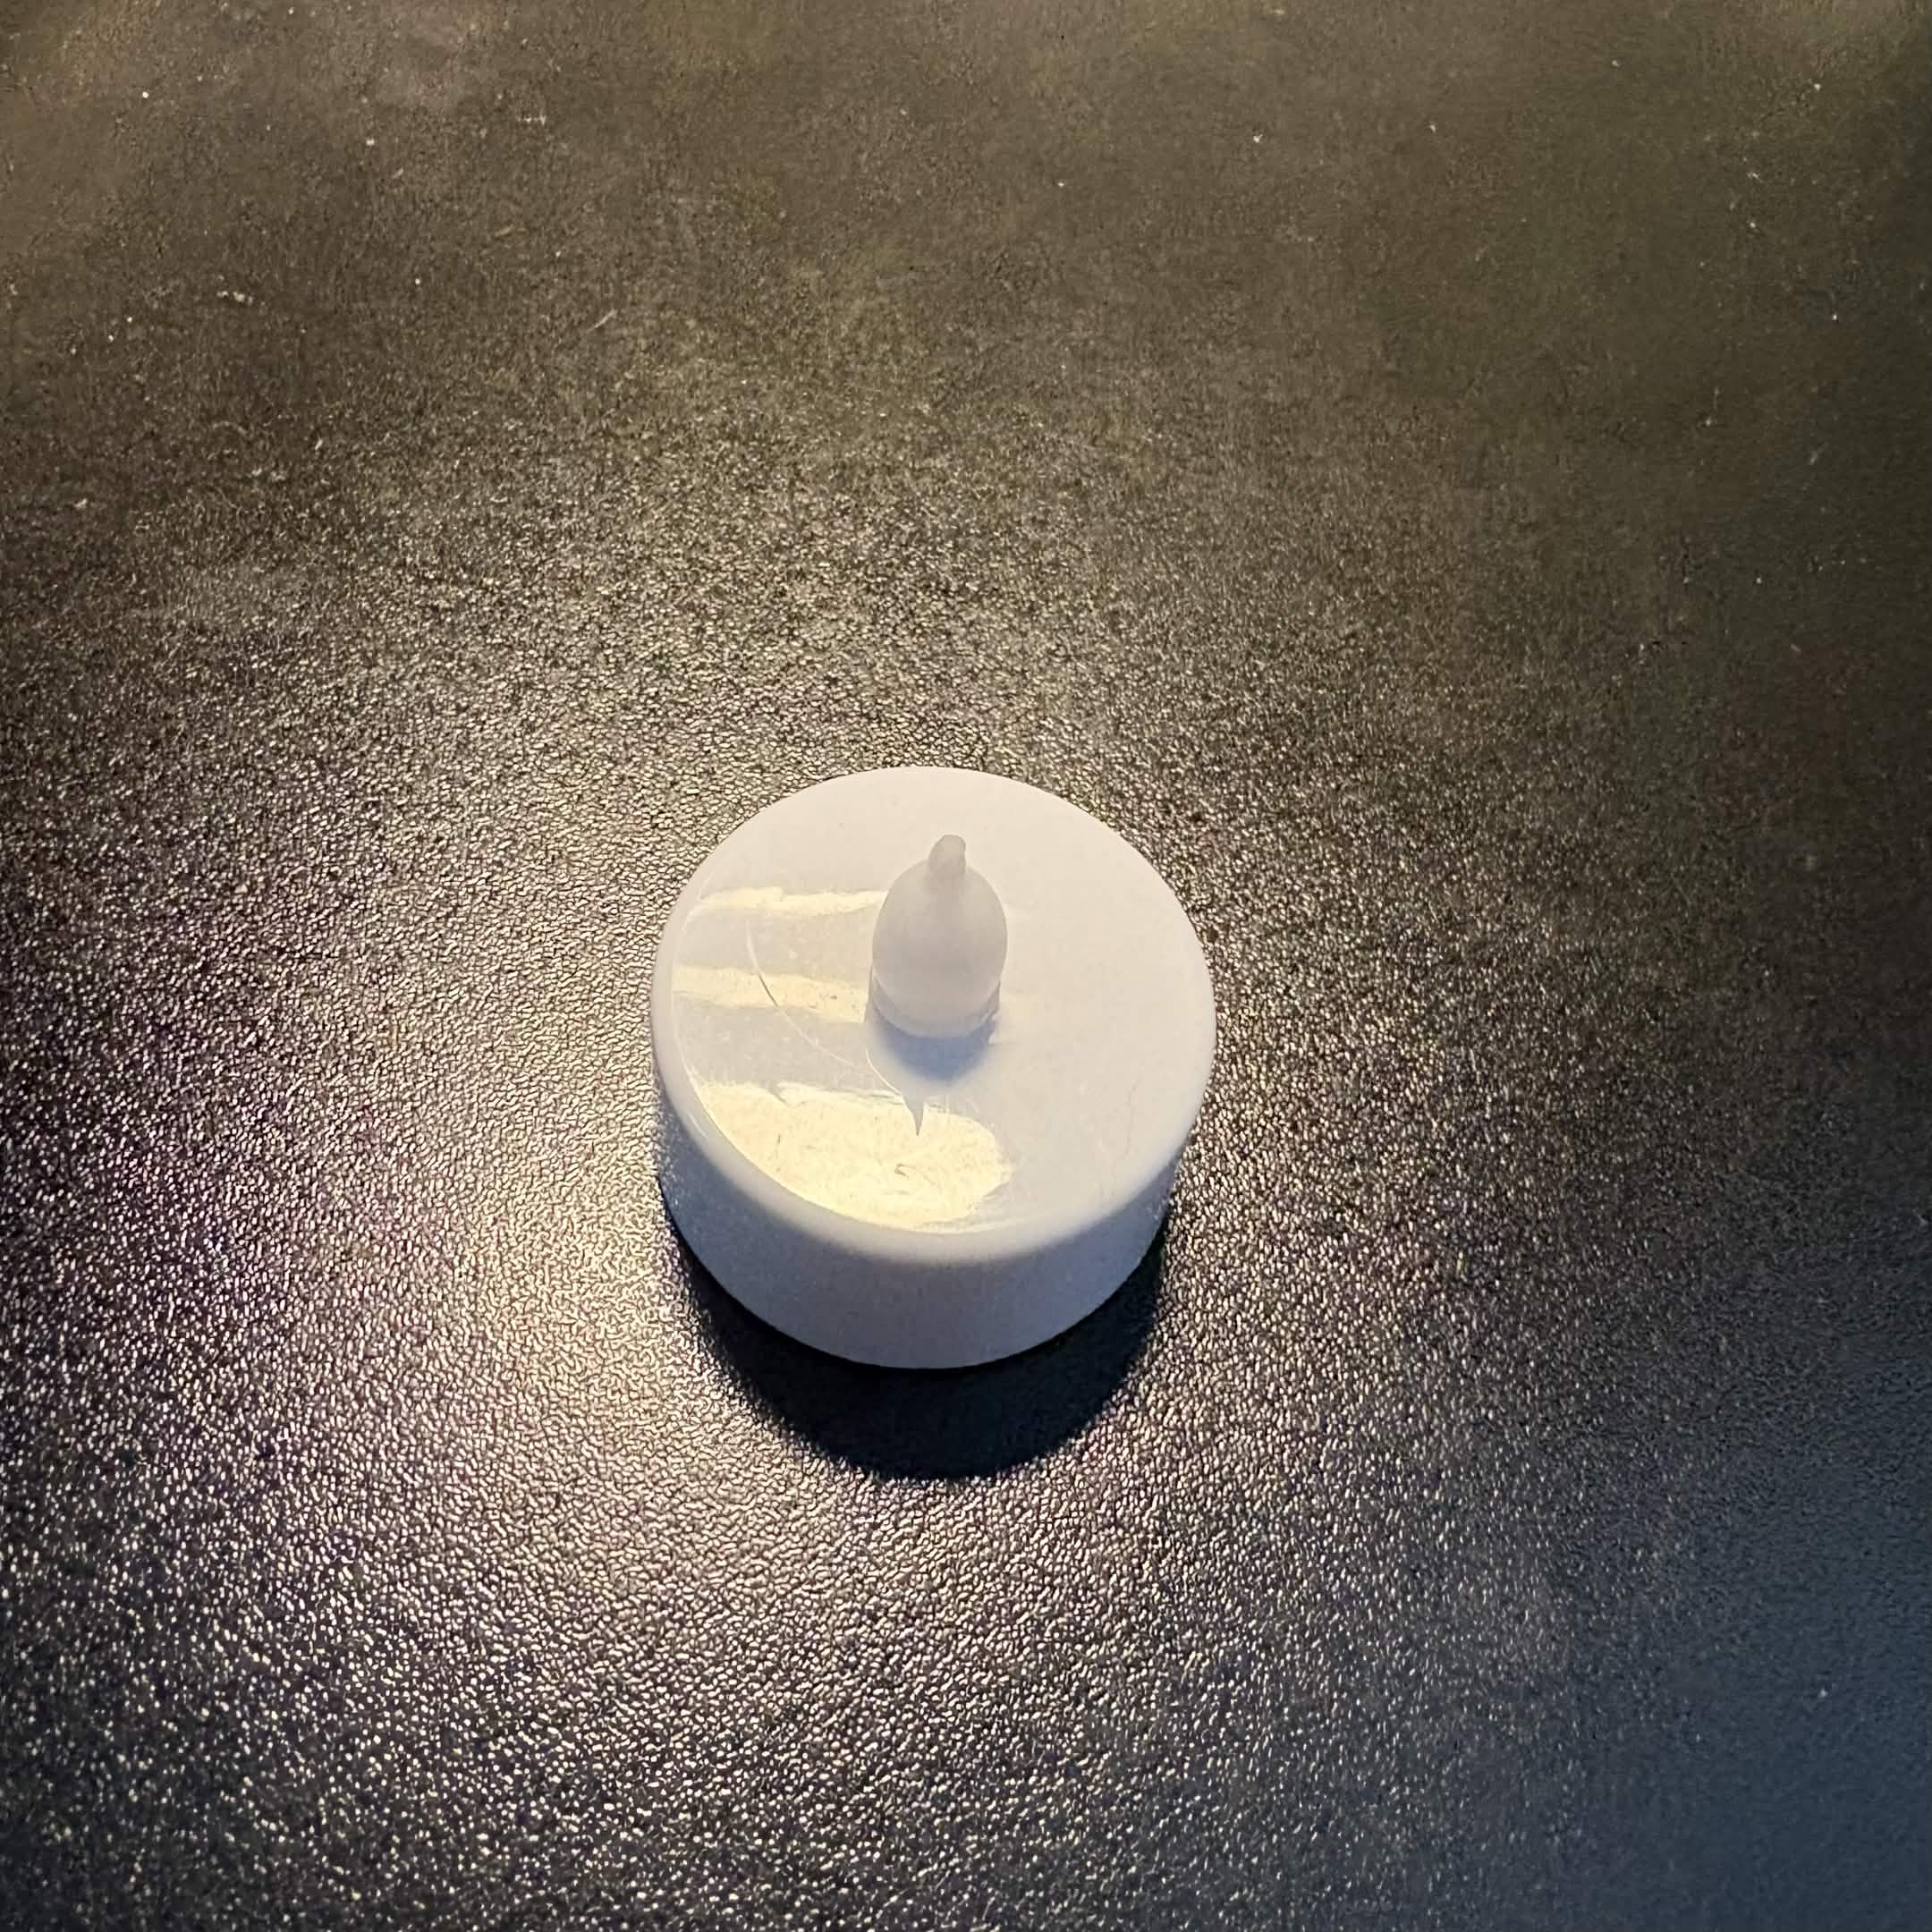
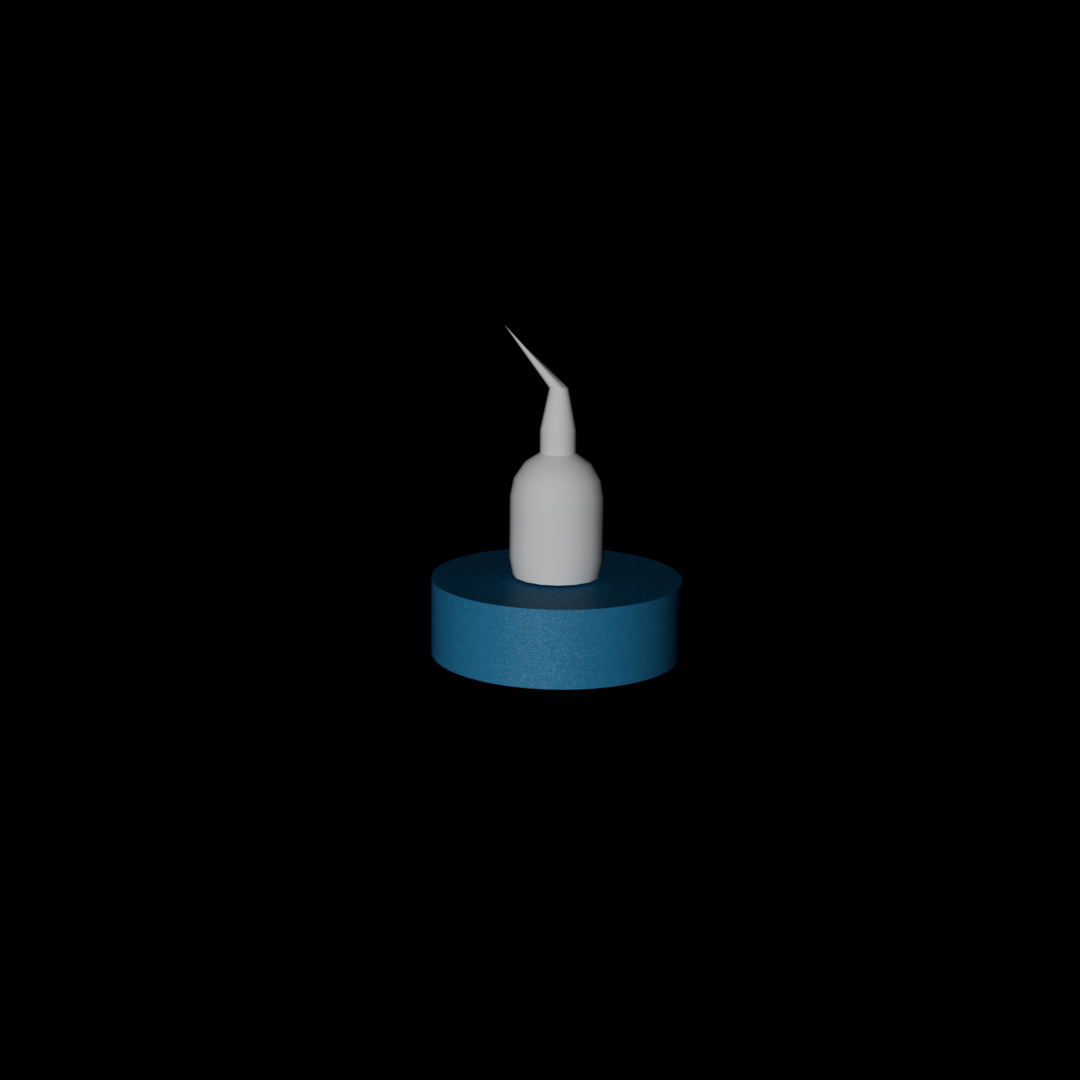
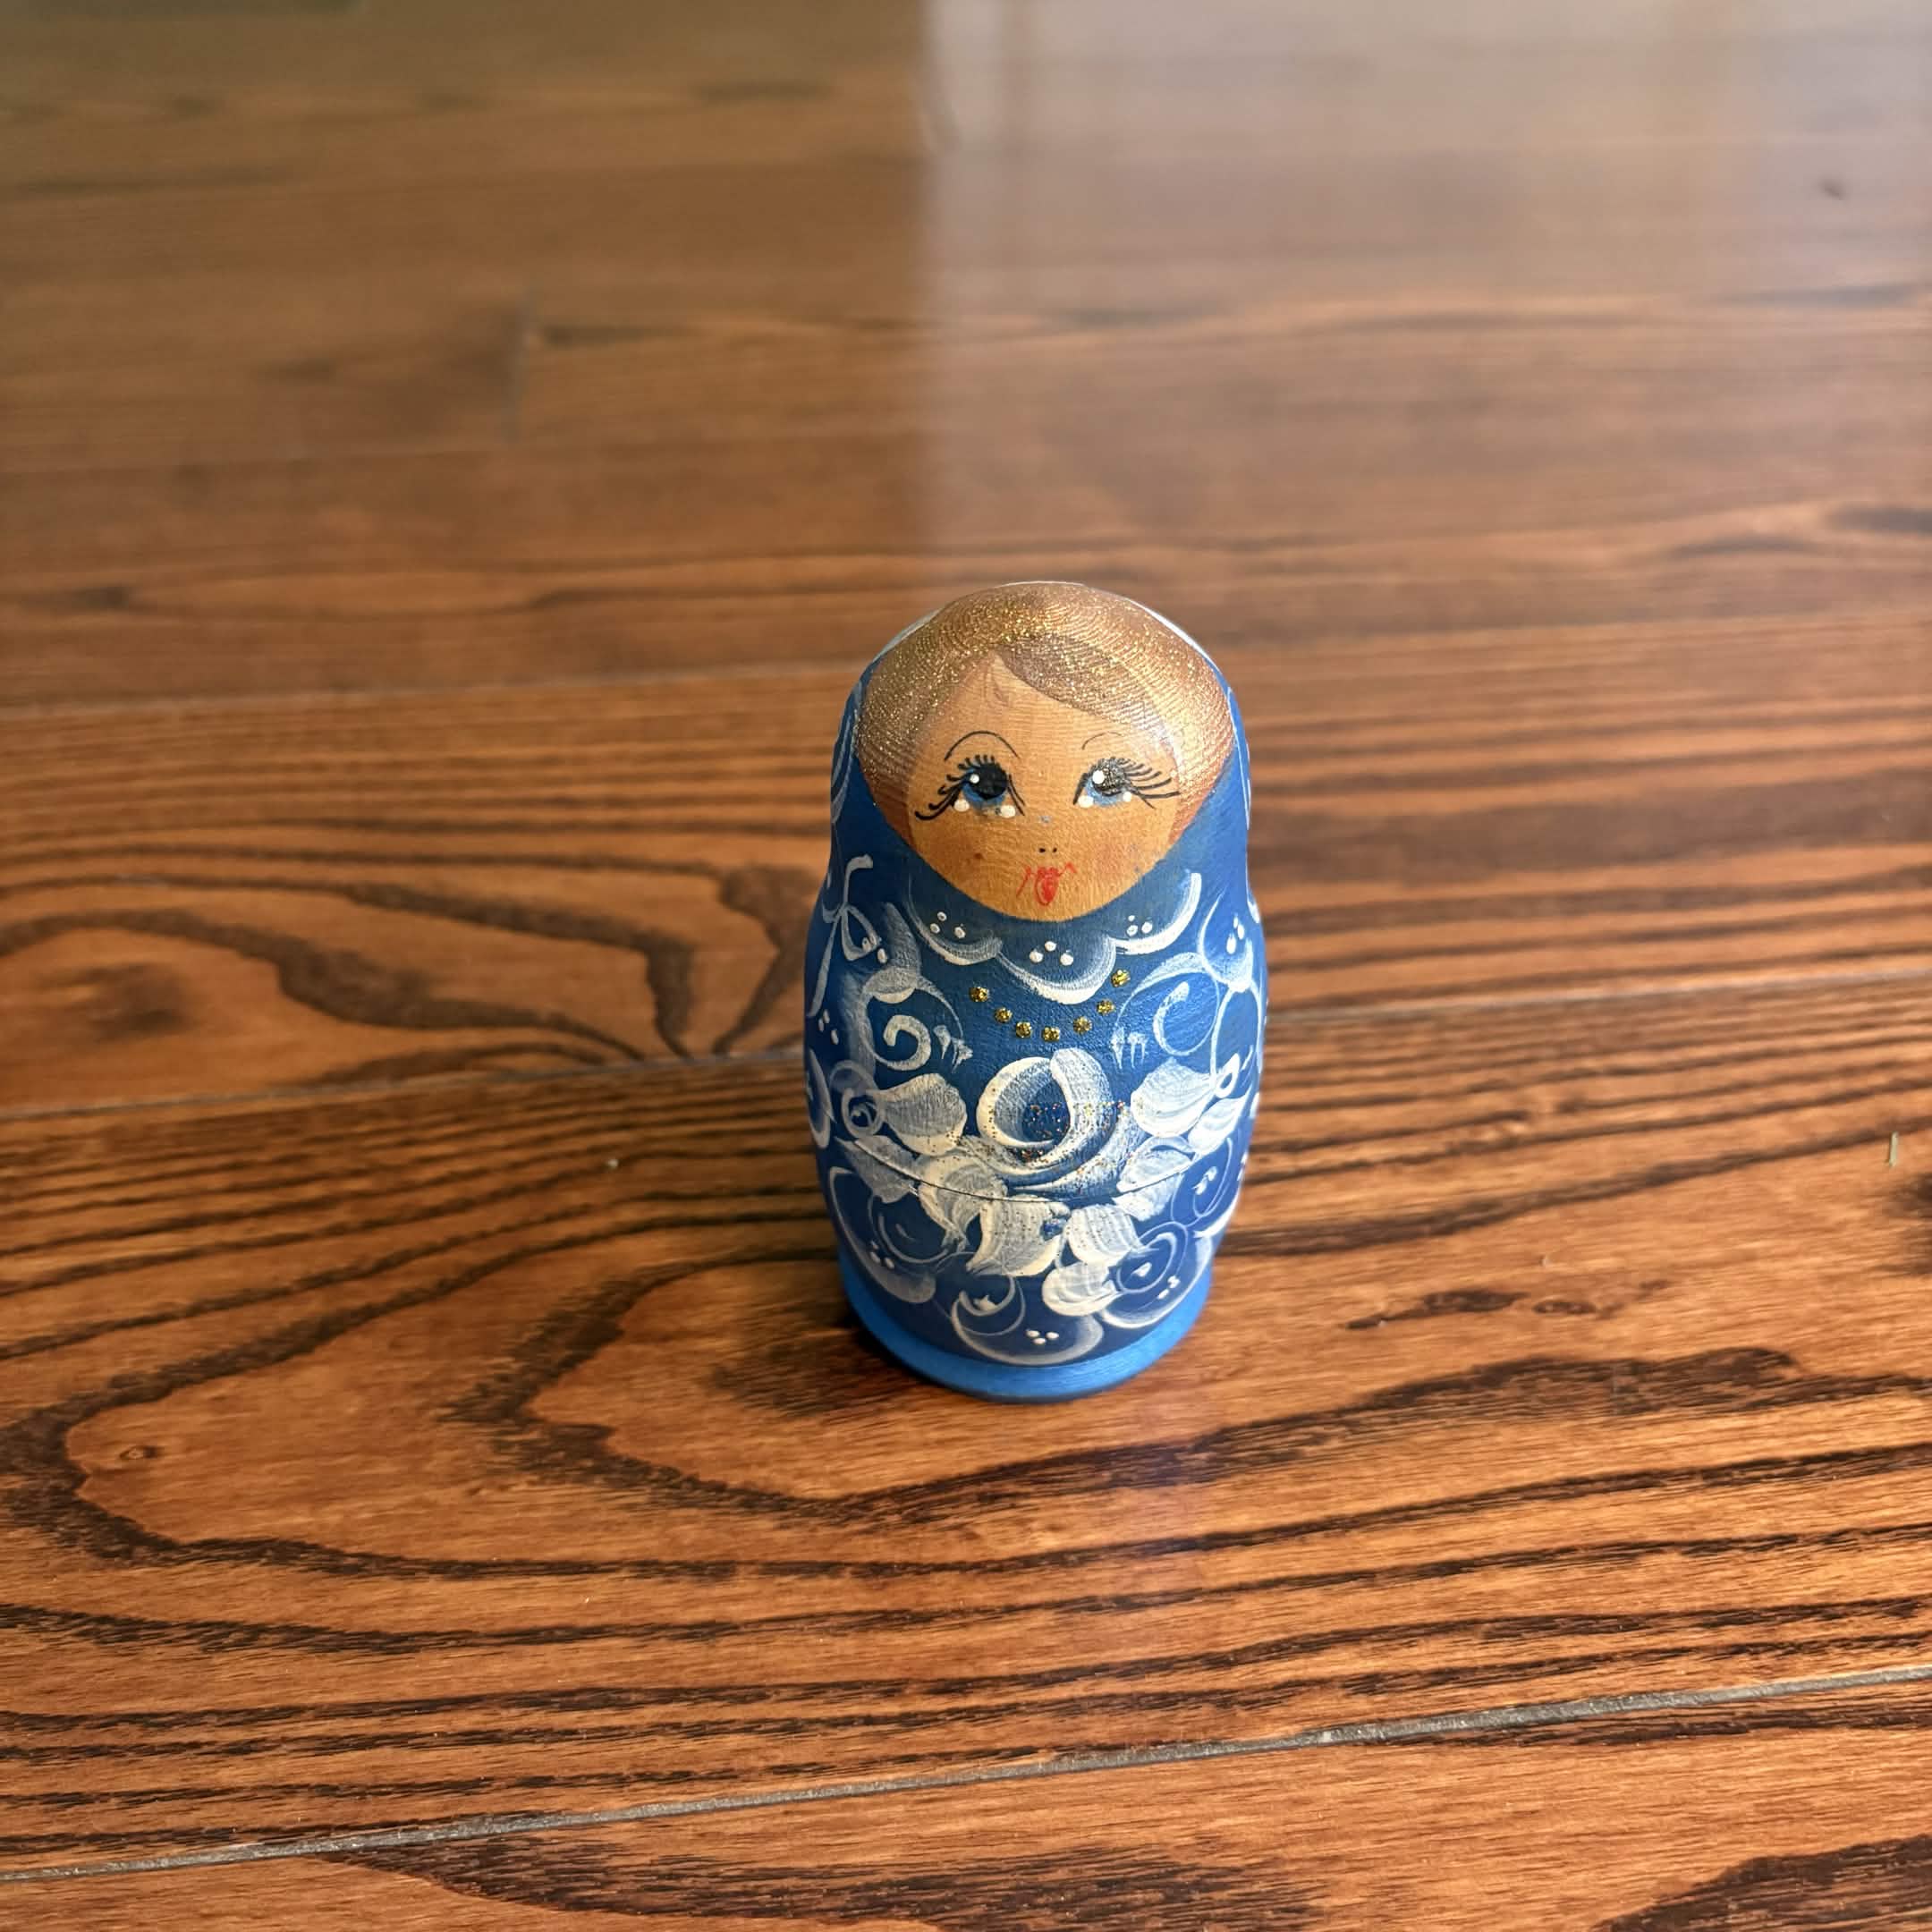
This is a snowman cat plush. I got this as a Christmas gift from a kid I used to live with back in high school. Very cute. Tried to made the snowcat as my frist model. It was nightmare to make, but it somehow looks pretty good. Spoilers: The size is pretty large. A black cat plush that I bought at IKEA when it's on sale. The actual name product: Kustfyr. Such an interesting name. An origami bird figurin from the hitgame Honkai: Star Rail. Its name is March Brid... wait, why name after a month tho? A mininature stool. Got this when I bought milk tea and they gave me as a free gift. Who doesn't like free stuff? A slime kind-of streesed ball. Got it from a store that sells game merches. Very bouncy and cold, since it's a Cryo slime. Ehe If you watch anime the 'Frieren: Beyond Journey's End', you might found this little creature familiar. The mimic chest. Feel free to touch it, you just got devour and now you have messy hair. Scared yet? The micic chest is waiting for the prey. A deck of card, guess everyone knows that. Bought this frommy middle school annual market at my friend's sister stall. Got it for discounted price, 10/10 Yoasobi (aJapanese music duo) CD albume. Got it as my 16th birthday present from my cousin. Highly reccomend to try listning to their music. A piece of earing that I'm currently wearing and just took it off for the photo. Made out of titanium since I have sensitive ears My glasses case. Also an additional gift when you bought a new pair of glasses, hopefully. You really don't want to see me wearing glasses, trust. Finally able to buy a decent pencil shapender. Was trying to prove if my color pencils are bad or my other pencil shapender is too old, glas it's the ladder one. Just a normal pencil shapender. If you ask where is the shapender, well it's inside, this just the outer shell. Who doesn't like milk... maybe people with severe lactose intolerance. You can buy this in most of groceries stores. Very good drink, but please remember to put in the fridge after open. put A second-hand gaming mouse. Luckily got it for free from a kid since he have too many. A pretty decent mouse, too. A cyan water bottle. I've been using it since grade 8. Survived all the moment of travel and dropping it into the ground. Very durable and good quality. This plugger been with me for too long. I think its almost 10 years now, Still usable by the way. A wooden cup coaster that I made it using a laser cutting machine in grade 10. I also design it myself using Fusion 360. Very proud of this one. Useable coaster if this printed in laser wood cuter. But this one doesnt have the letter insert. A pencil cup (as it already state on the lable). That's one of the first thing I bought when I first came here. Very random I know. You can see the divider got pop outside, tried to fix it for 4 hours but somehow doens't work, so marked this as an error version. A so-called candle that runs via battery instead of fire. Got it as a frebie gift when visit an event. It functioned well I guess. Does this look like a candle? Wish I able to make the tip curved. A matryoshka doll. Got it as a goft from my dad's friend when they went to Russia. Brought this with me when I moved here and been with me for around 6 years now.

Design Challenge 2
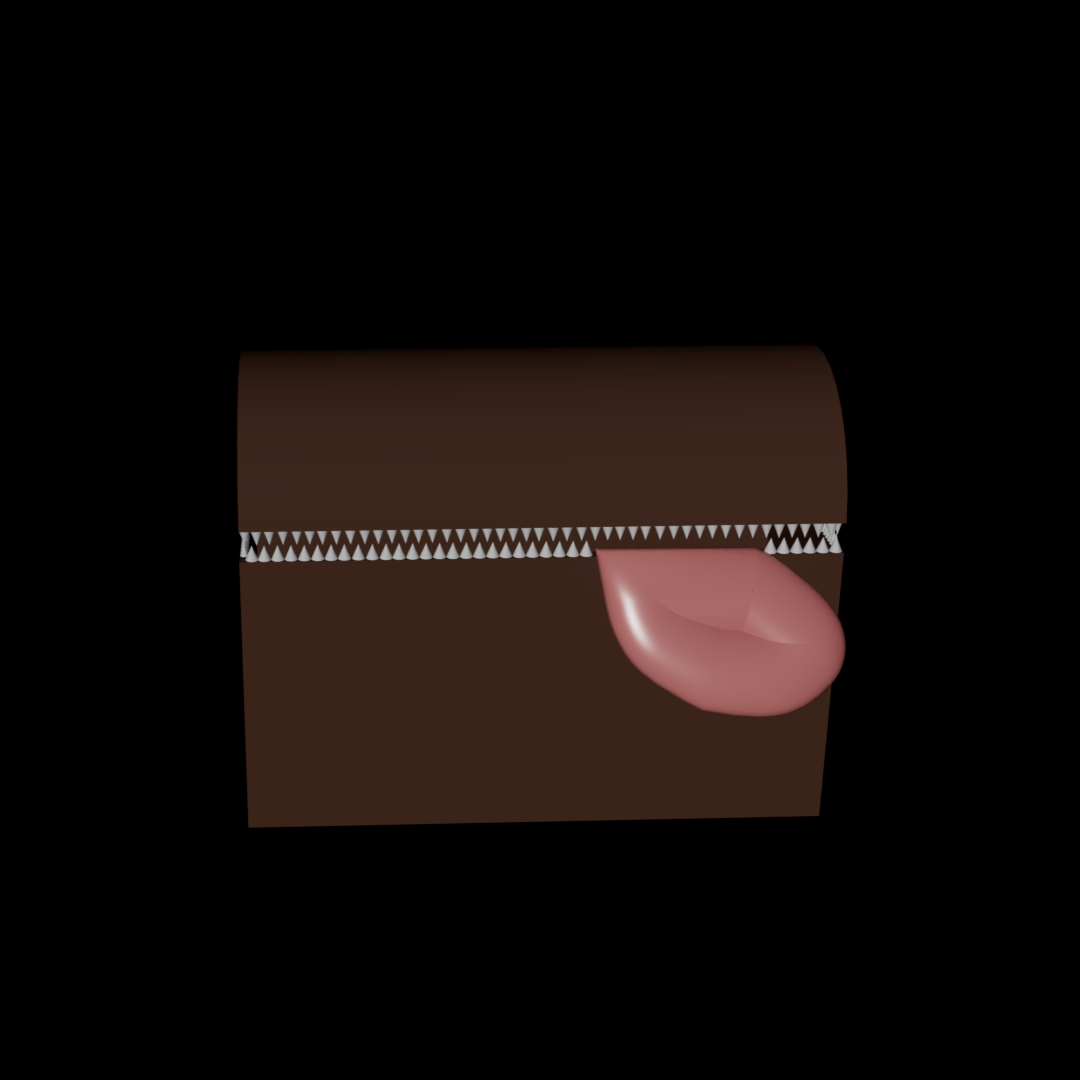
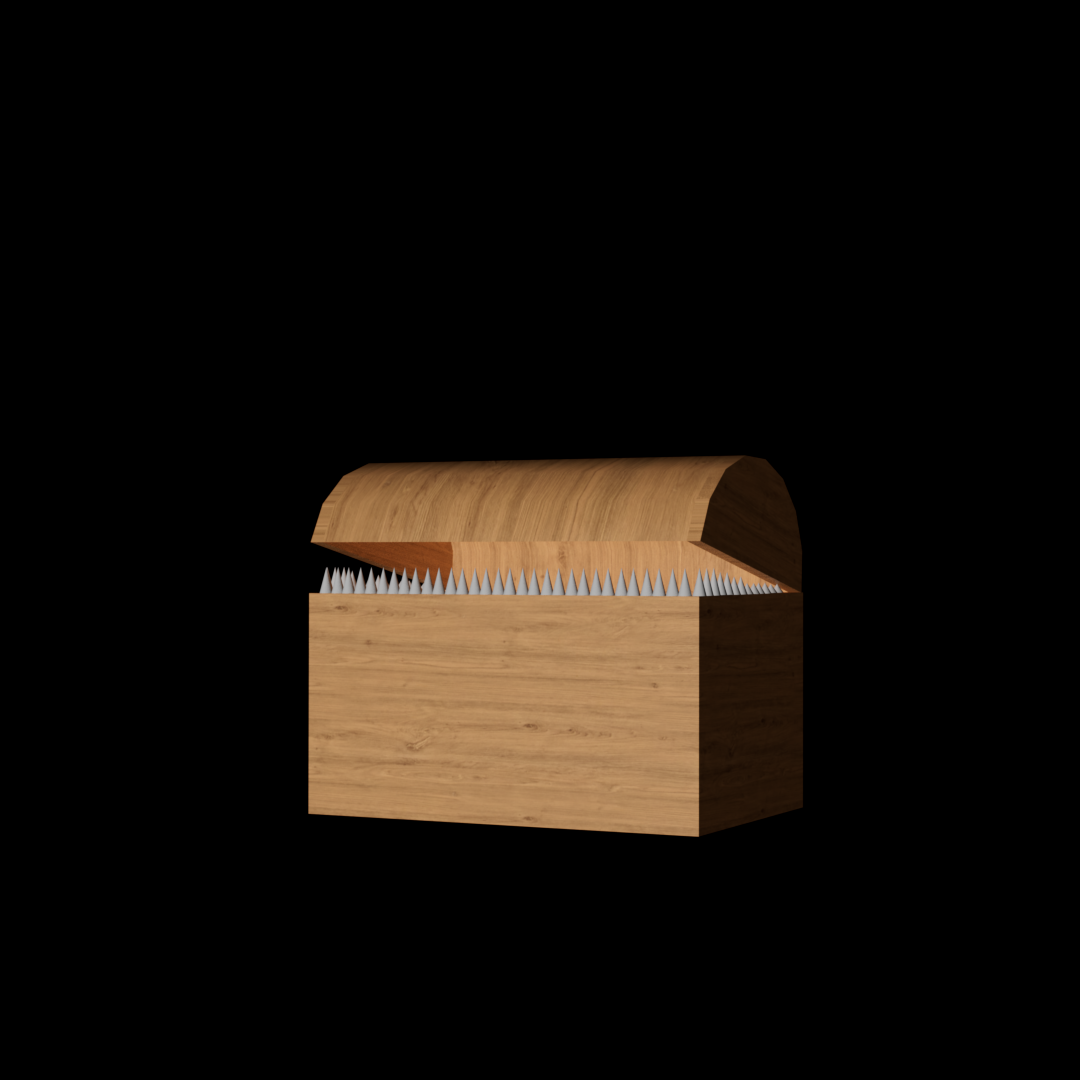
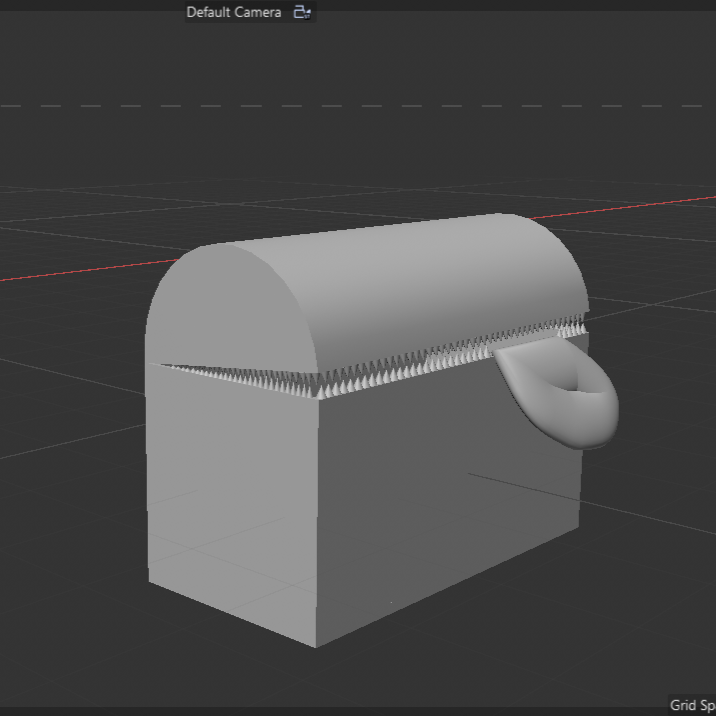
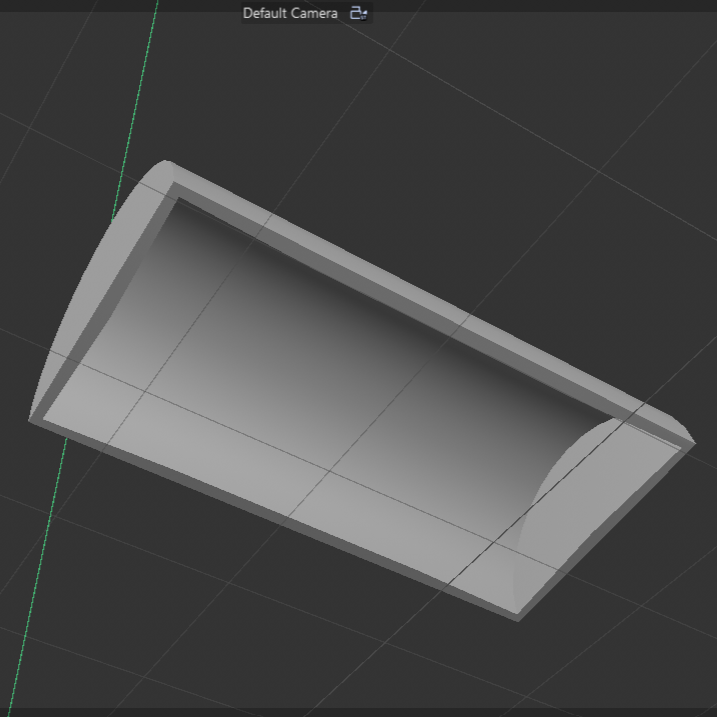
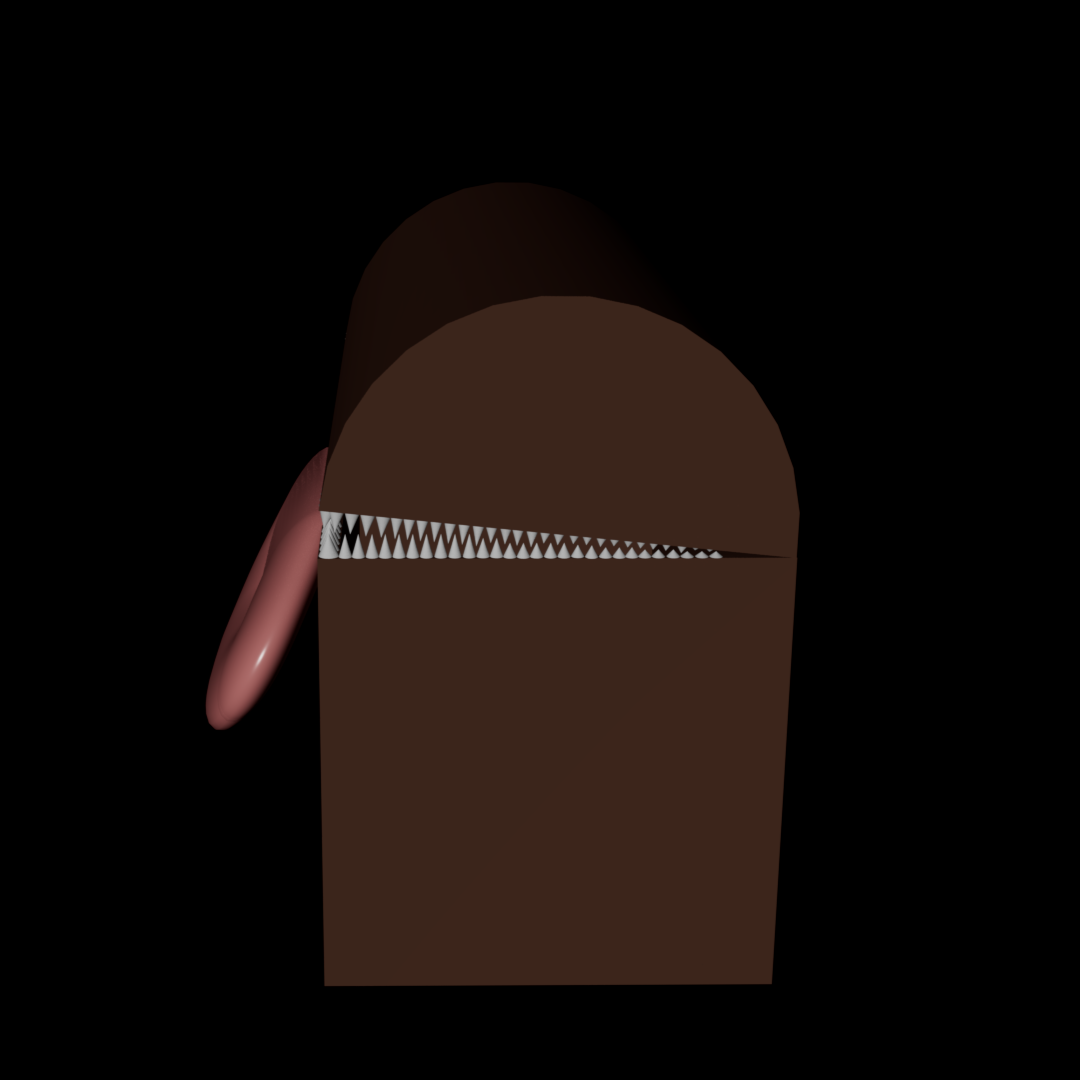
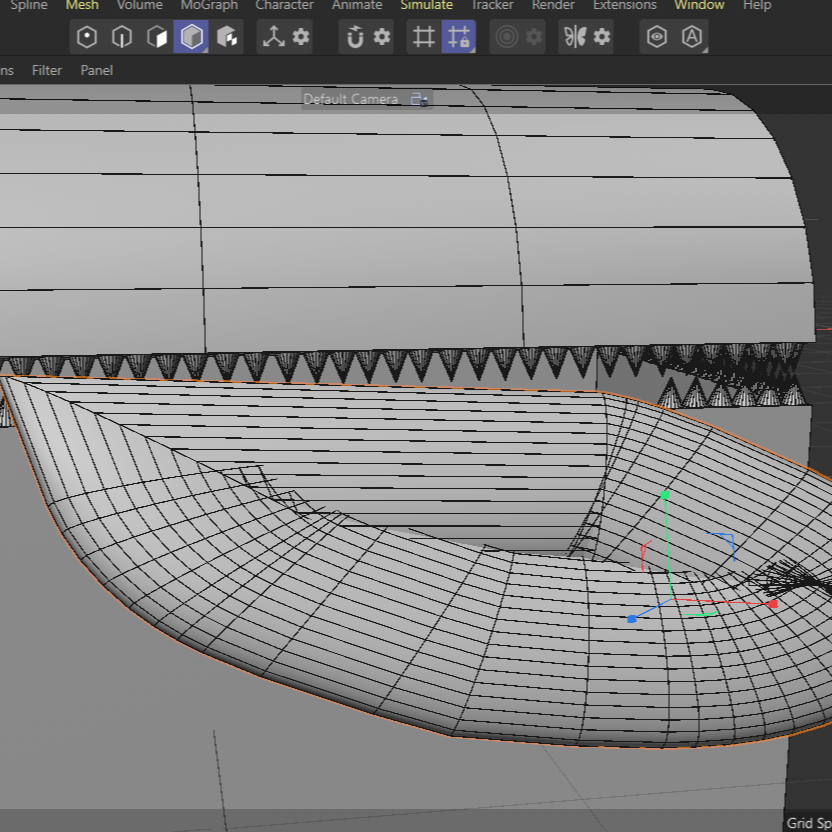
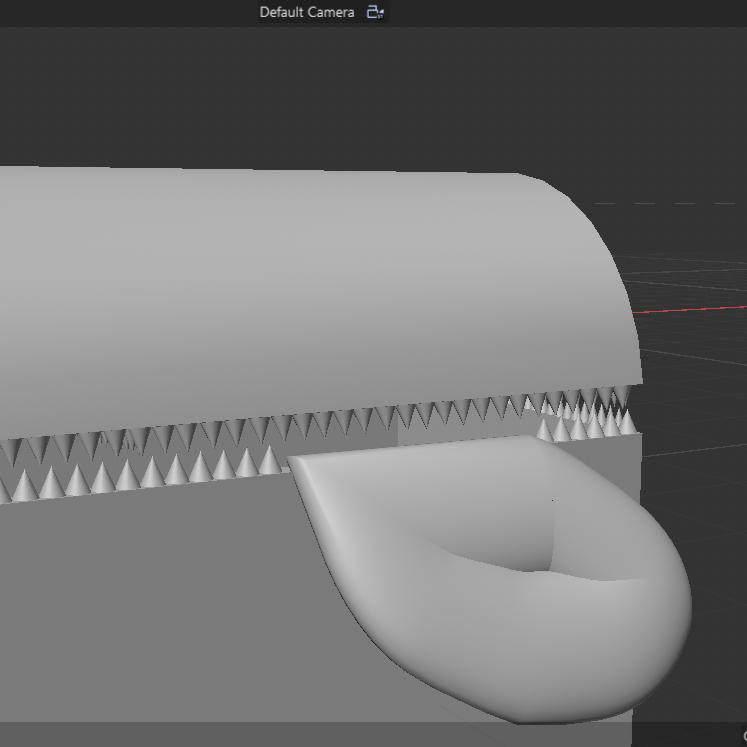
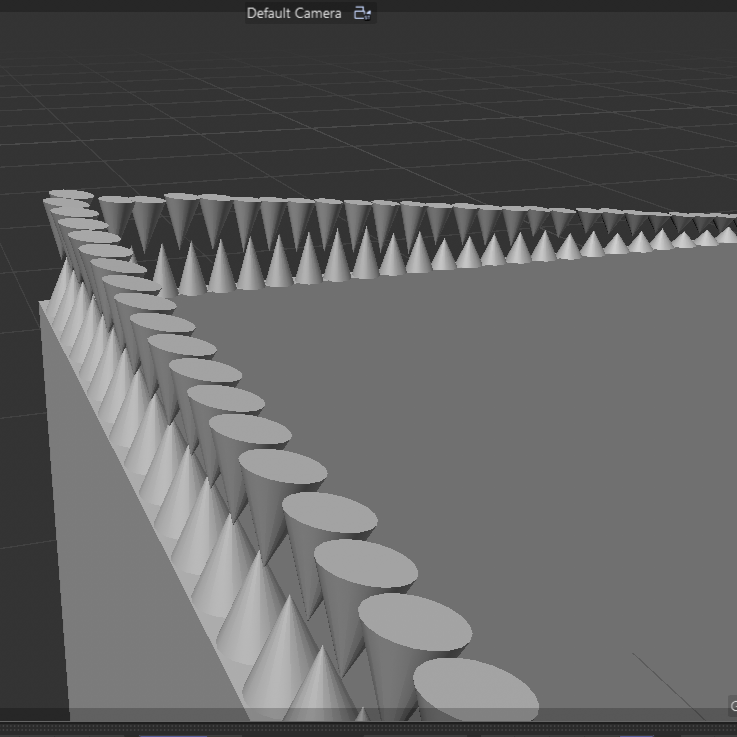
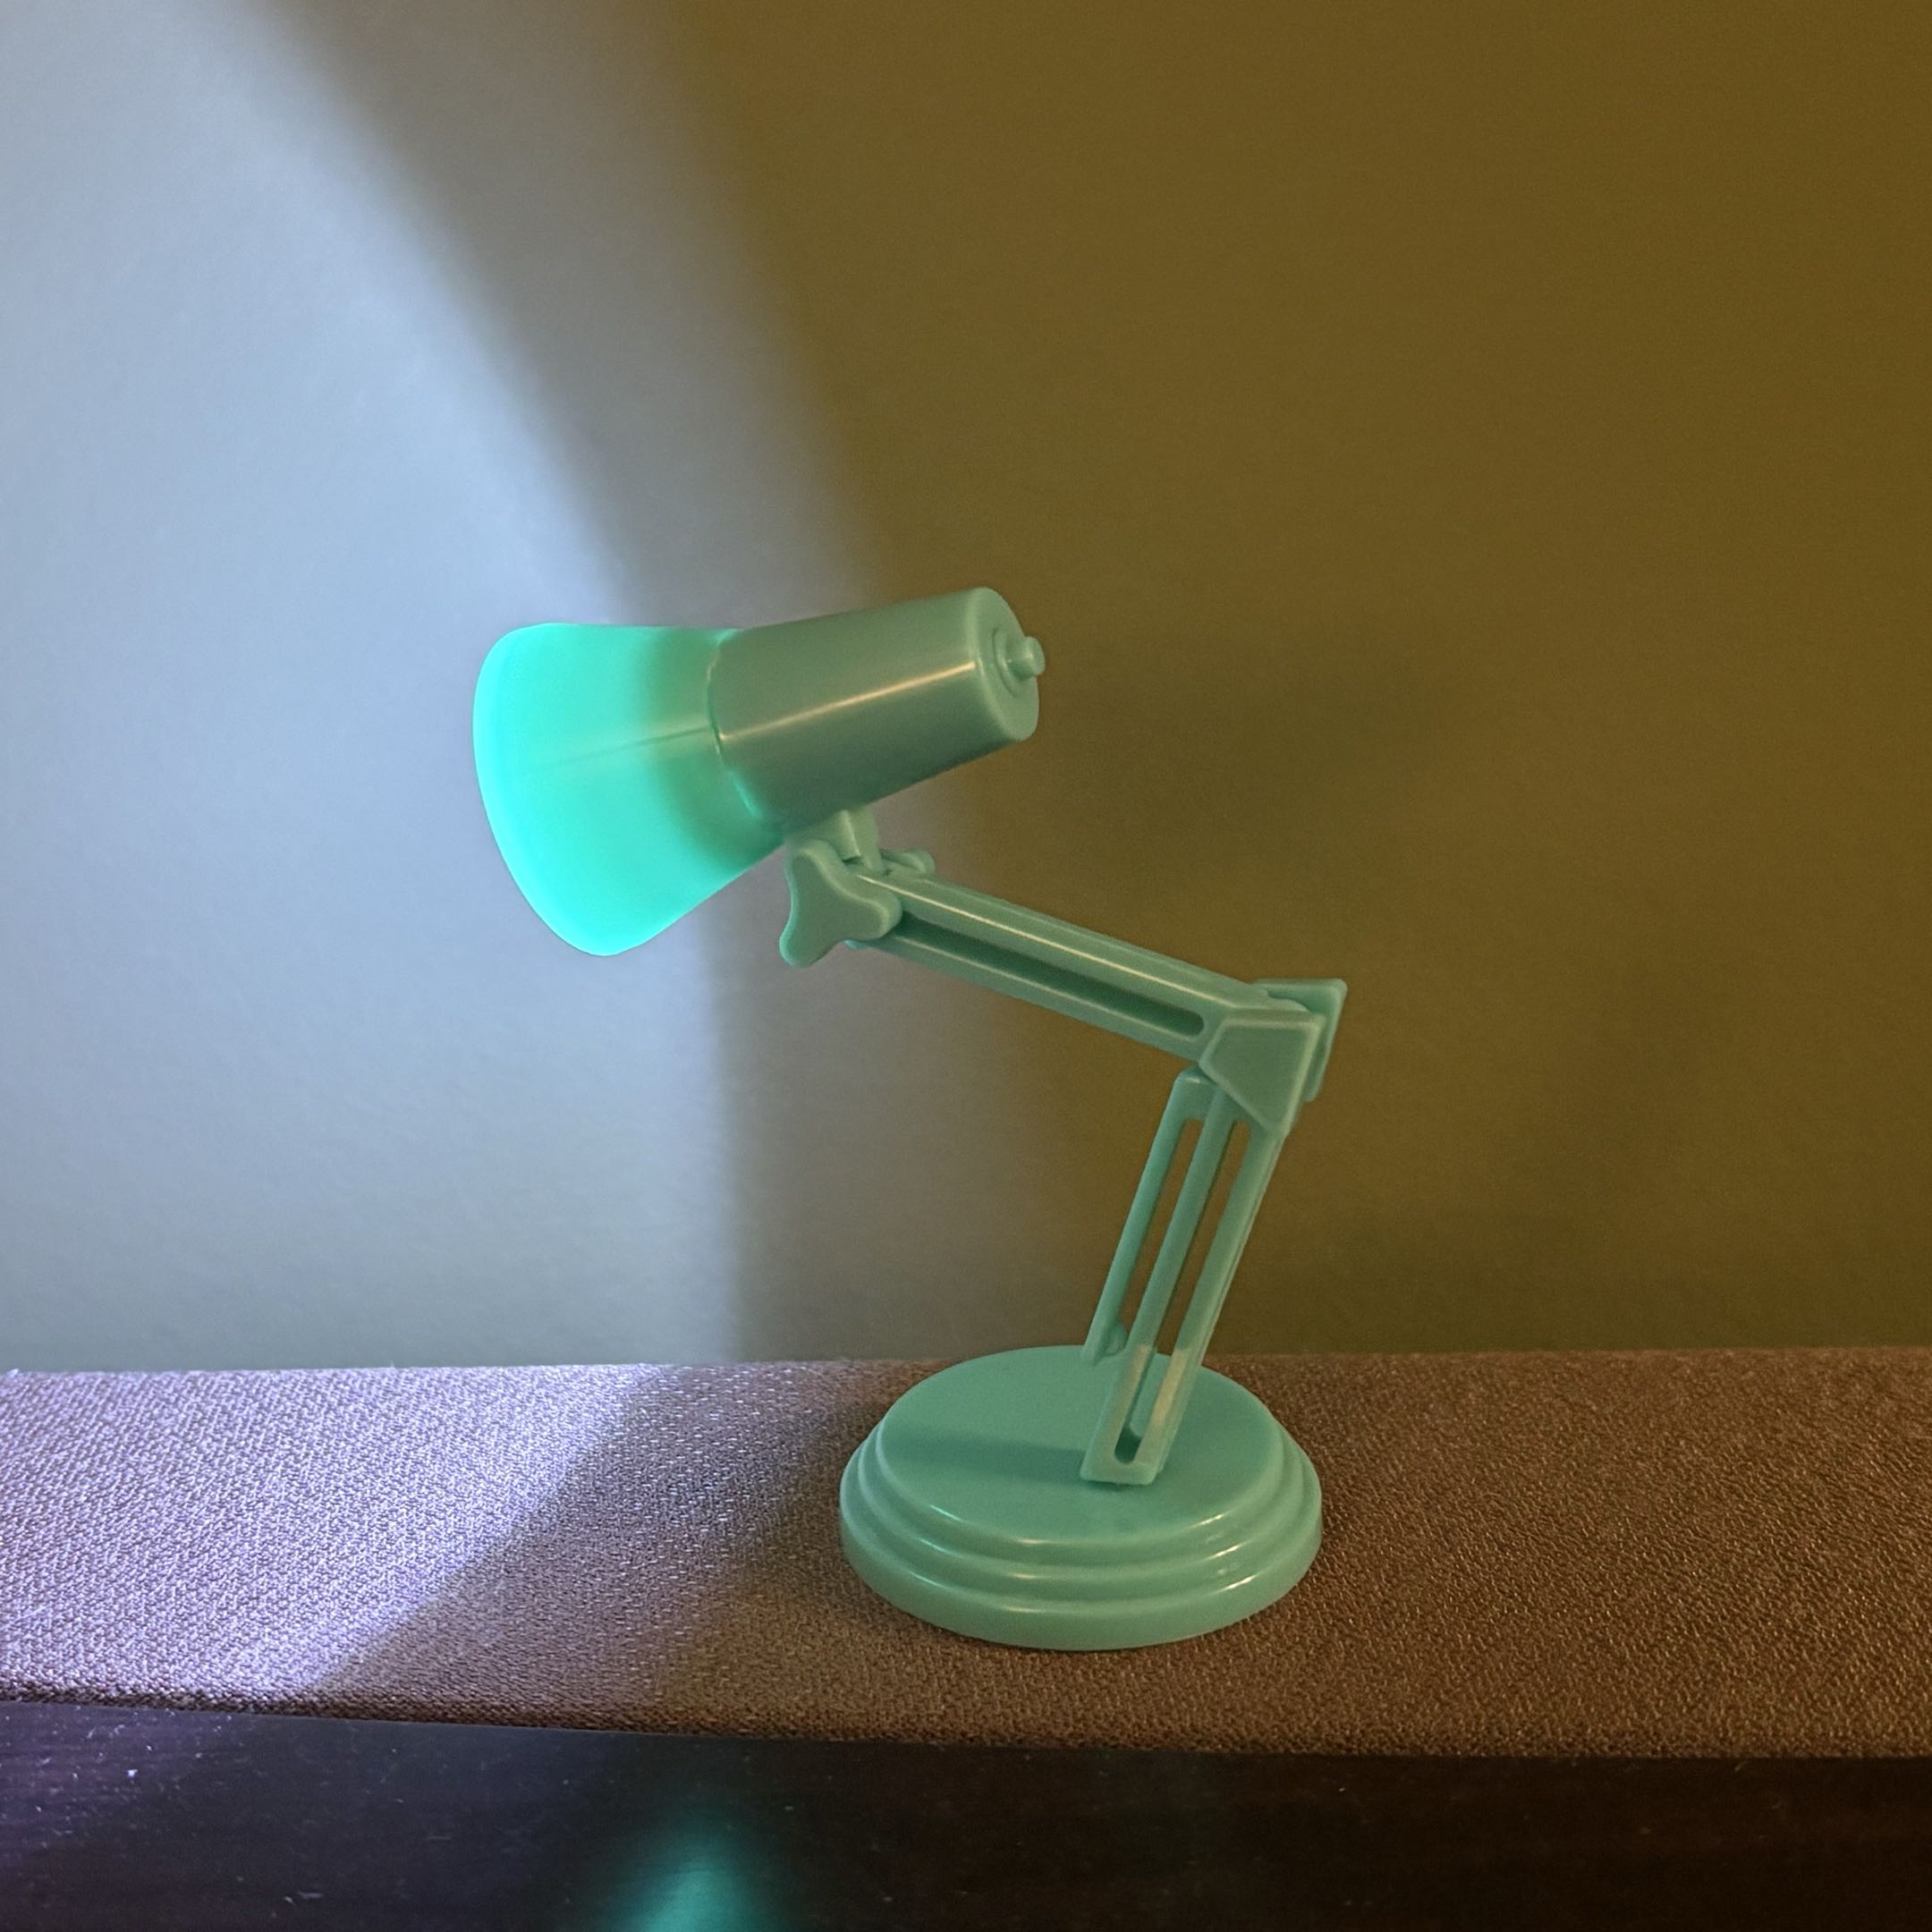
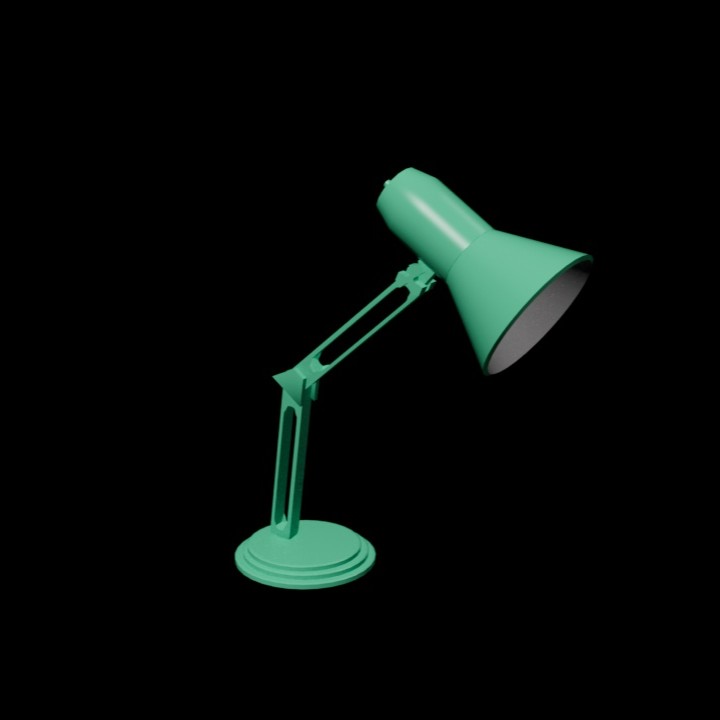
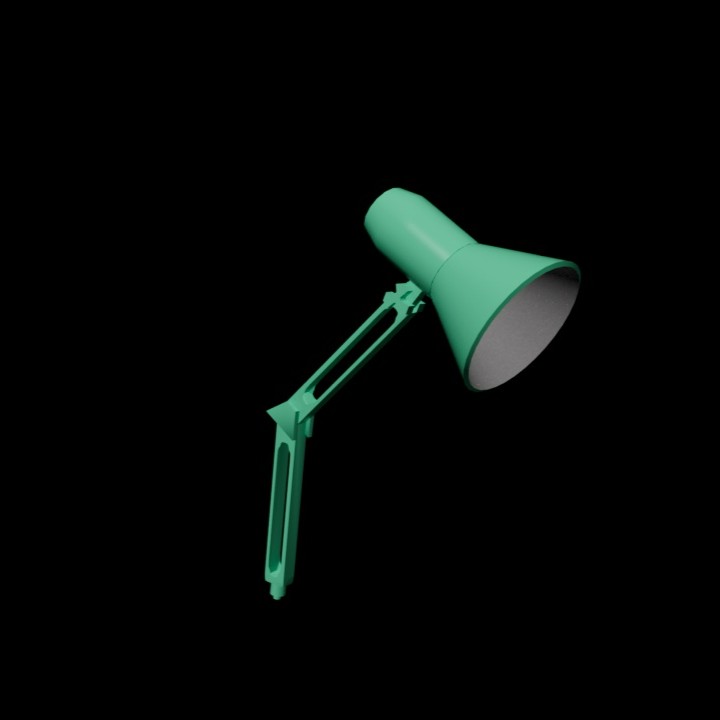
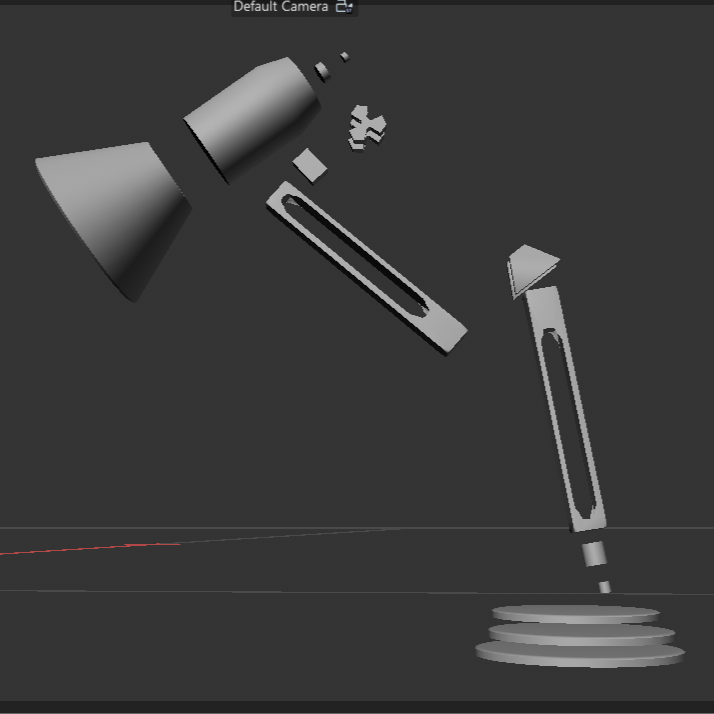
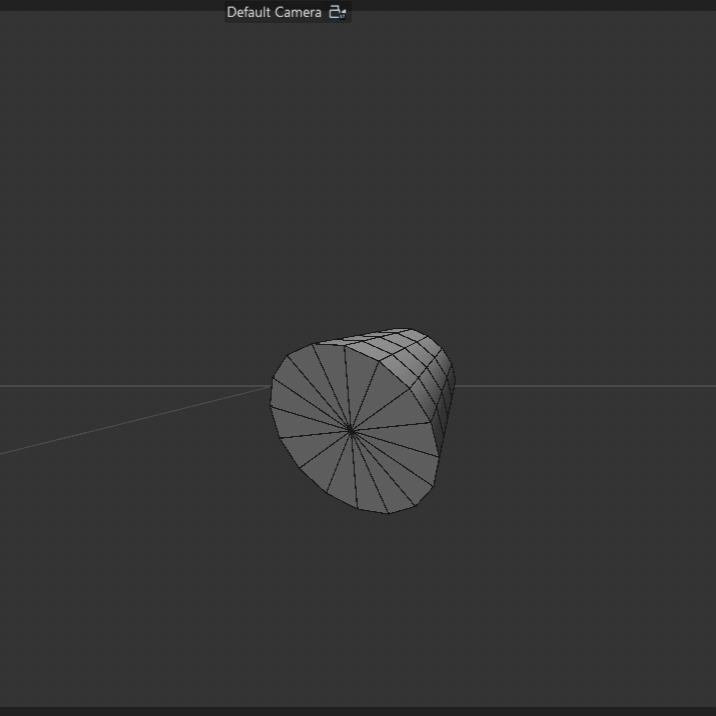
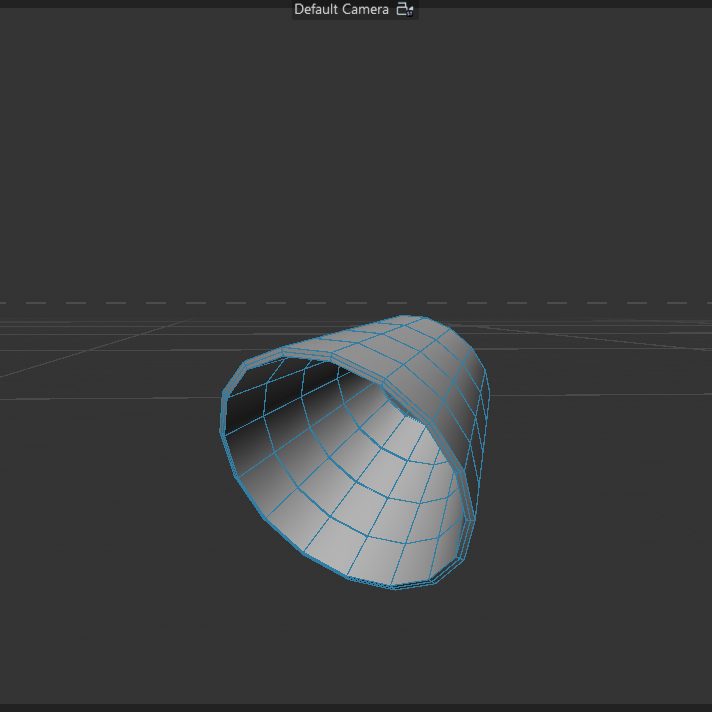
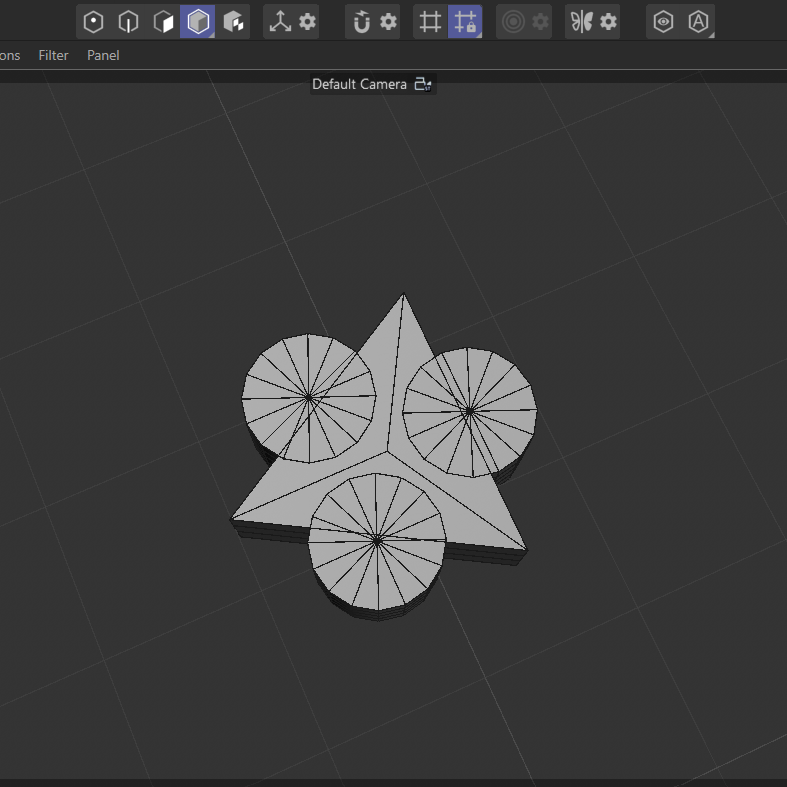
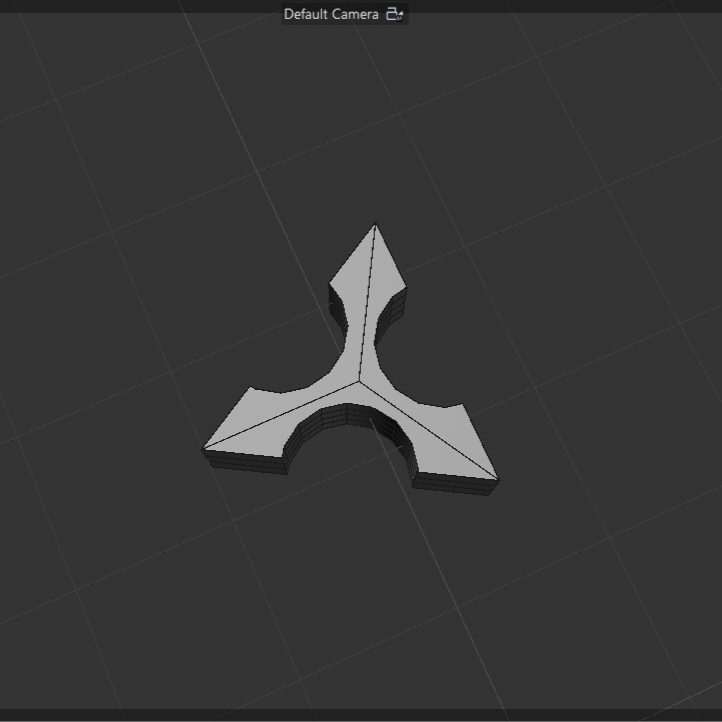
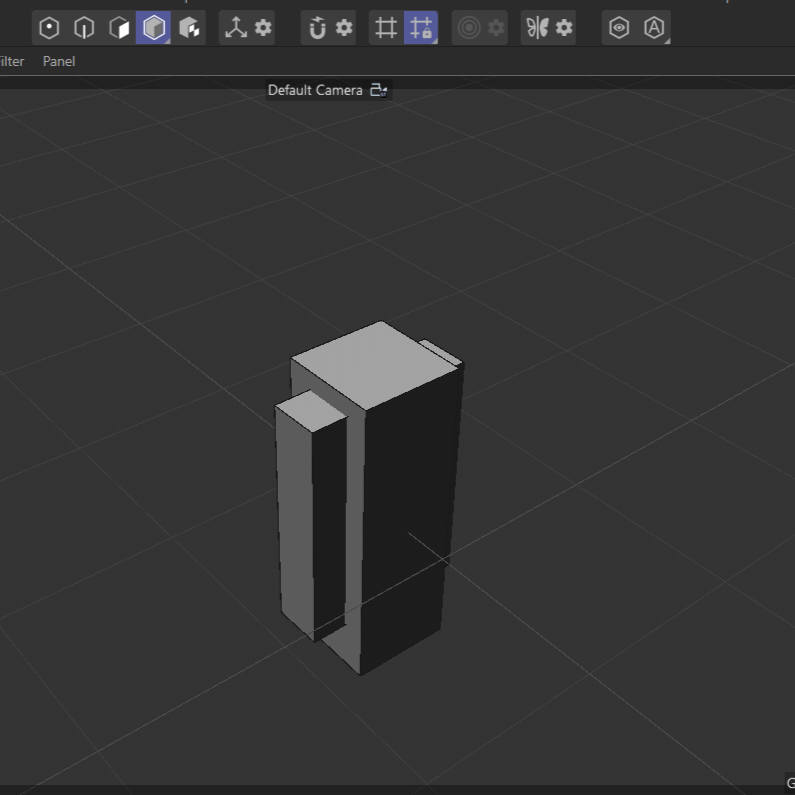
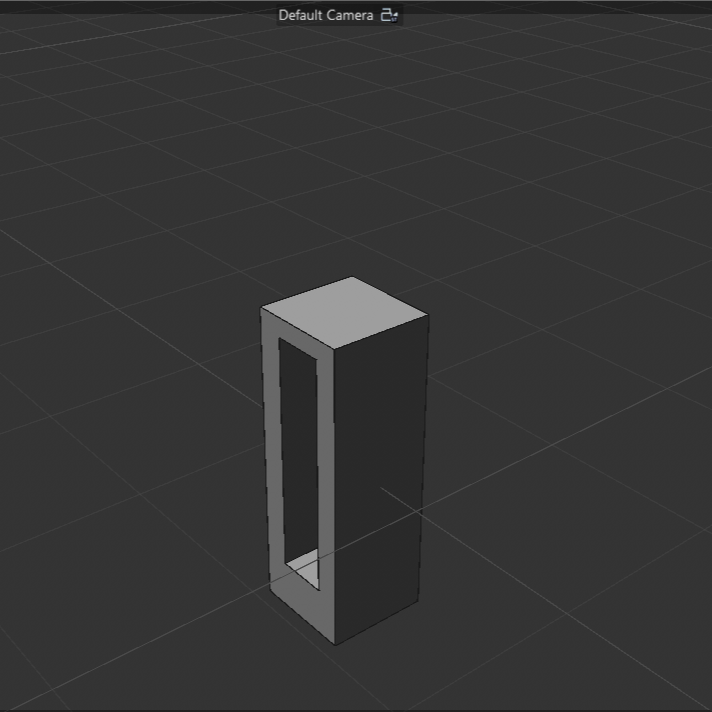
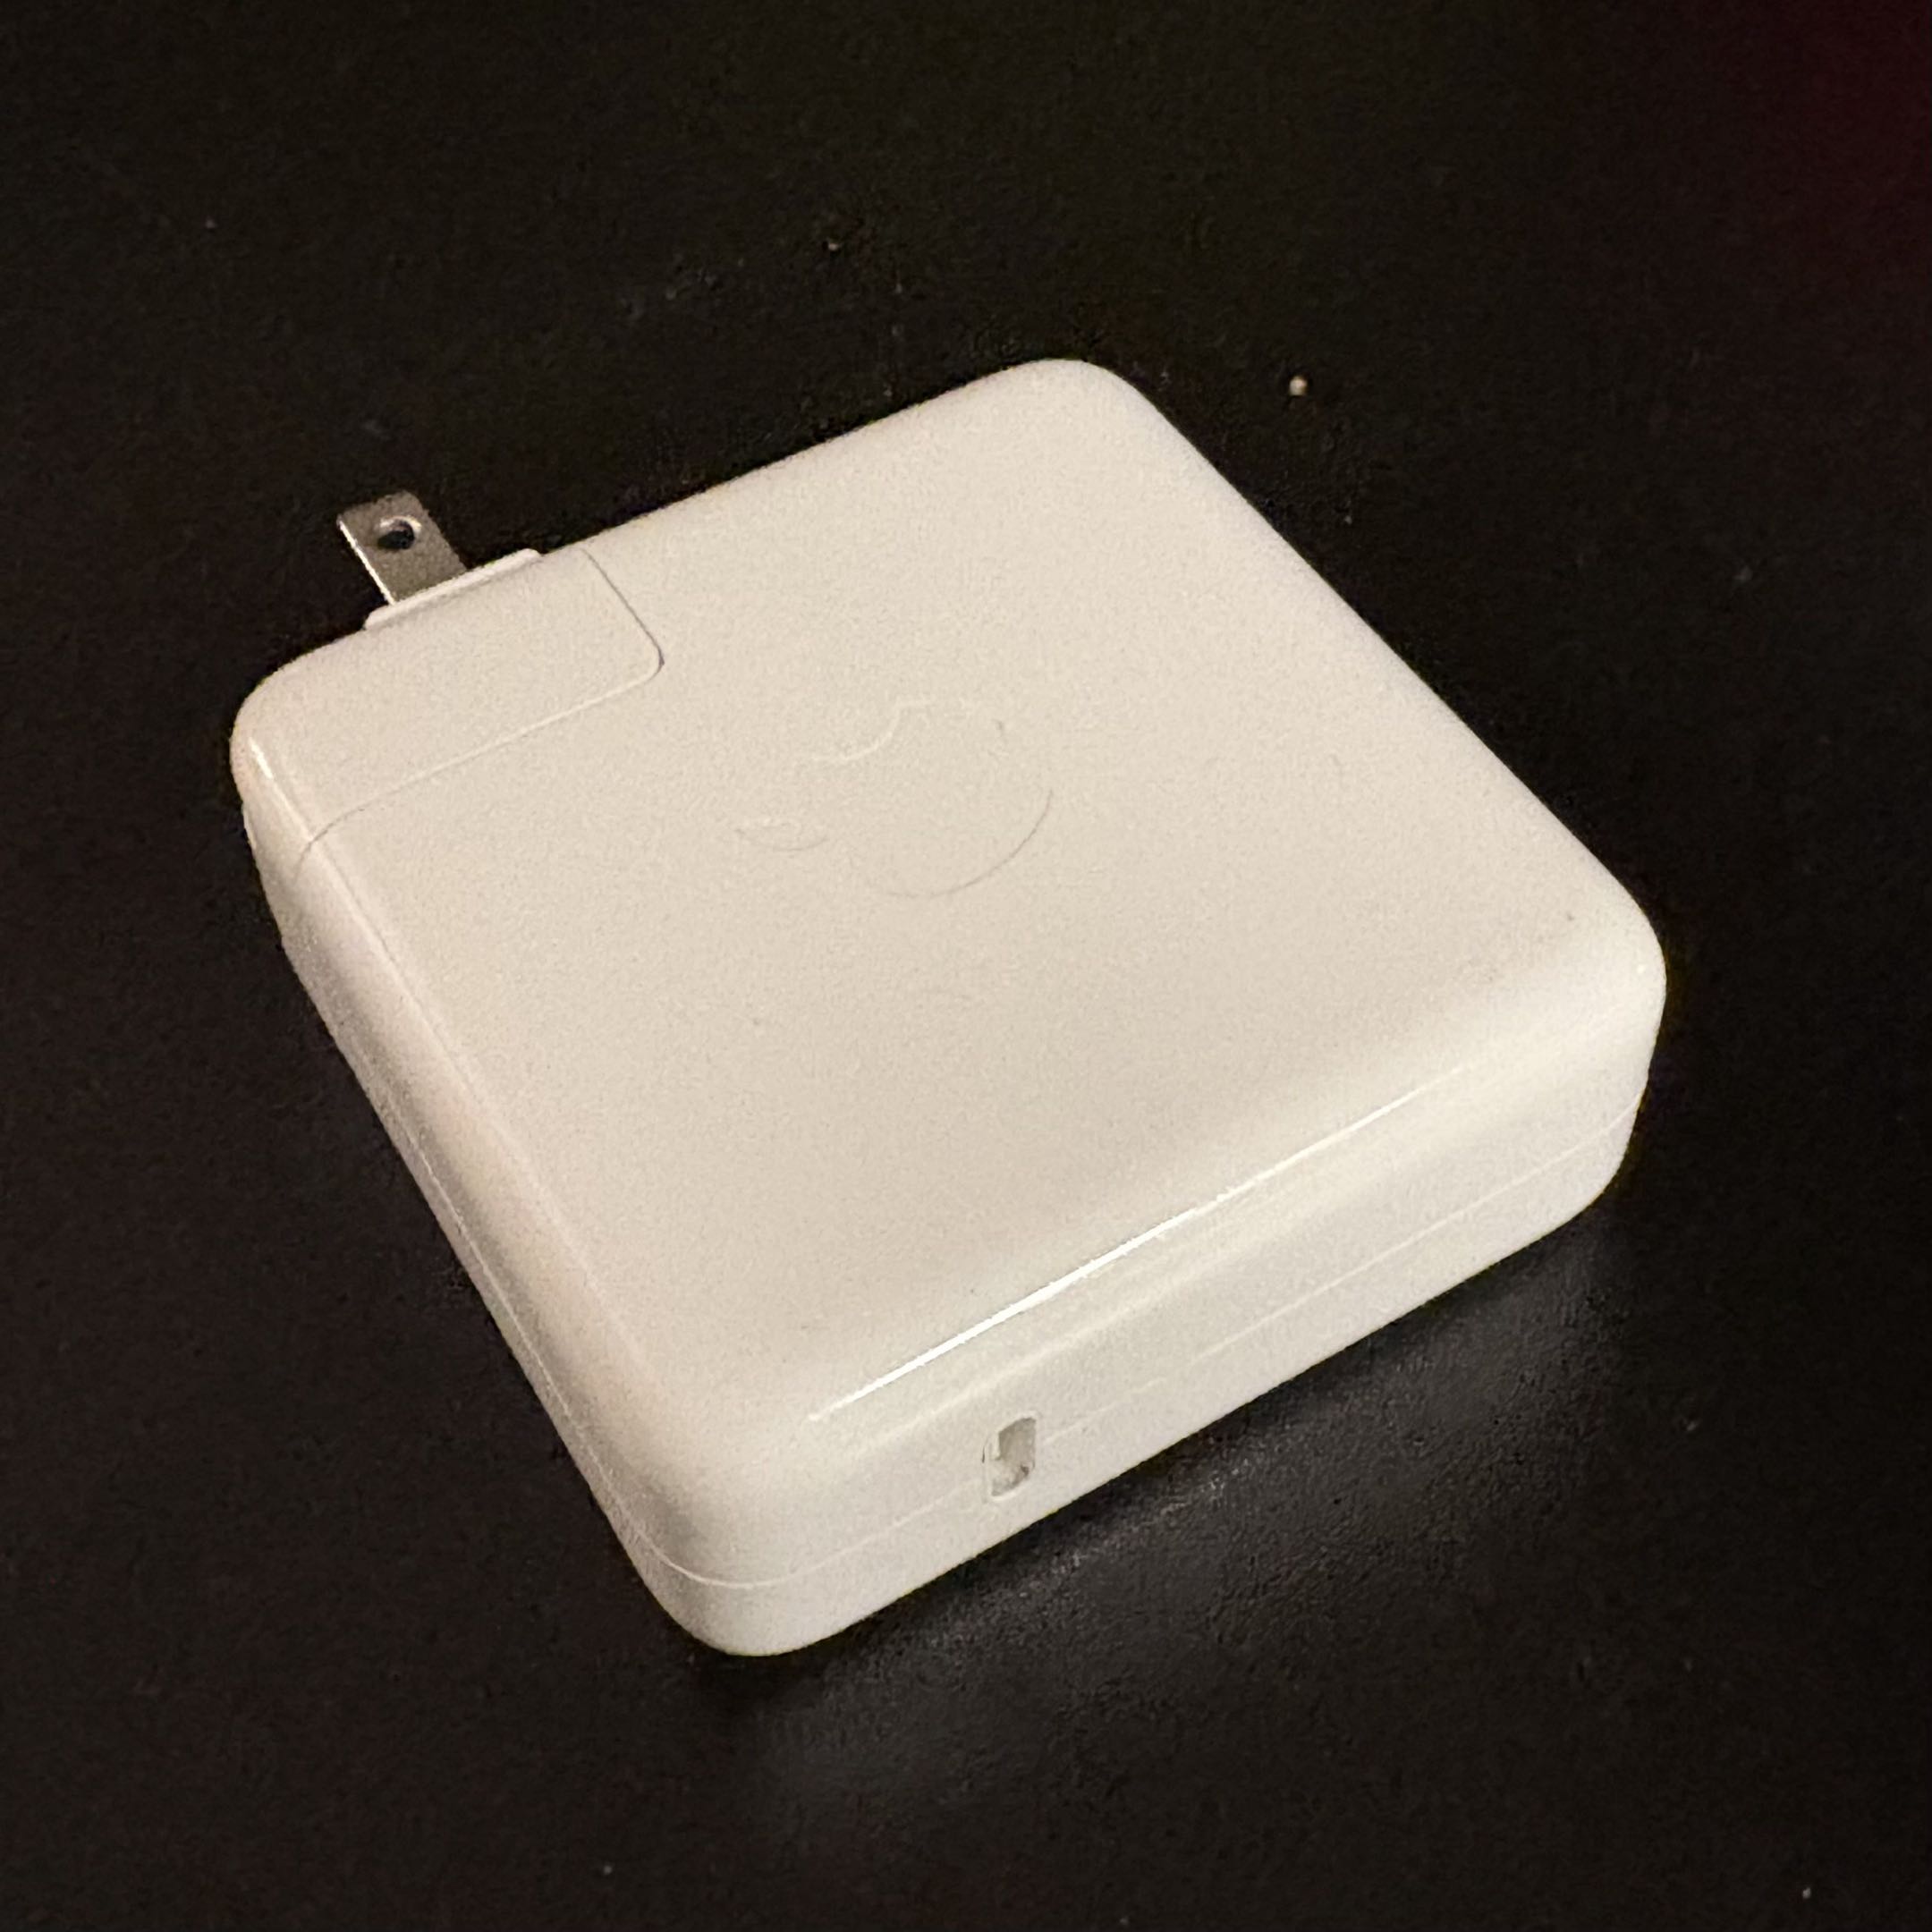
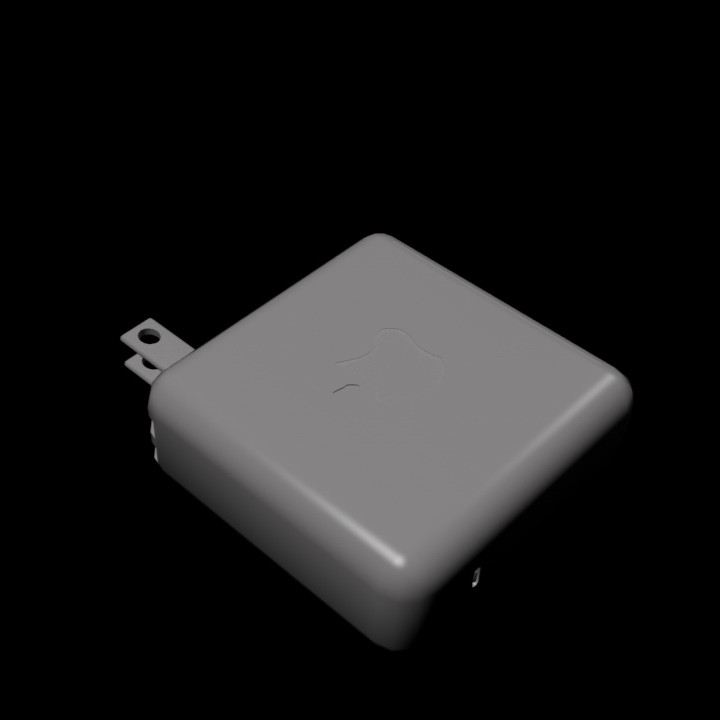
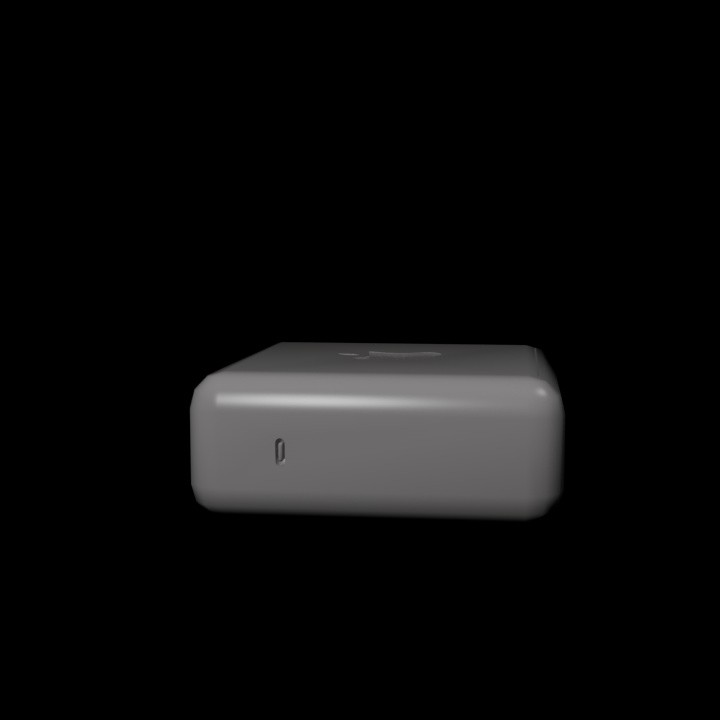
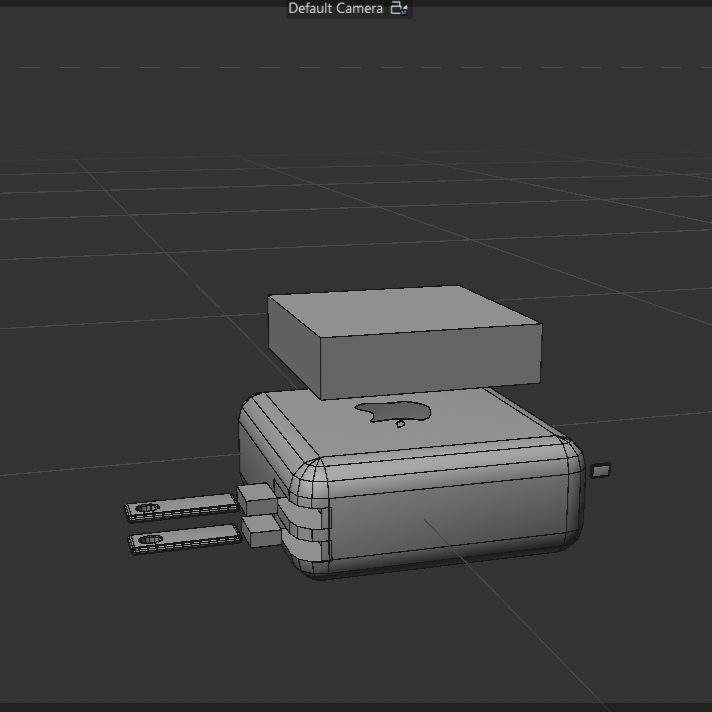
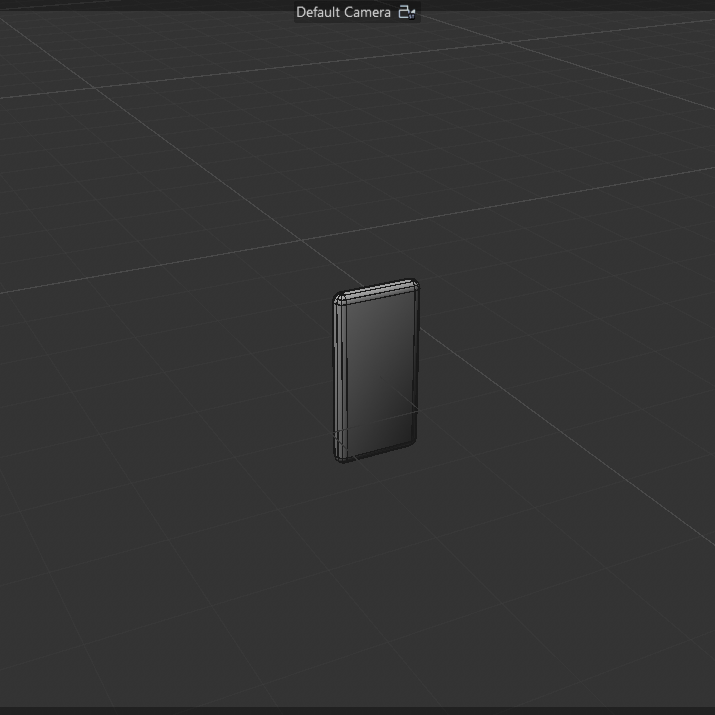
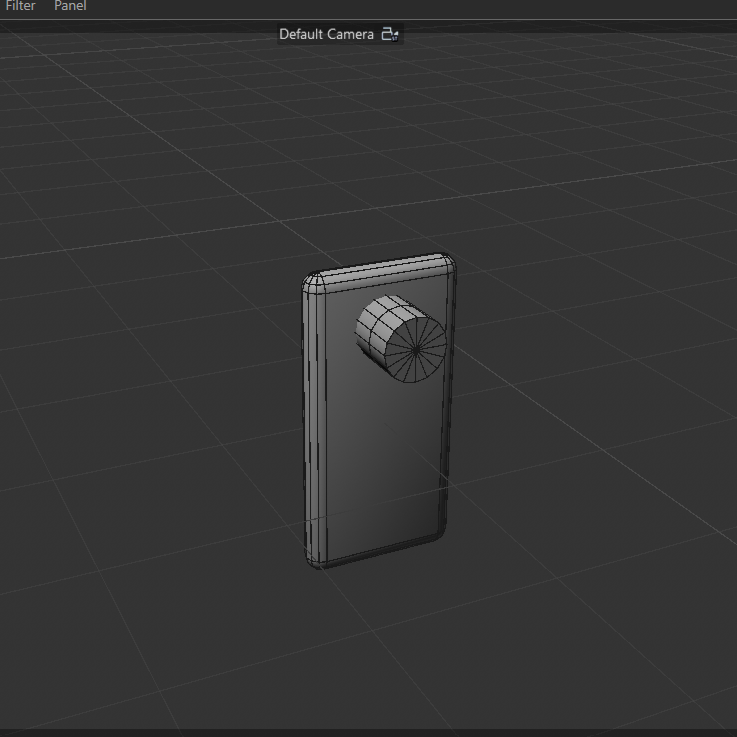
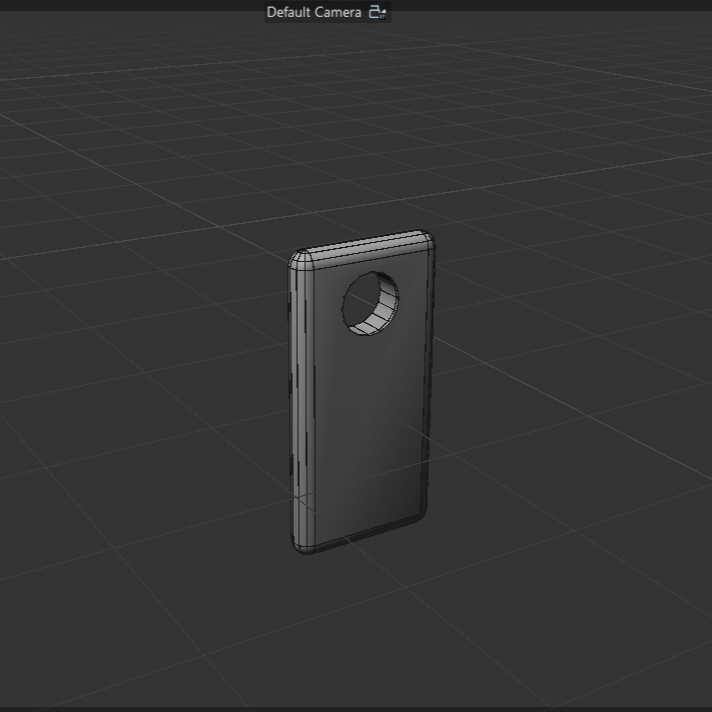
Sorry but yeah, we meet again. But there is improvement at this model This time, there are teeth at the cap, and a tongue inside wait for newbies adventurers to thoughtlessly open the chest. The color choice is also different, with dark brown as the wood and pink tongue, make it more humorous and scary Just a model before color got added in the adventure. It does look like missing something after you look at the final model first Here's the chest cap. All you need is to create a cylinder and cut it into half using the rectangle and Boolen together. Then add Thicken to make it more dynamic A side view of the mimic chest. You can see the teeth and tongue are sharp shapes here. Took a while form me to figure how to create a tongue. First I tried to combined shapes, but it didn't work out, so I tried to draw the shap using Spline Pen, then Extrude it. Playing around with the shape to make it fits into the chest size. It somehome also left a bit of line-ish in the tongue, which made it look more realistic. A closer look at the teeth. I used Cone to make it, nothing much. But the closer to the chest cap, I have to decrease the height to make it looks more dynamic. A mini book lamp that my friend bought it at a local store. They also bought one for themselves too with the same color. A very creative design, indeed Here's the model of the cyan book lamp, It looks easy to do it, but it was nightmare to model it. I choosing this because I like the design and color, and pretty much want to challenge myself to model it You can also take the lamp off the base too. Here's a view of the lamp without the base Component of the mini lamp. The base is a cylinder, the lamp is a cone-like shape, and the stand is some sort of rectangle. The lamp hood is pretty easy to make. Just select the Cone shape, remember to add the Top Radius, and adjust the size. The image is the first step of making the lamp hood. Next, press 'C' on your keayboard to make it editable. Then, delete the bottom face, and add Thicken to make it more dynamic. It should look like cone in the image If you look closely, there are some sort of boomerang shape holding the lamp hood. Took a while to figure it out. I'm using the Tube and Cyliner shape, remember to put the tube's Inner Radius to 0 and Rotation Segments to 3. Then move it to make it looks like the provided image Finally, use Boolean, and select Subtract to cut it, make a boomerang shape. To soften the edge, just use Bevel and adjust the corners The connection part between the lamp and the base is a rectangle-ish shape. To make it, just use the Cube tool and make two. Remember to make one of them smaller and put it between Then, use the Boolean tool to cut and make a rectangular hole. You can use Bevel to soften the innner edge of the hole A Macbook charger. How I have it when I don't own a Macbook you asked? Well, I steal from my sister. Ok, I'm joking, I borrwed from her, will return it back soon Here's the Macbook charger model. Looks easy but it's a different type of hard to model. The base is originall a rectangele, but Boolean and Spline Pen make the base of the charger more realistic to the actual image Just a different view of the charger. This persecptive show you where you plug the USB-C cable. Also use Boolean to cut the hole List of components for the Macbook charger. The base is a rectangle, the body is a cylinder, and the plug is a small rectangle. I also use the Spline Pen to draw out the Apple logo. Didn't look 100% alike but I've tried. The plug is very easy to model. First you use the Cube tool to make a thin rectangle. Remember to turn on Fillet to make all four sides curved Then, create a cylinder and adjust the size to make it small enough to look like a plug. The cylinder here doesn't need to fix much since we will cut it to make a hole later  Then, use Boolean to cut the hole in the thin rectangle. And ta-da now you have a plug

Material Workshop 1
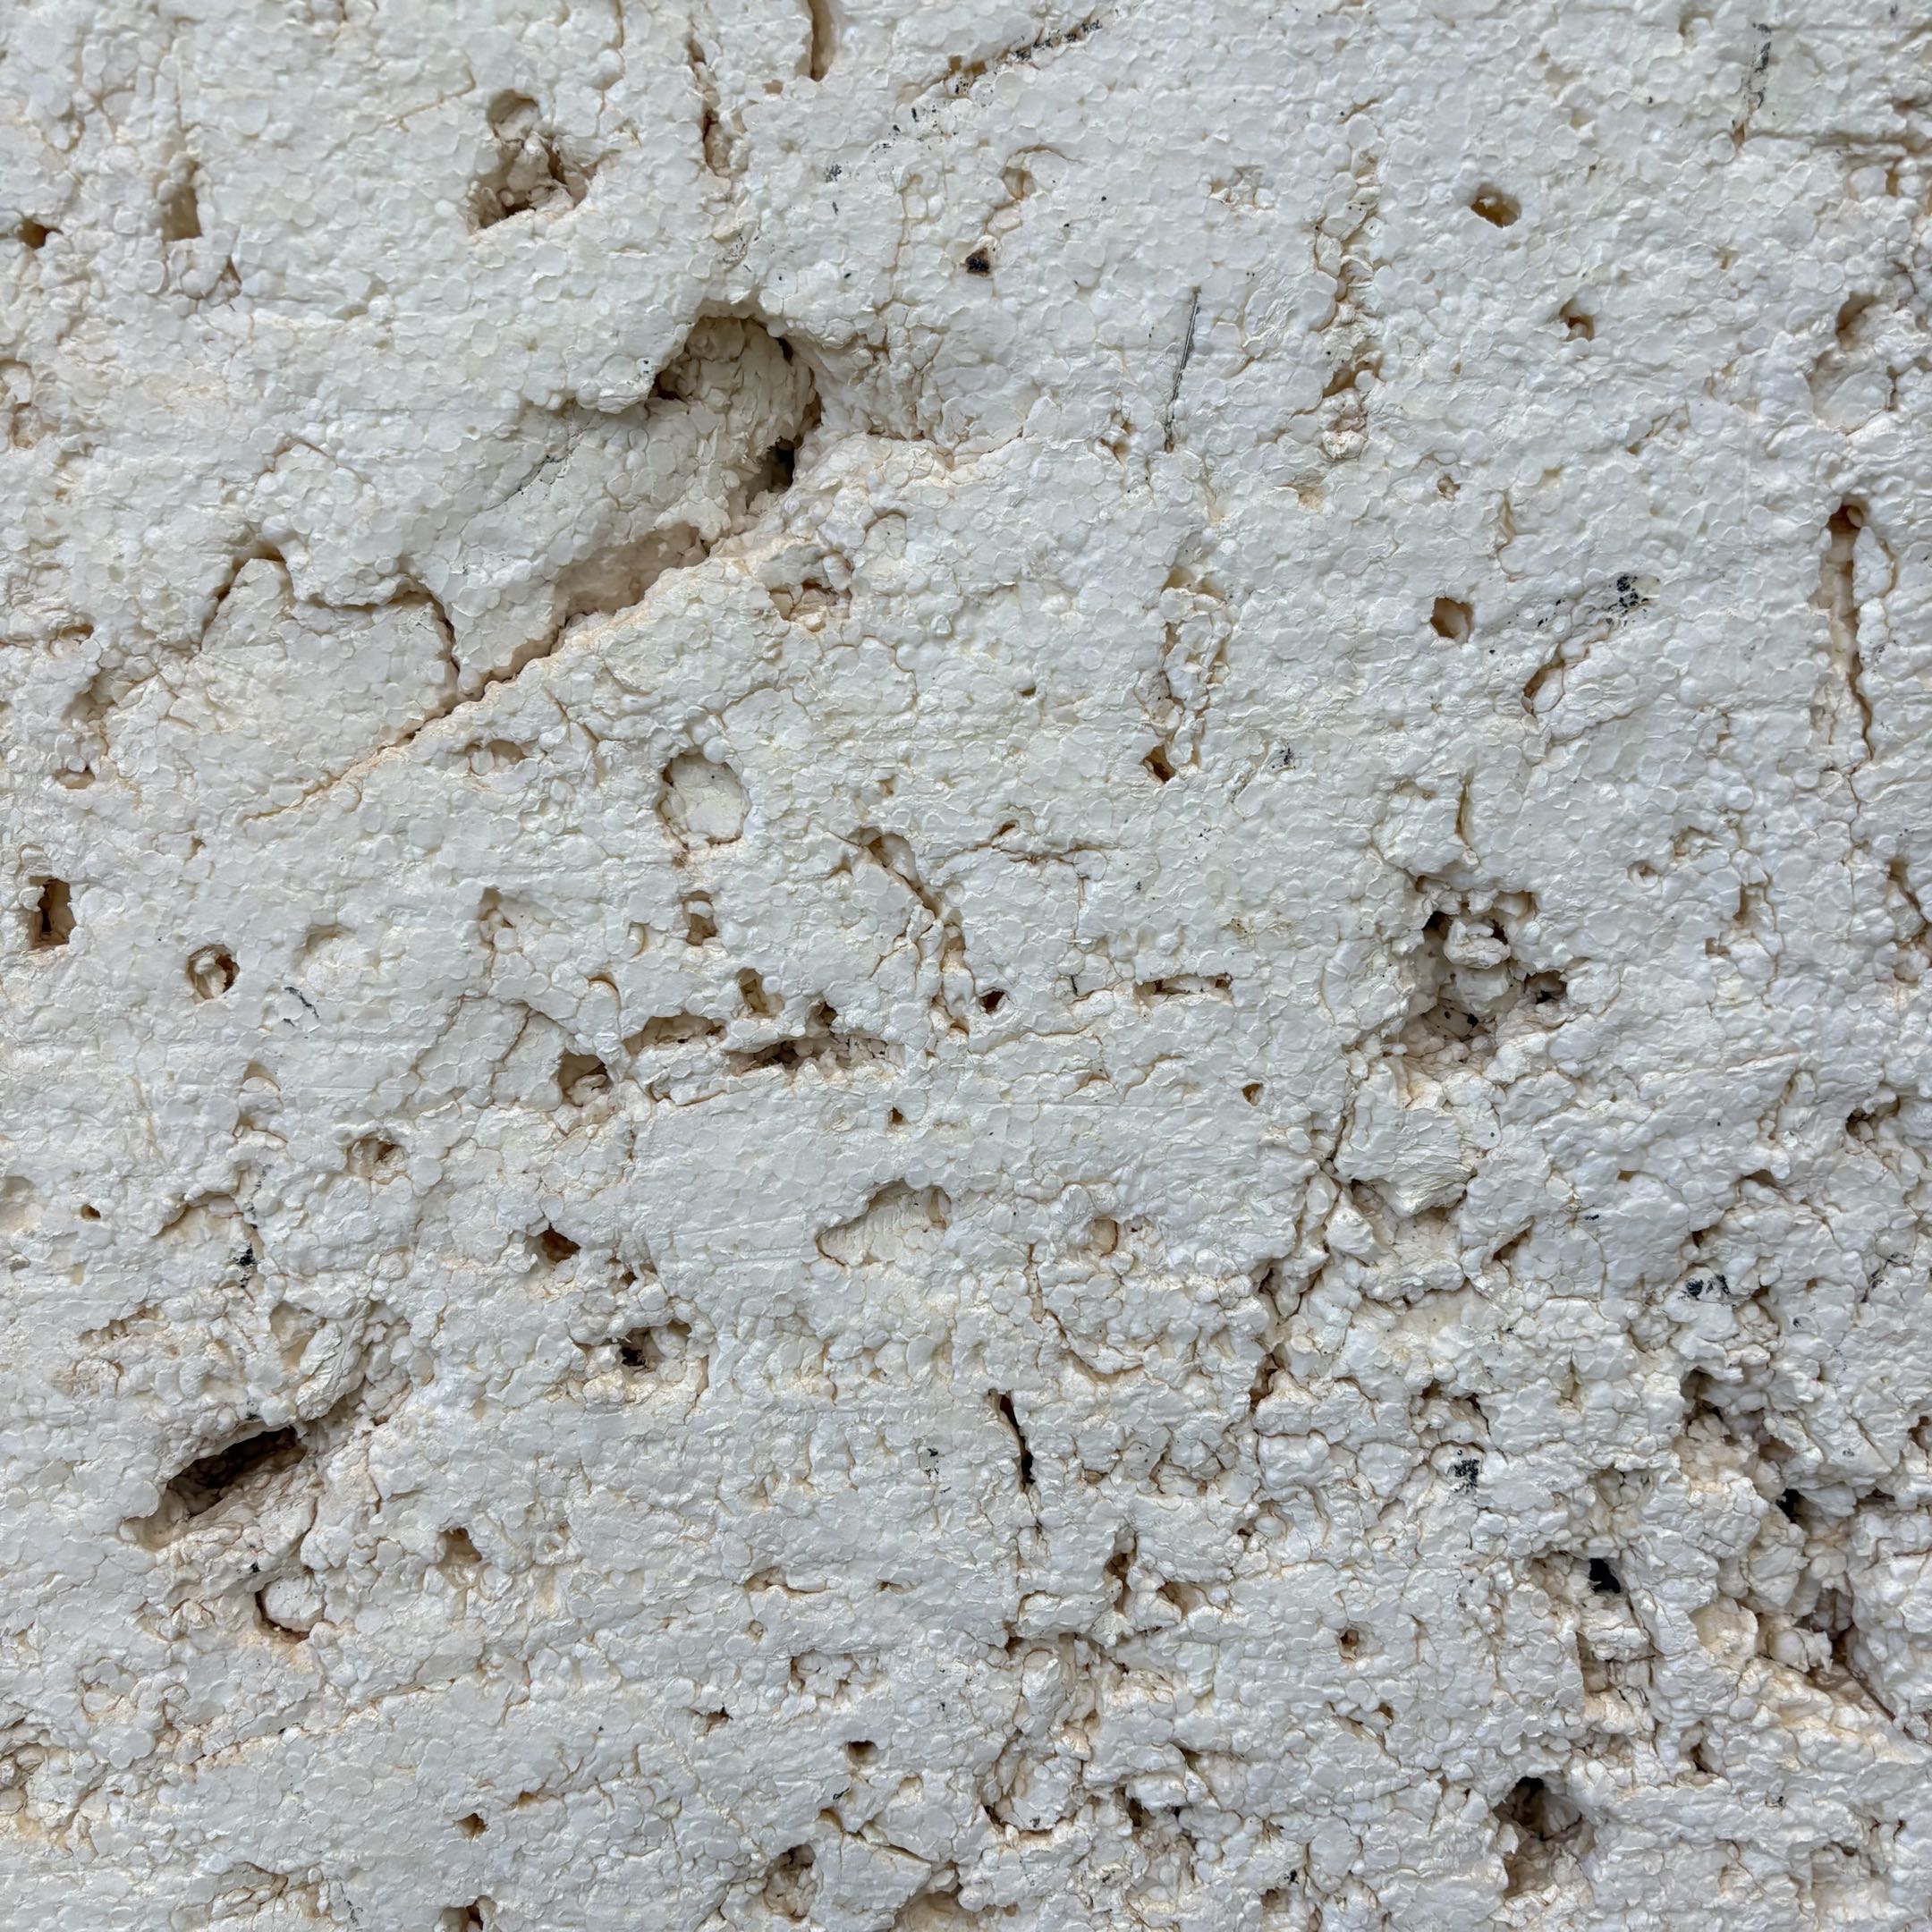
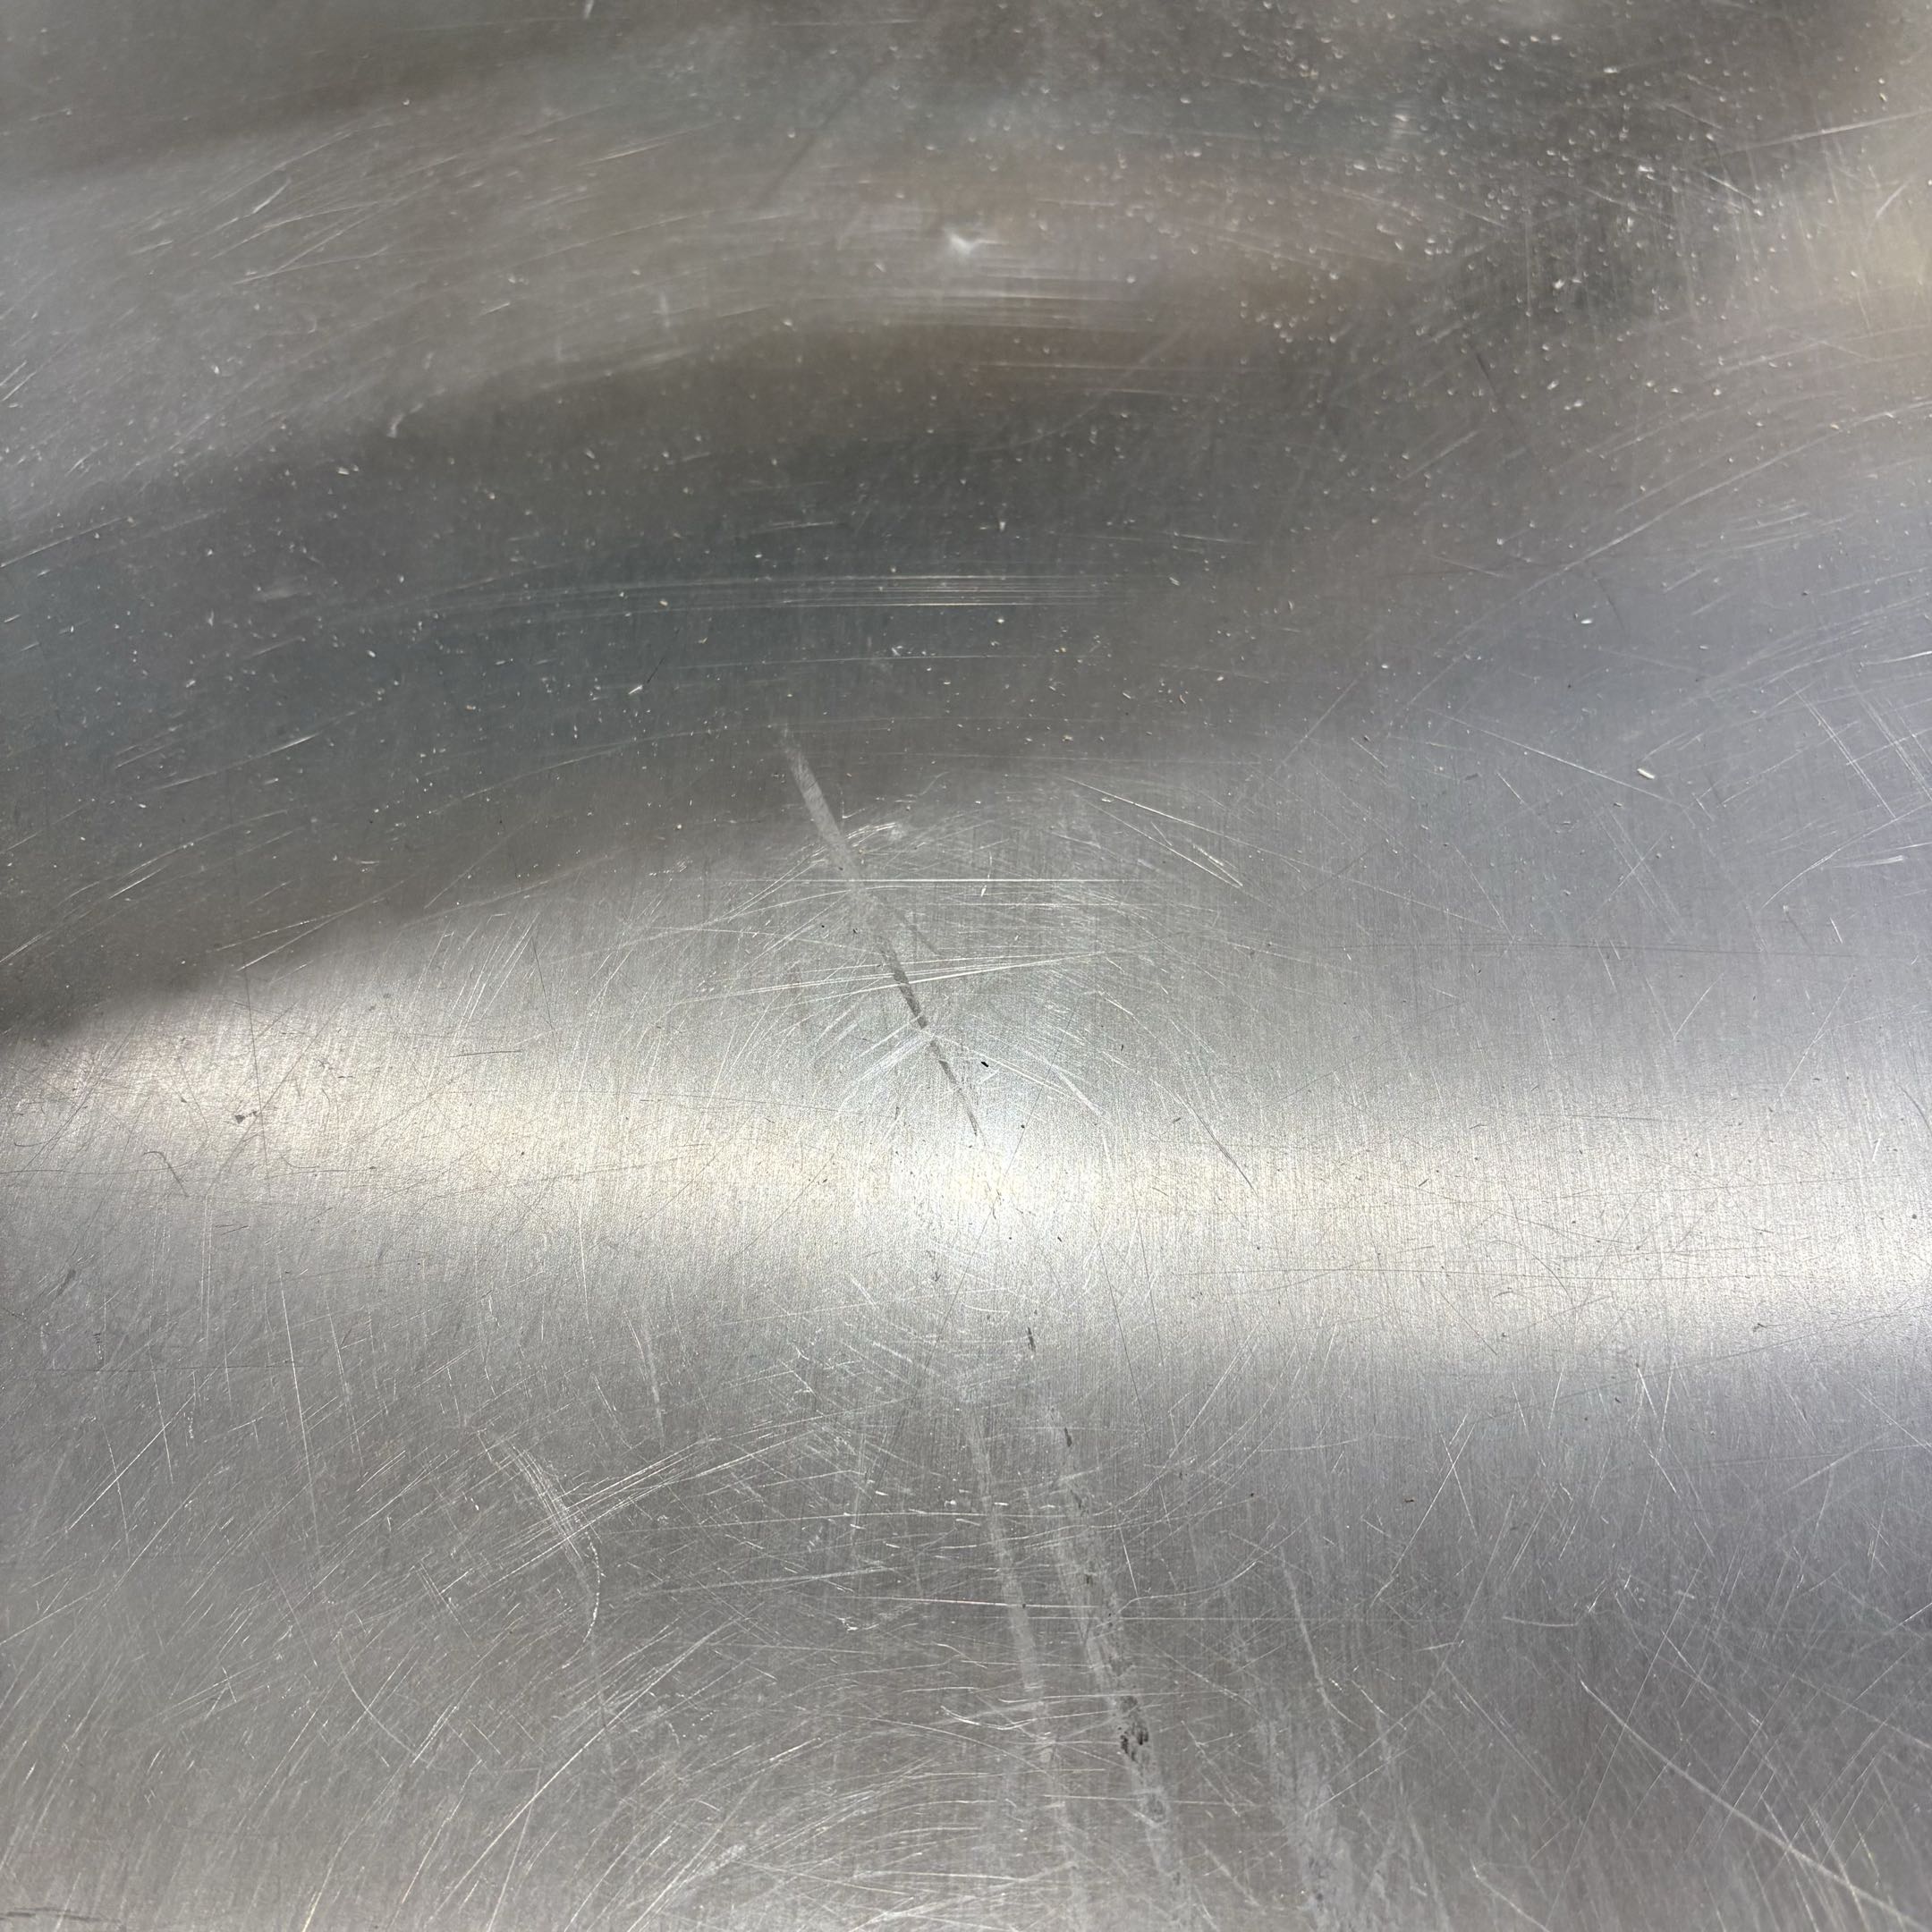
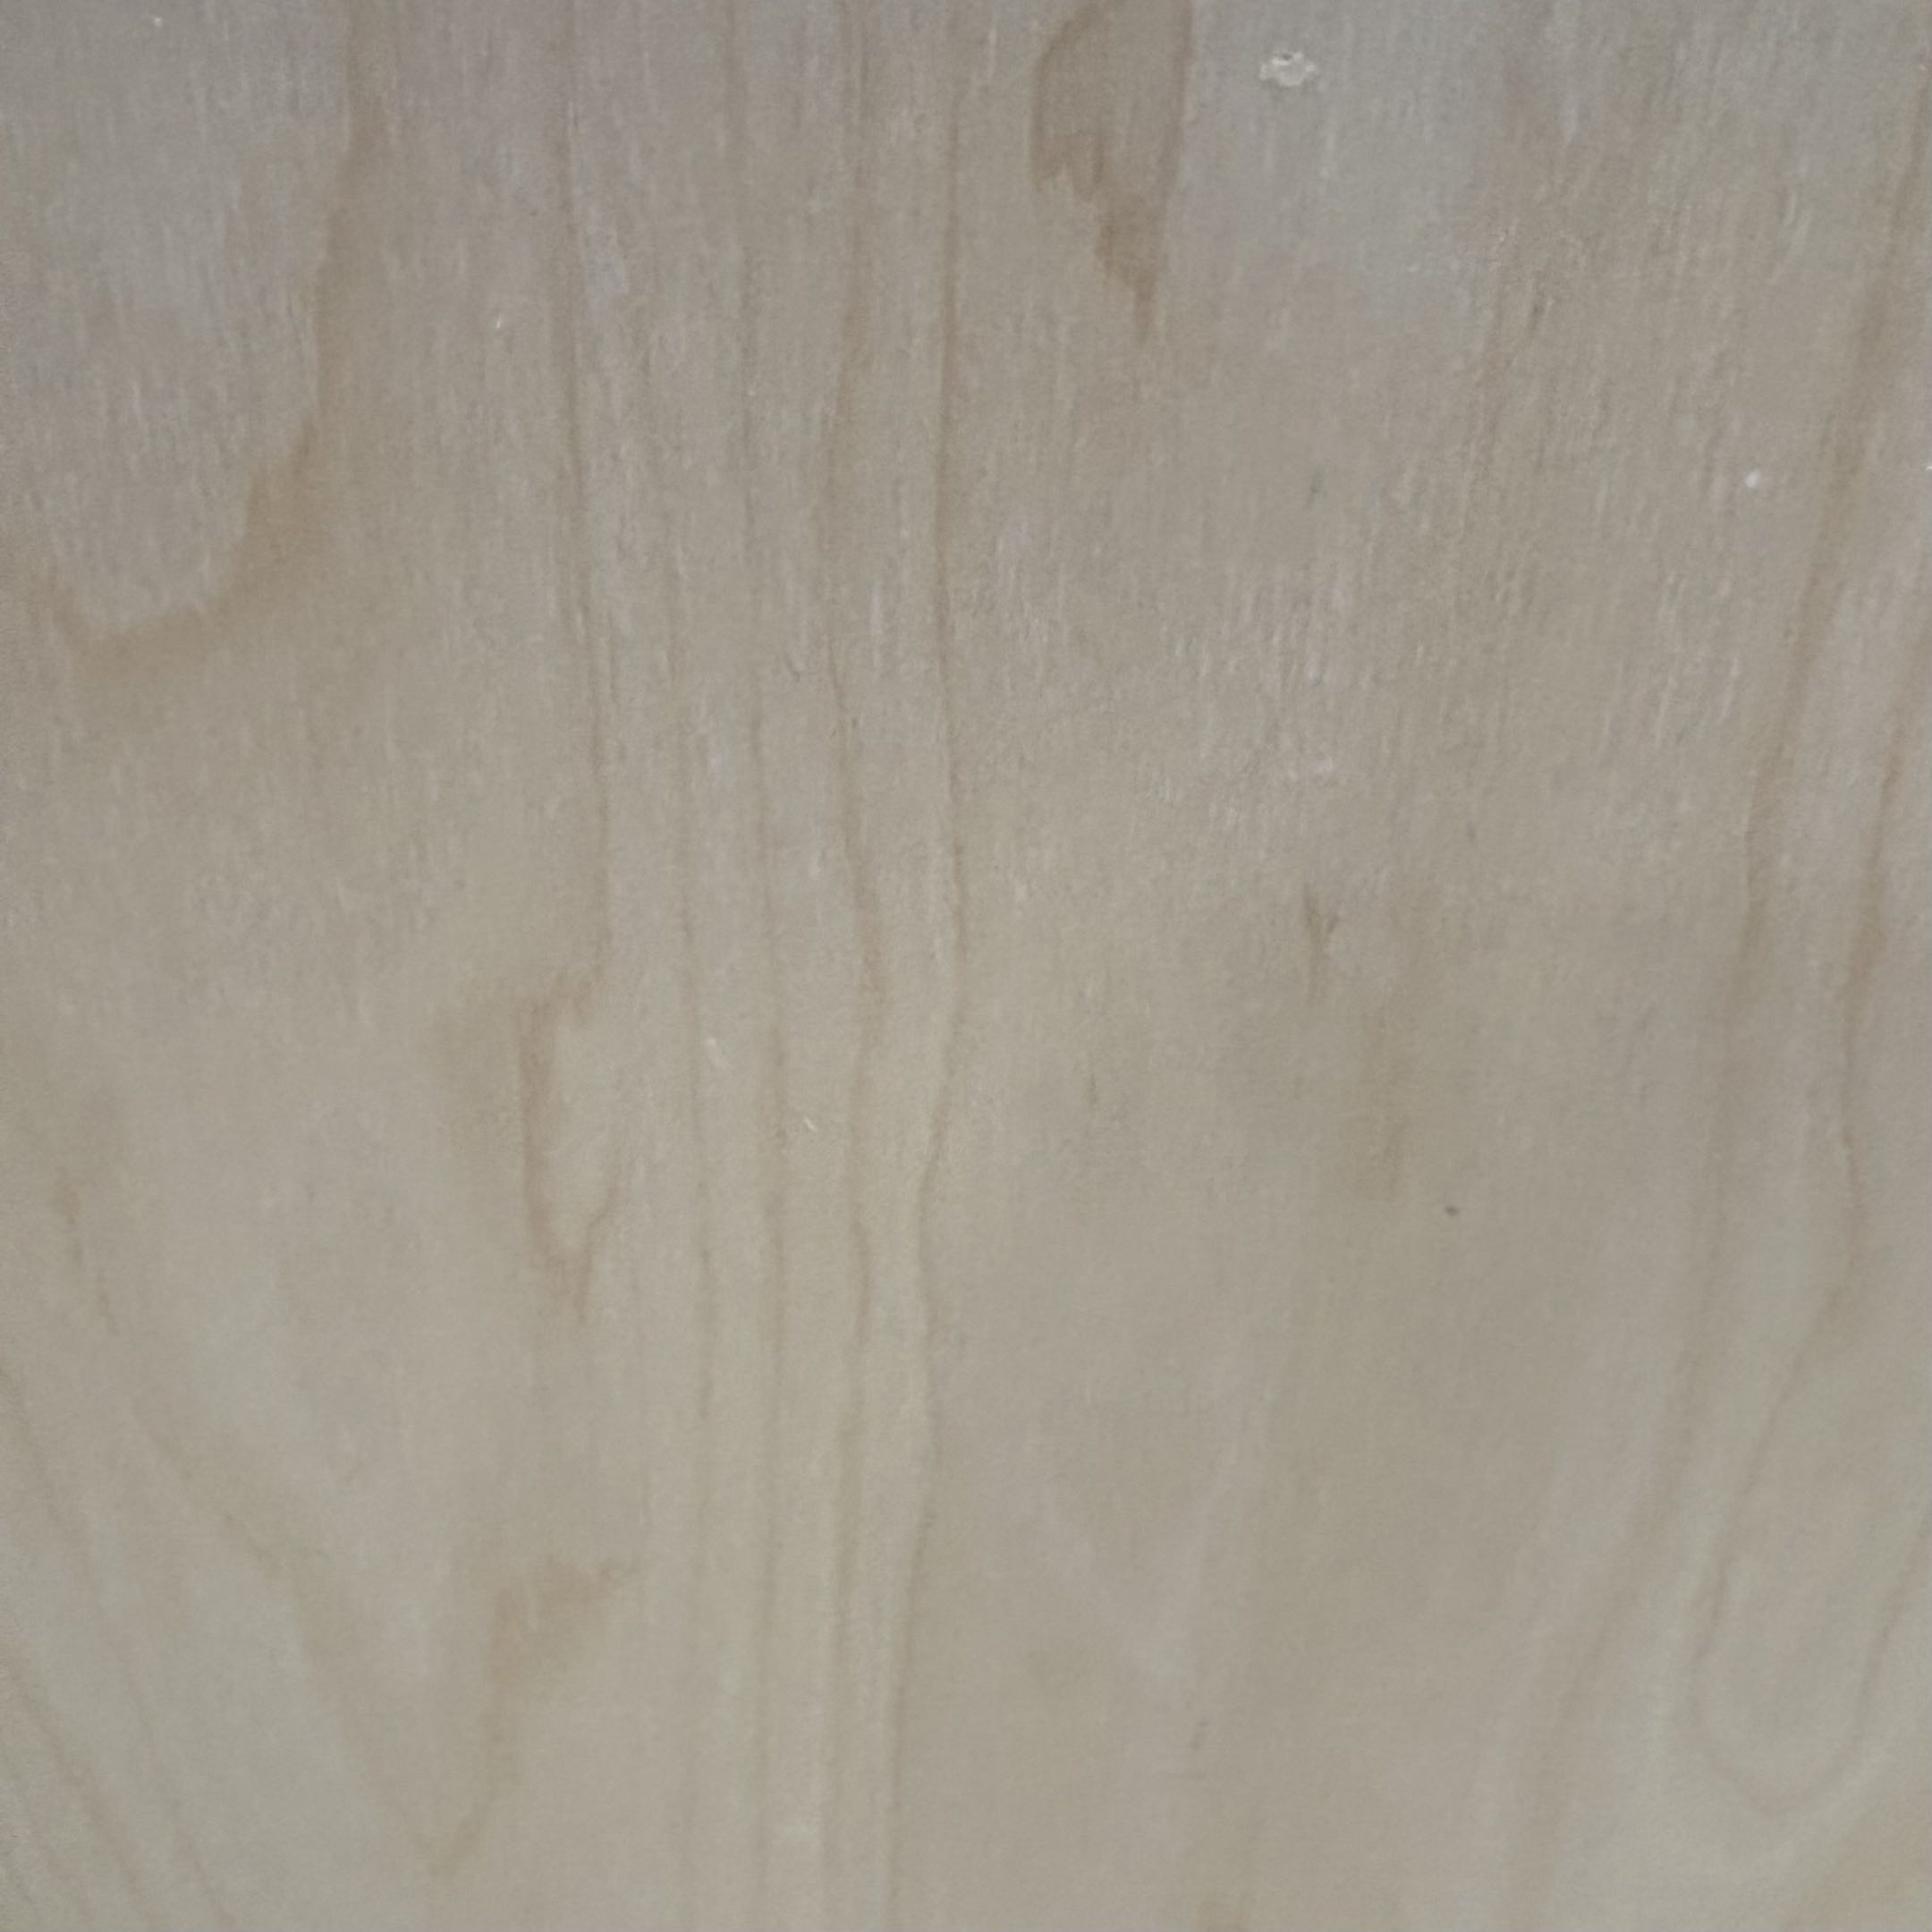
Concrete is pretty common to find around the school. Going to be the material I'm going to use for my final design Steel, a material. Imagine the wall in the dungeon made of steel, hmm... Wood, also another common materials to find, especially in Art and Craft room. Going to use this for the door and Mimic chest

Material Workshop 2

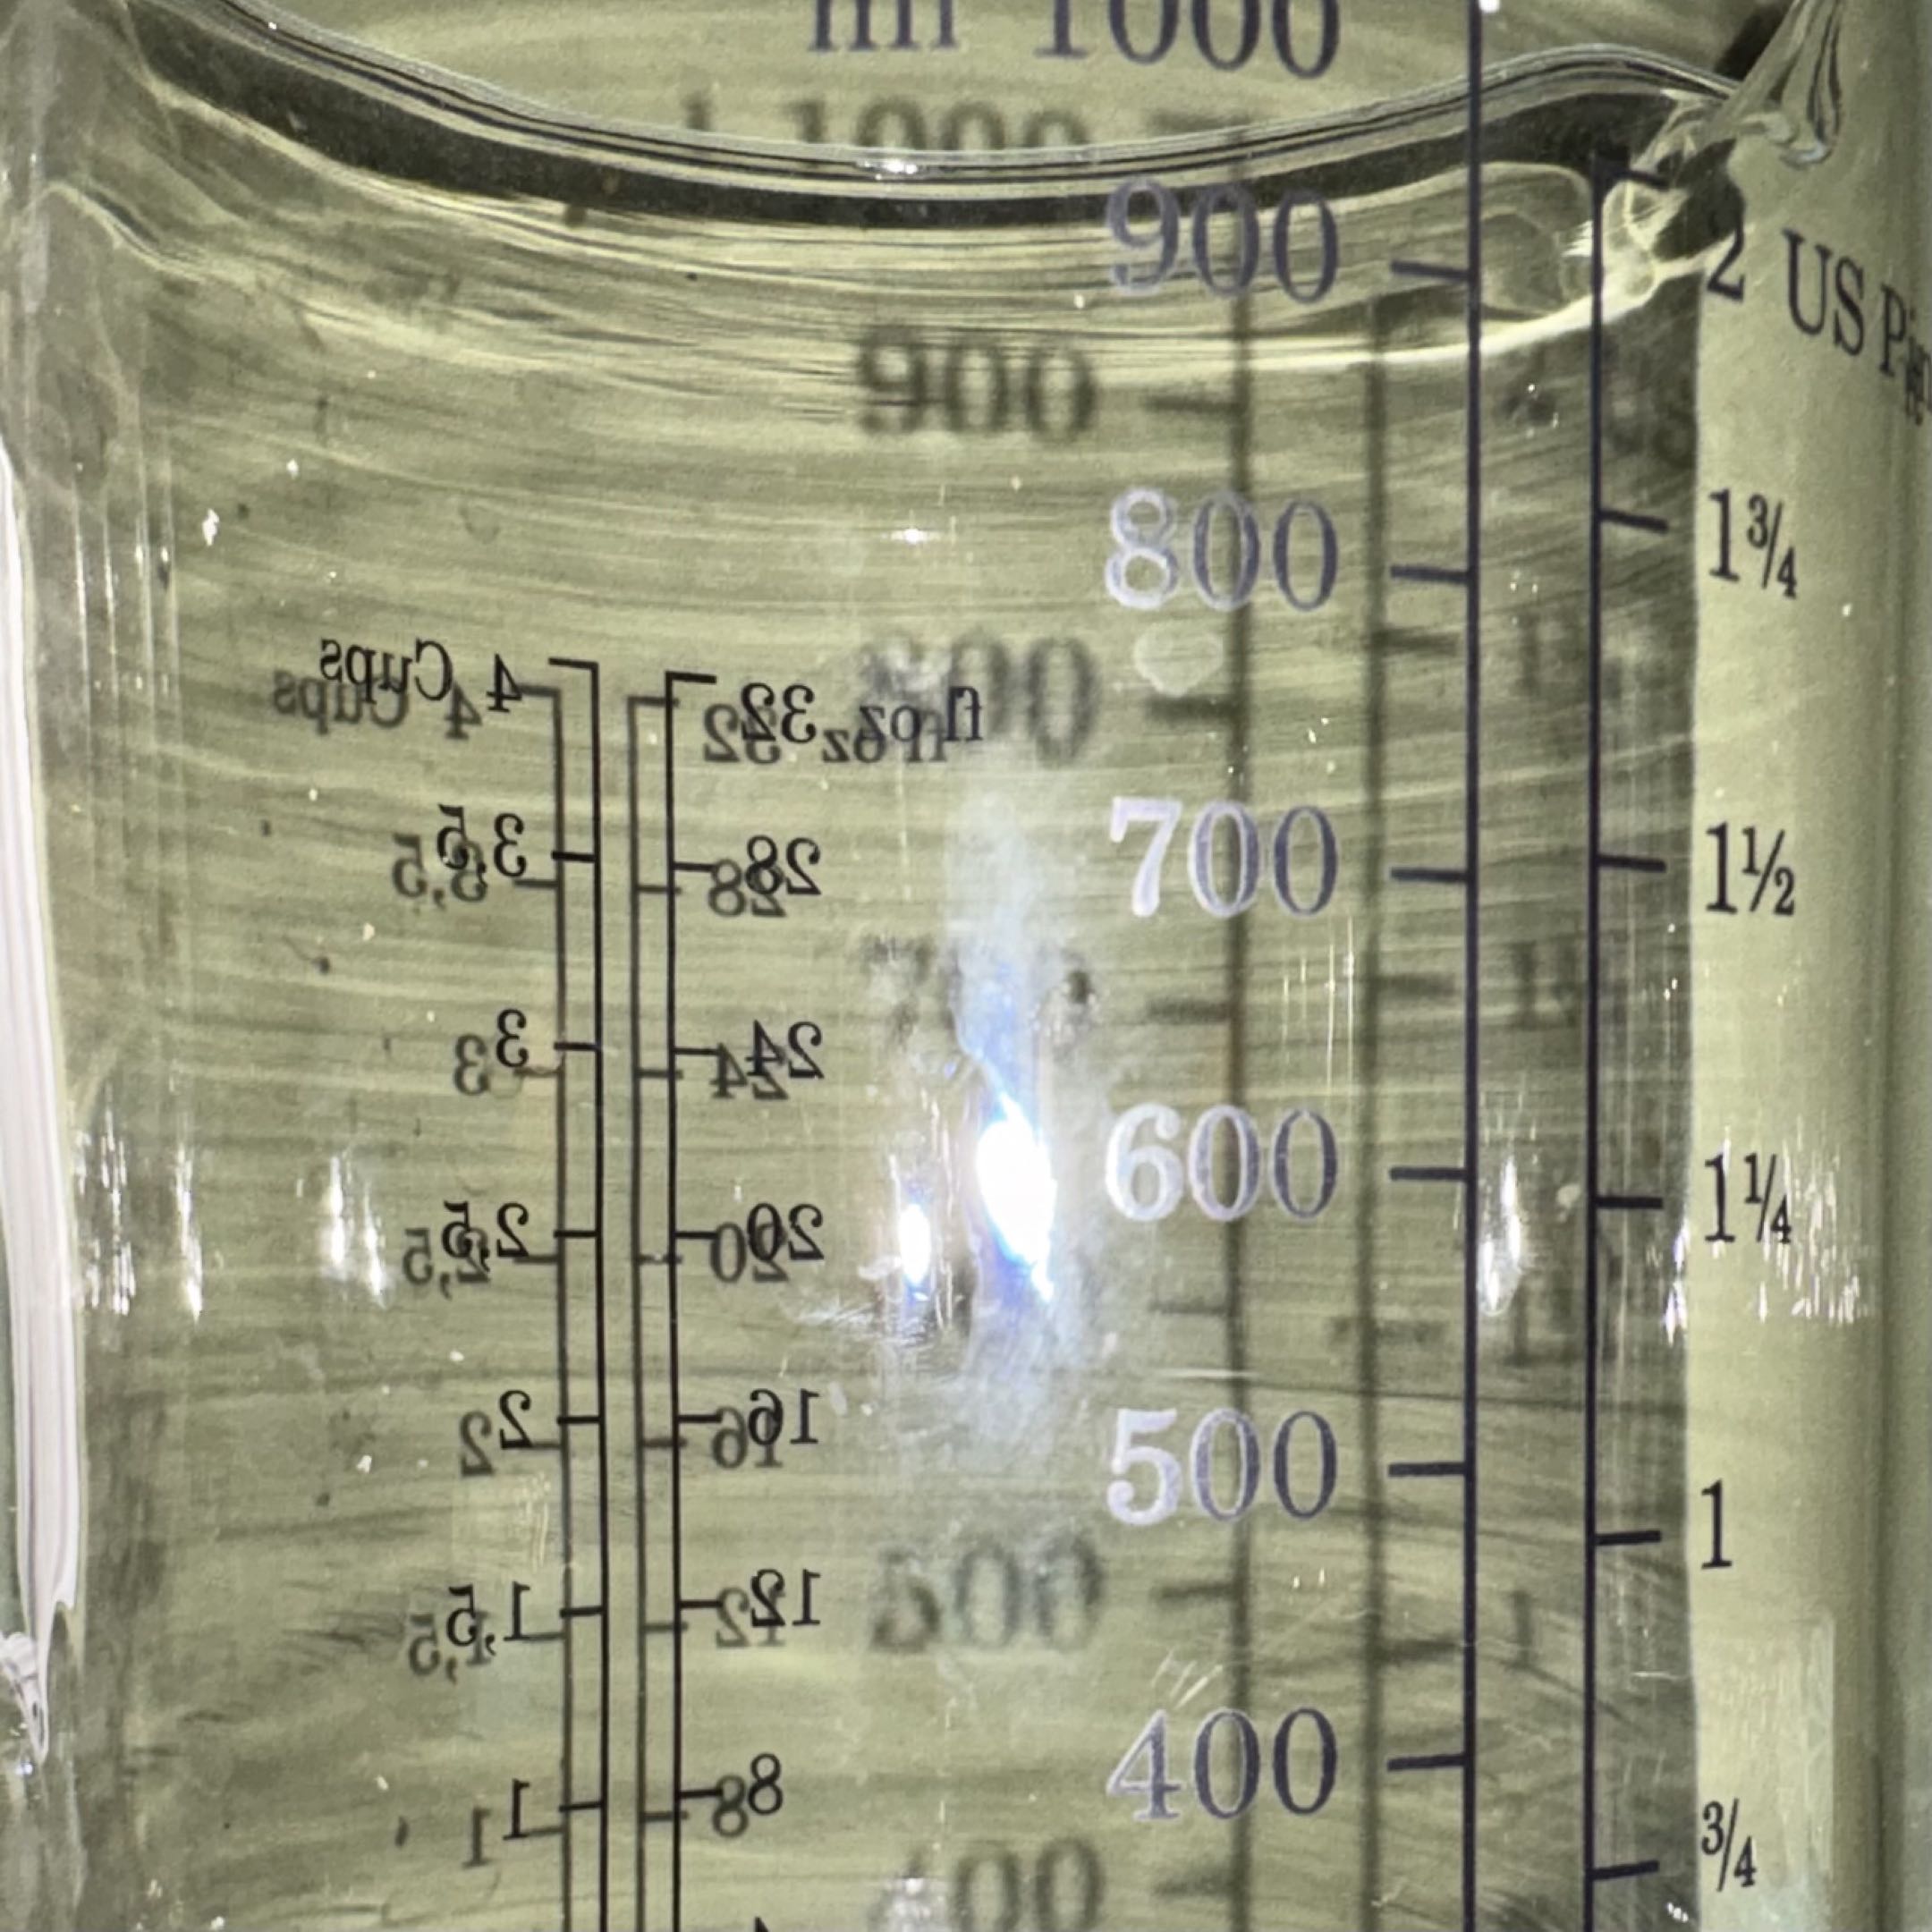
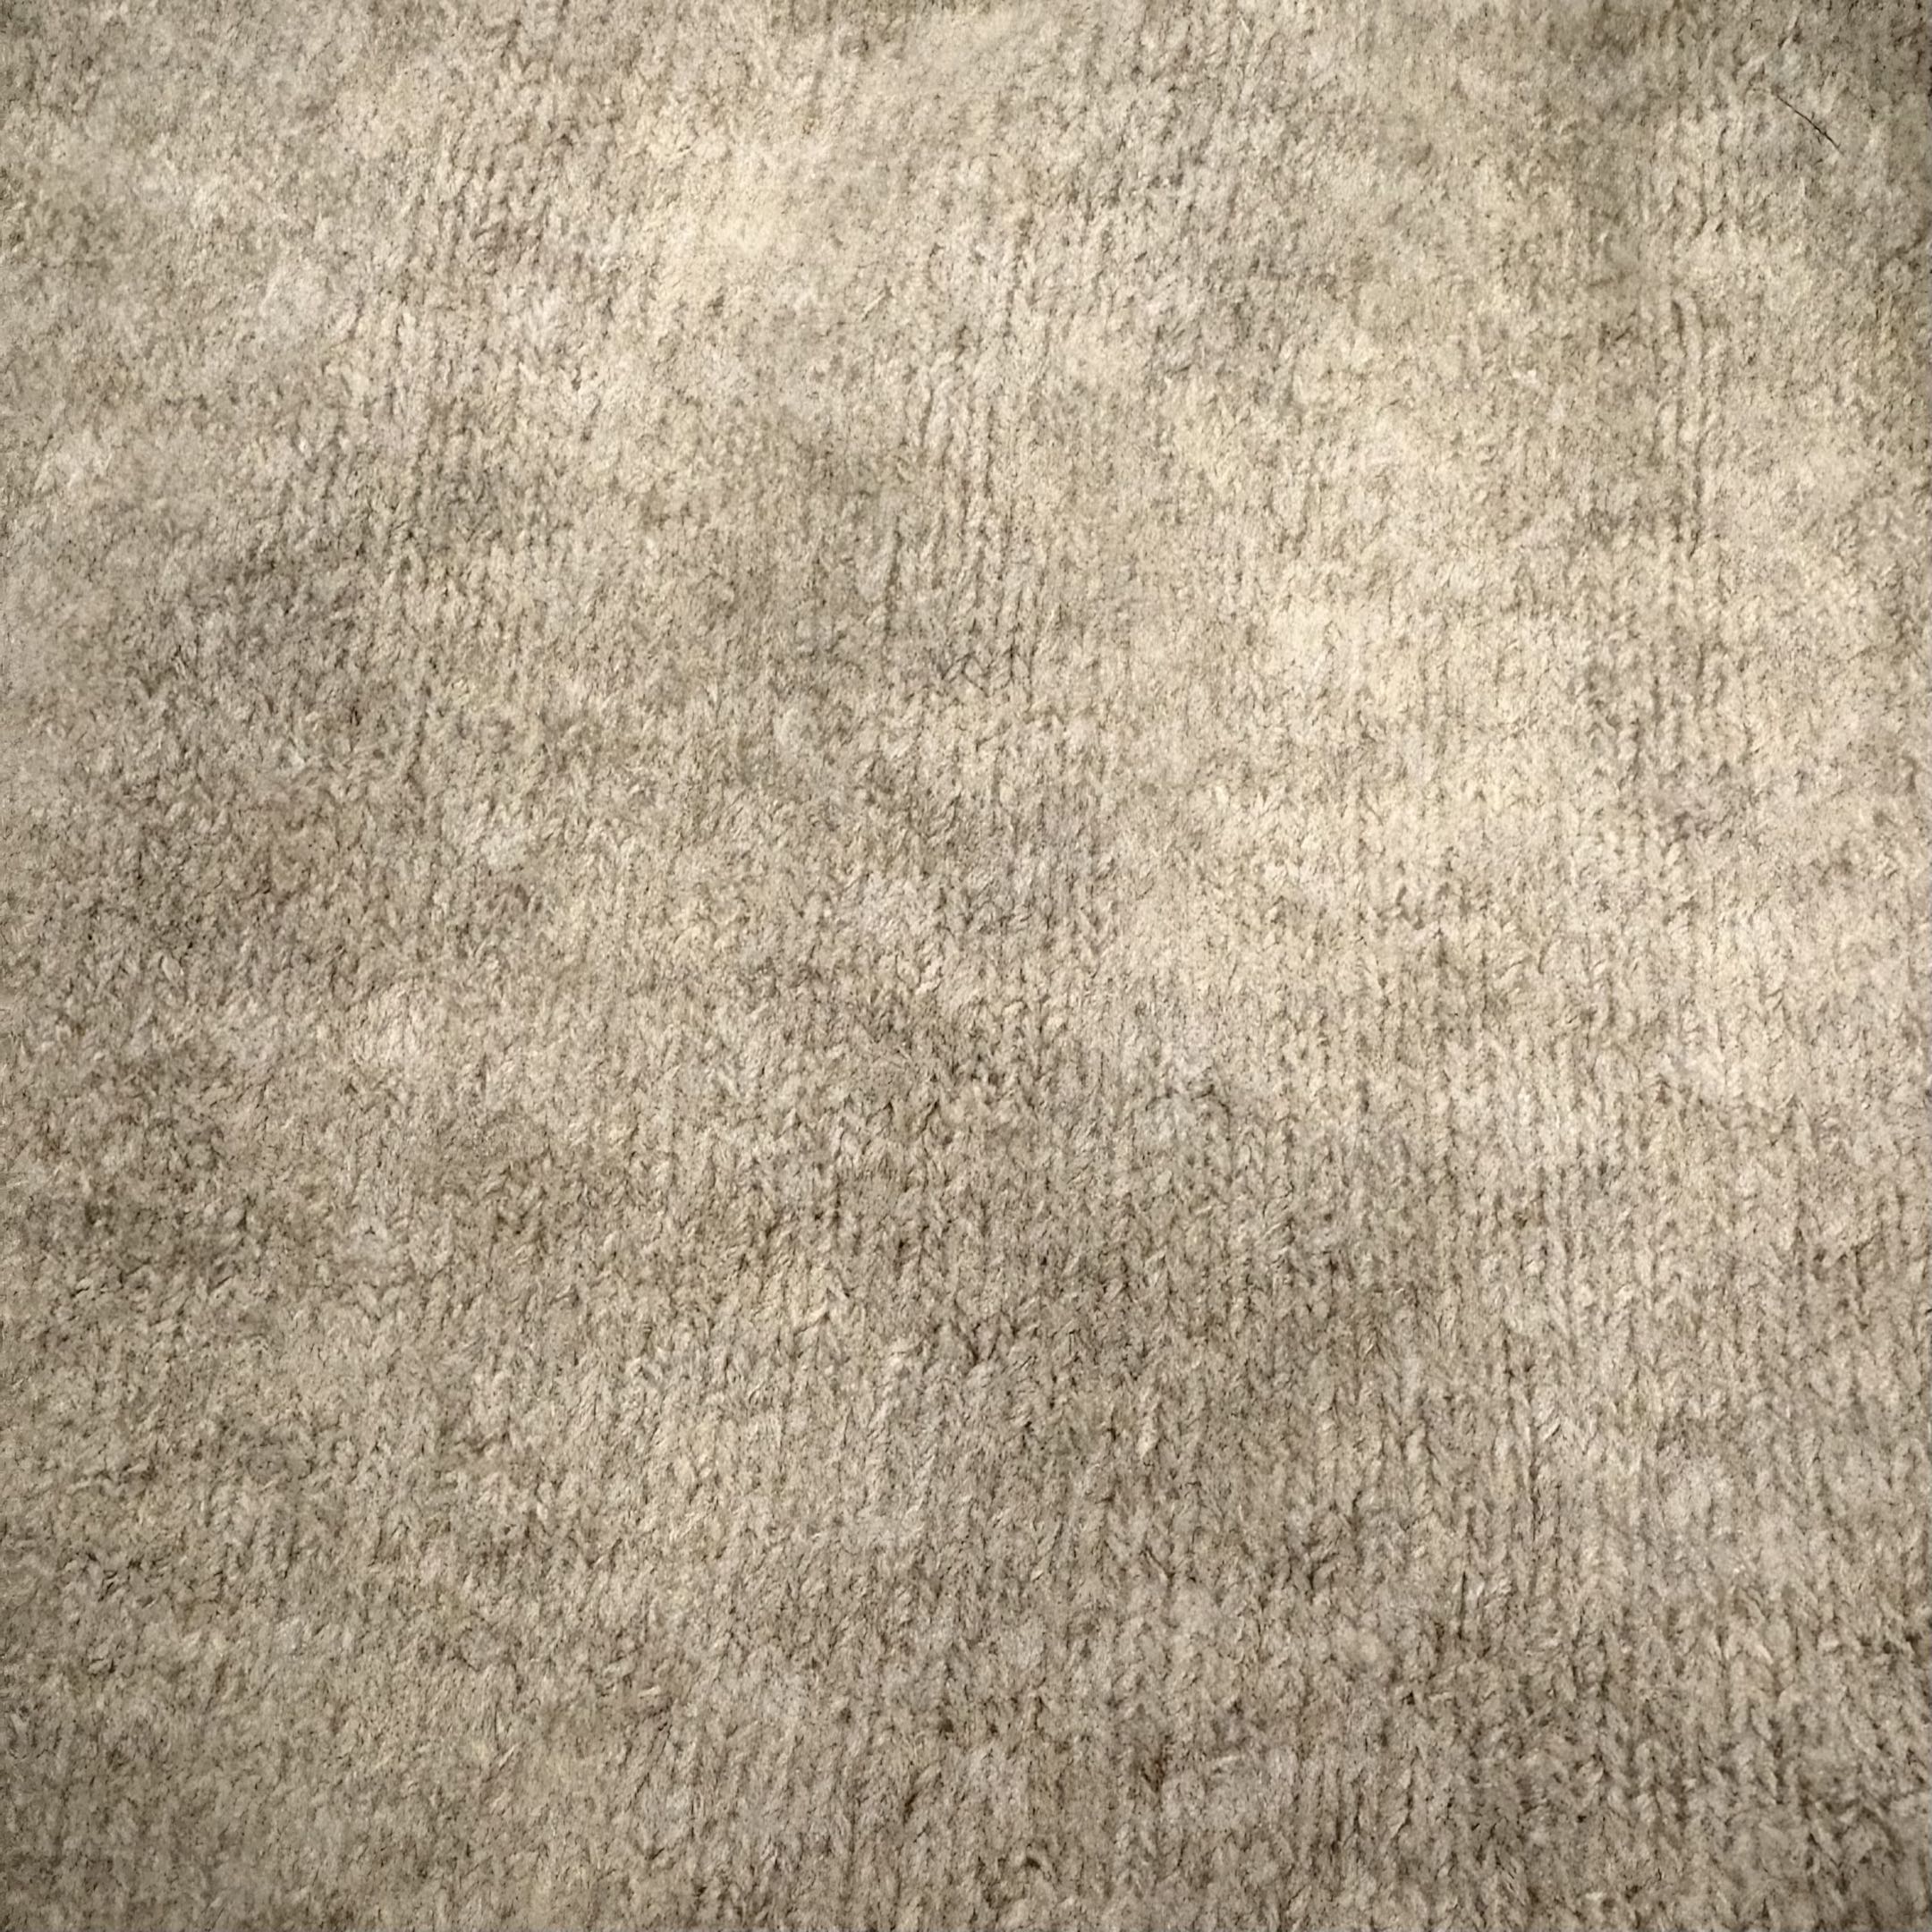
This is glass from my mesurement cup. I might use this material in my final design Looks kind of blurry but it's actually plastic from my keyboard. Might not choose it because plastic is not common to see in a dungeon Wool, a material to make clothes and many other things. Might not going to use it for my model, but we'll see

Project 1


Project 1 Models

Published 3D Model 1

Treasure is not always the chests
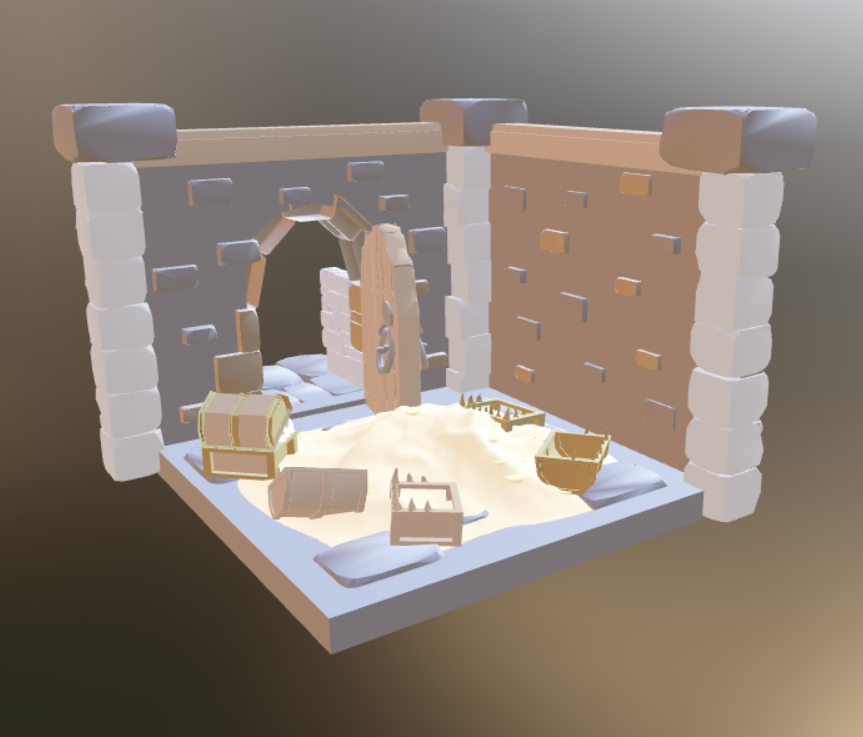
Be careful when enter the new room in the dungeon. It seems to be your lucky day... or not...

Published 3D Model 2

The wooden door

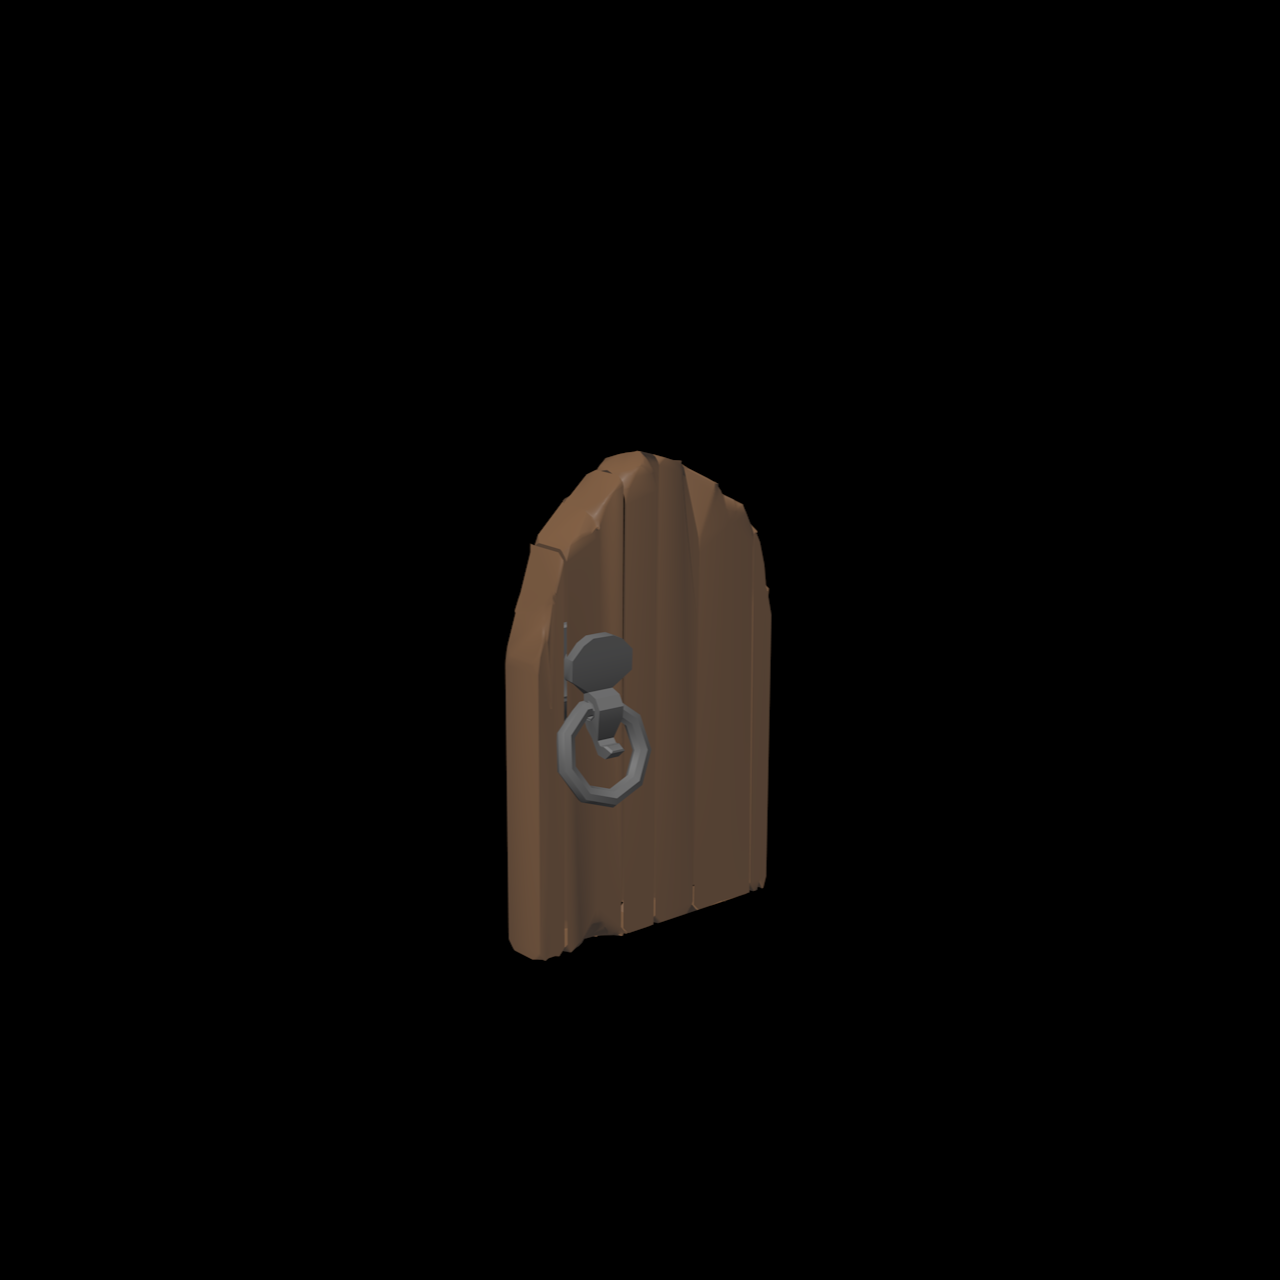
You might already see this in the previous photo. The barrier between the entrance and the 'treasure' room. Looks pretty decent

Published 3D Model 3

'Golden' coin

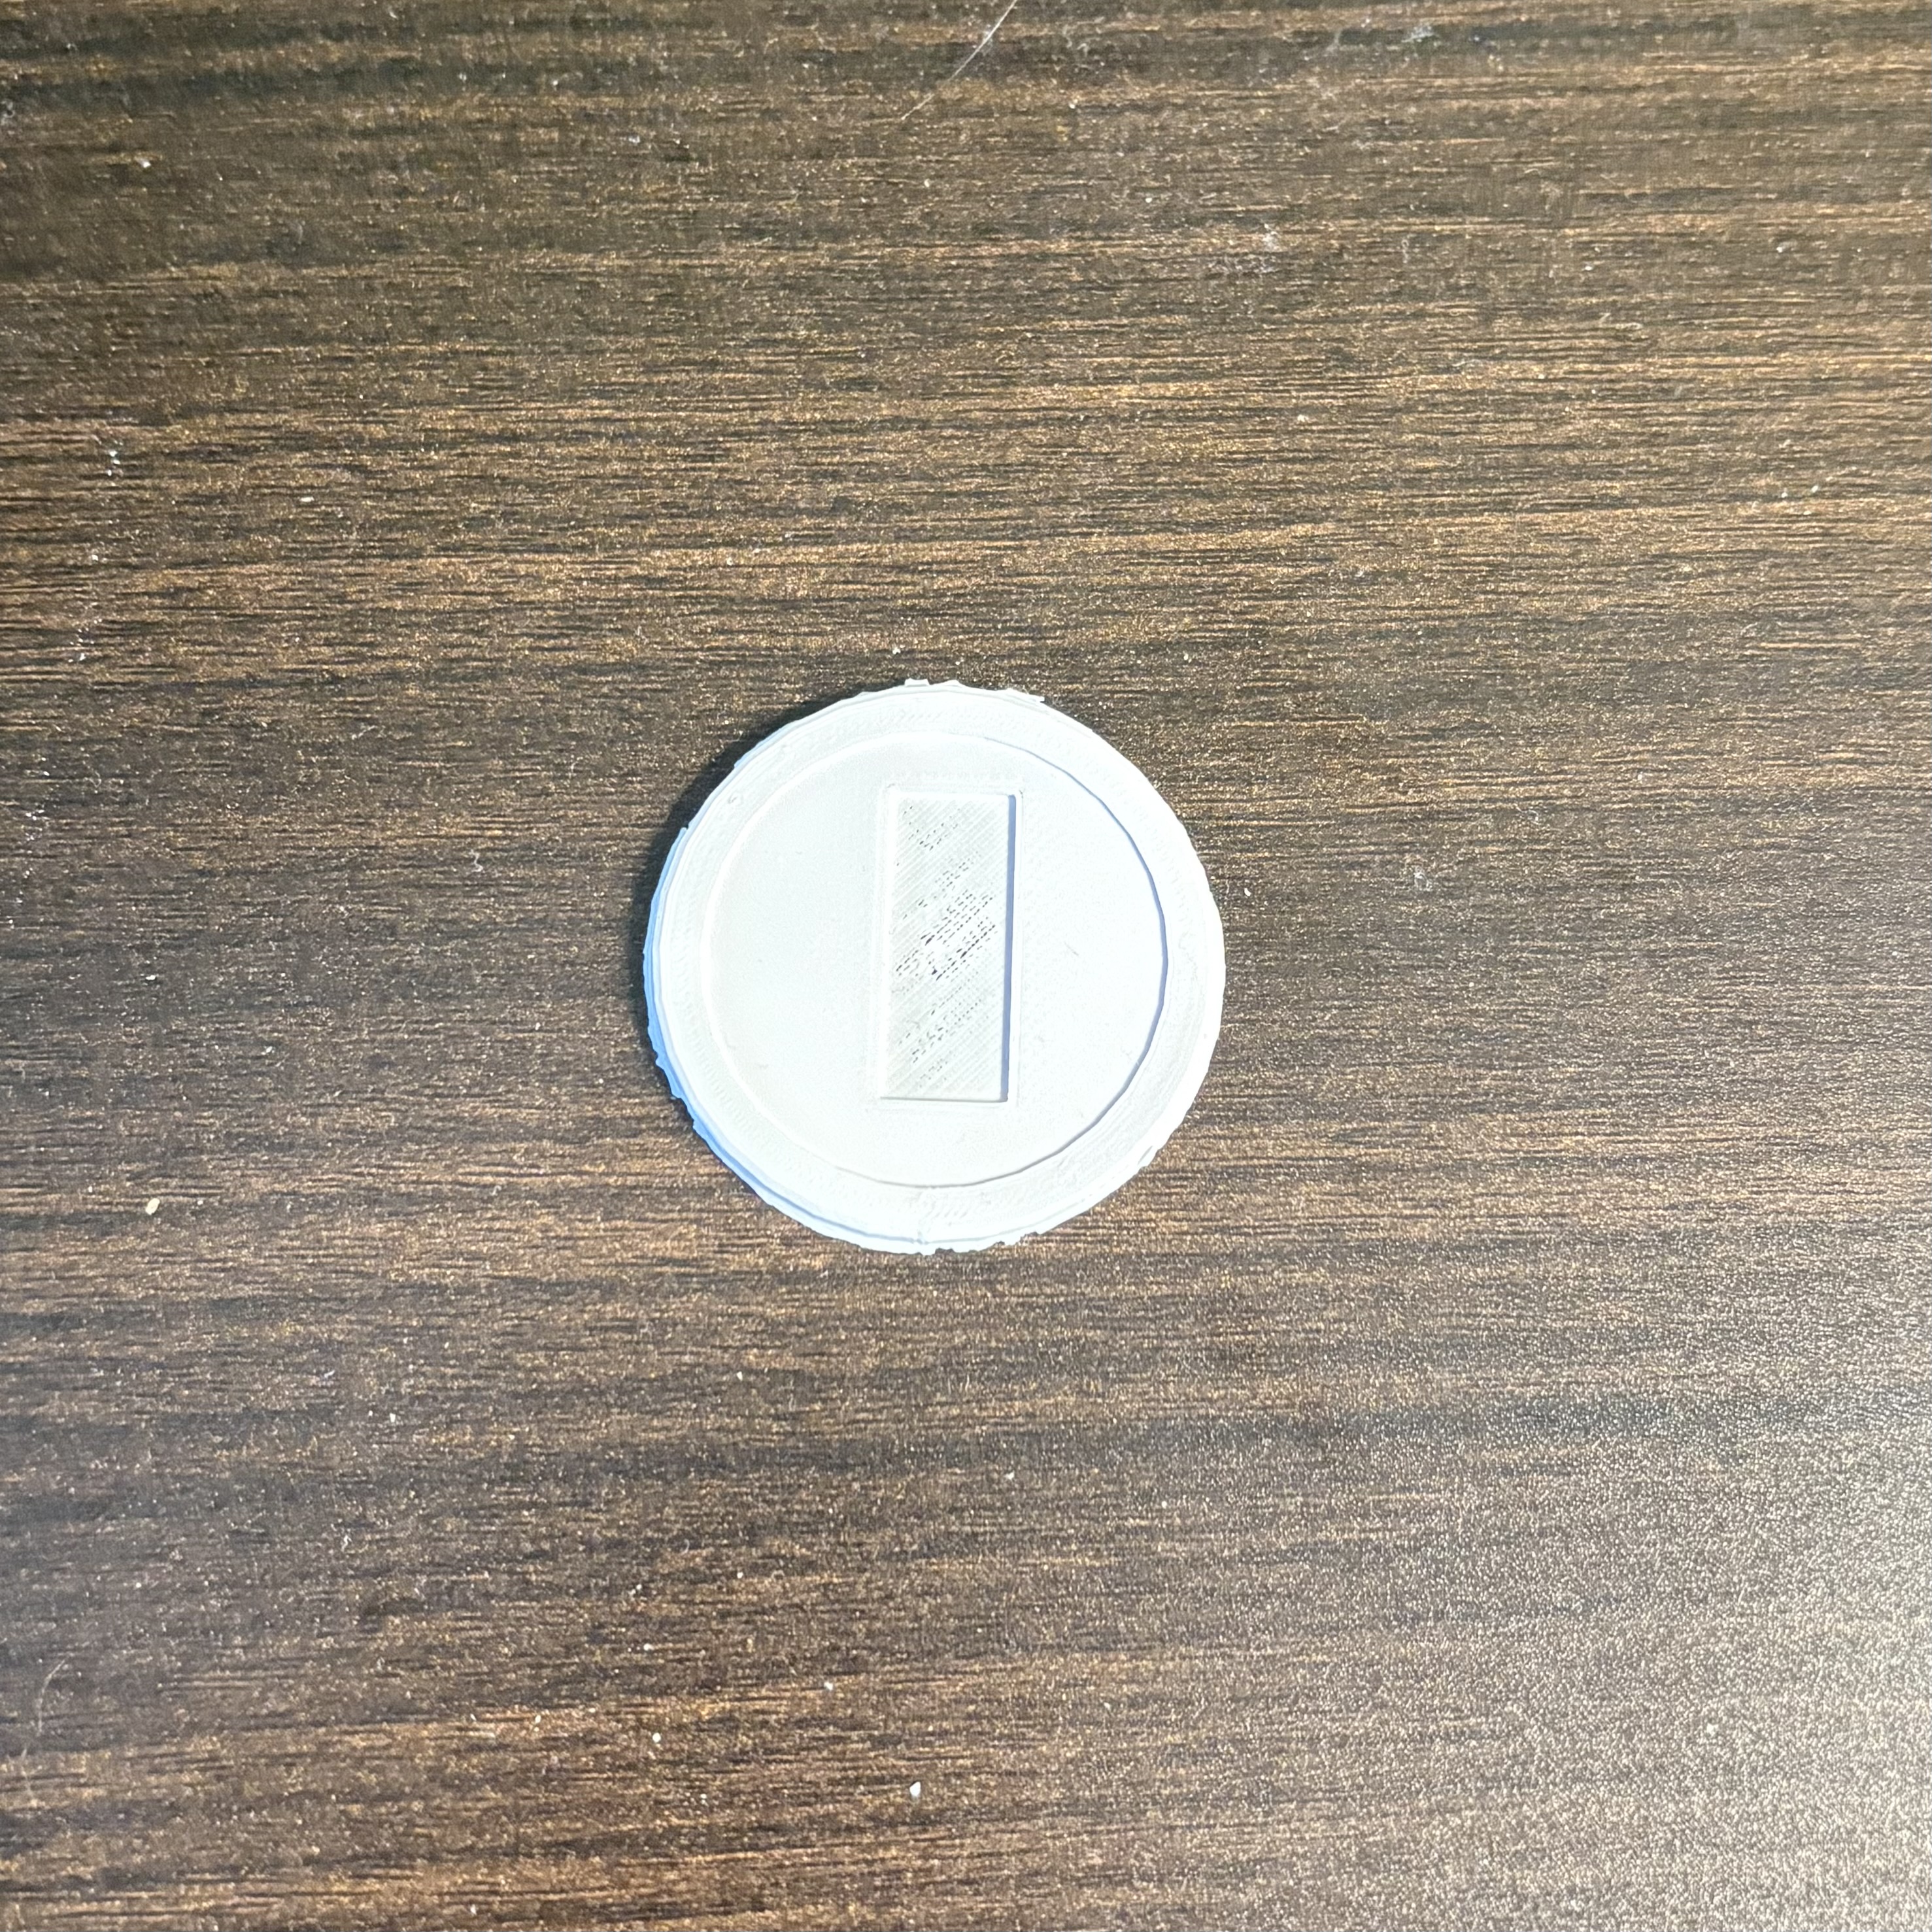
A physical, actual coin. Can be easily find this when exxploring any dungeons. But it just a single coin, and it's not the real currency anymore. Well, too bad
×

Powered by w3.css